Choriqueso Recipe – Authentic Mexican Cheese Dip with Chorizo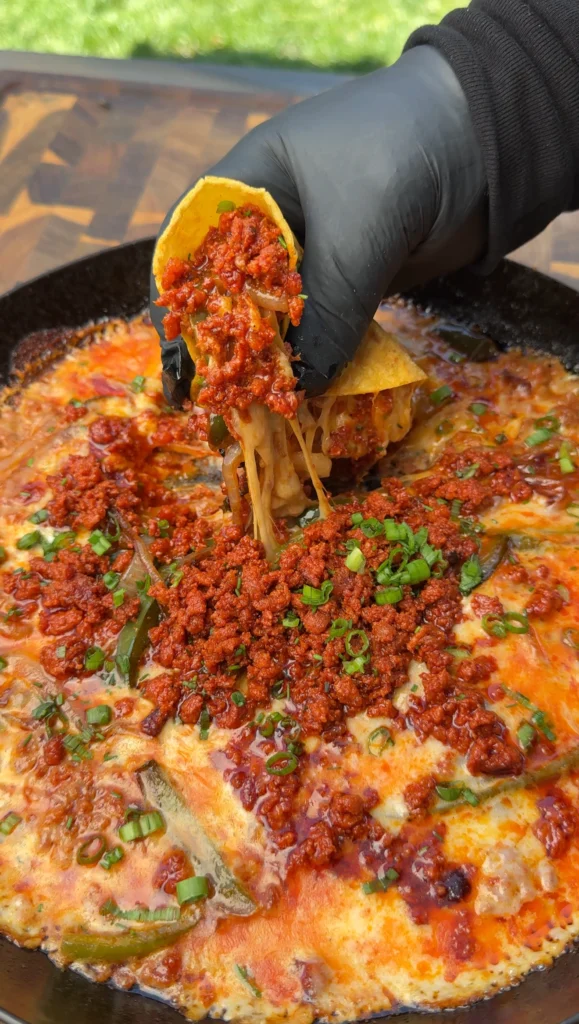
This choriqueso recipe has saved countless gatherings at my house. There’s something about that combination of spicy chorizo and melty Oaxaca cheese that just brings people together around the table. The first time I made this, my neighbor literally climbed over the fence to ask what smelled so incredible. Now I can’t have a party without someone specifically requesting “that amazing cheese dip.”
What makes this choriqueso different from regular queso is the authentic Mexican approach. Using real Oaxaca cheese instead of processed stuff gives you that perfect stretchy, melty texture. The chorizo adds this incredible depth of flavor with just the right amount of heat. It’s one of those recipes that sounds fancy but is actually dead simple once you know the technique.
Understanding Traditional Choriqueso Cooking Methods
The secret to incredible choriqueso isn’t just throwing cheese and chorizo together. There’s a real technique to getting that perfect consistency where the cheese stays creamy and doesn’t break or become grainy. I learned this the hard way after making several batches that turned into an oily mess.
The key with this choriqueso recipe is cooking the chorizo properly first. Mexican chorizo is raw and needs to be fully cooked, unlike Spanish chorizo which is cured. You want to break it down completely and render out some of that fat, which becomes the base for melting your cheese.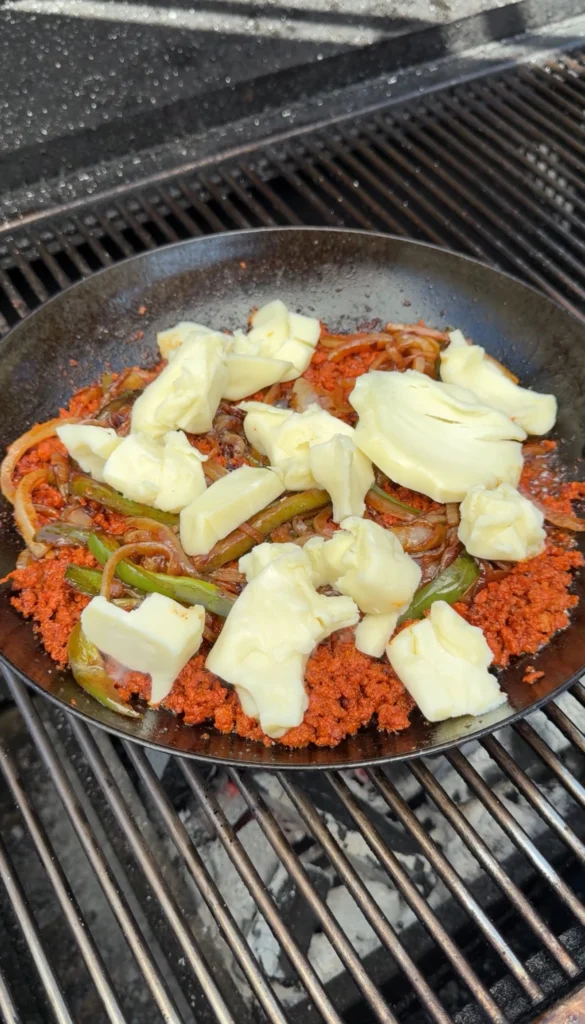
Temperature Control for Perfect Cheese Melting
Managing heat is crucial when making choriqueso. Too high and the cheese will seize up and become stringy or grainy. Too low and it takes forever to melt properly. I’ve found that medium-low heat works best once you add the cheese – you want it to melt gently and evenly.
The onions and jalapeños need to be cooked until they’re soft and translucent. Raw onions will add an unpleasant bite that doesn’t belong in choriqueso. The jalapeños should lose their raw heat and become more mellow and sweet.
Don’t rush the process. Good choriqueso takes time to develop properly. The chorizo needs to brown, the vegetables need to soften, and the cheese needs to melt slowly. Trying to speed things up usually ends in disaster.
Ingredient Selection and Authentic Mexican Flavors
Quality ingredients make all the difference in this choriqueso recipe. Mexican chorizo is completely different from Spanish chorizo – it’s raw, soft, and packed with spices. Look for it in the refrigerated section, usually near other Mexican specialty items.
Oaxaca cheese is what makes this dish authentic. It’s a Mexican string cheese that melts beautifully and has this amazing stretchy quality. If you can’t find Oaxaca cheese, Monterey Jack or white American cheese work as substitutes, but the texture won’t be quite the same.
The jalapeños add heat and flavor without being overwhelming. I usually remove most of the seeds to keep the heat manageable for a crowd. If you want more kick, leave some seeds in or add a serrano pepper.
Building Layers of Flavor
Sweet onion is crucial for balance. The sweetness complements the spicy chorizo and adds depth. I prefer sweet onions like Vidalia because they become really mellow when cooked down. Regular yellow onions work too, but sweet onions give better results.
The beauty of choriqueso is how simple the ingredient list is. Four main ingredients that work together to create something much greater than the sum of its parts. The chorizo provides fat, spice, and protein. The cheese brings creaminess. The jalapeños add heat. The onions provide sweetness and depth.
Don’t be tempted to add a bunch of other ingredients. Traditional choriqueso is about letting these core flavors shine. Sometimes simple is best, and this is definitely one of those times.
Pro Tips for Authentic Mexican Restaurant Results
After making this choriqueso recipe countless times, I’ve learned all the tricks that separate good dip from absolutely incredible restaurant-quality results. The technique matters more than you might think with something this simple.
Remove the chorizo casing completely before cooking. Some people try to cook it with the casing on and remove it later, but that doesn’t work well. The casing prevents proper browning and fat rendering. Just squeeze the chorizo out of the casing directly into your pan.
Proper Chorizo Cooking Technique
Break up the chorizo as it cooks but don’t make it too fine. You want some texture in your finished choriqueso. I aim for pieces about the size of small pebbles – big enough to provide texture but small enough to distribute evenly.
Cook the chorizo until it’s well-browned and has rendered a good amount of fat. This usually takes 8-10 minutes over medium heat. Don’t drain all the fat – you need some of it to help melt the cheese and add flavor.
The vegetables should be added after the chorizo is mostly cooked. This prevents them from getting greasy and ensures they cook at the right rate. Cook them until they’re soft and translucent, which usually takes about 5-6 minutes.
Cheese Melting Mastery
Add the cheese gradually, not all at once. This helps it melt evenly and prevents clumping. I usually add it in three or four additions, stirring gently between each one.
Keep the heat low once you add the cheese. High heat will cause the proteins to seize up and you’ll end up with a grainy, broken sauce instead of smooth choriqueso.
Stir gently and constantly once the cheese starts melting. Use a wooden spoon or silicone spatula and make gentle figure-eight motions. Aggressive stirring can break the cheese and make it stringy.
Ingredients
Main Components:
- 1.5 lbs Mexican pork chorizo, casing removed
- 2 cups Oaxaca cheese, shredded or cubed
- 2 jalapeño peppers, seeded and diced
- 1 medium sweet onion, diced
Optional Garnishes:
- Fresh cilantro, chopped
- Diced tomatoes
- Sliced green onions
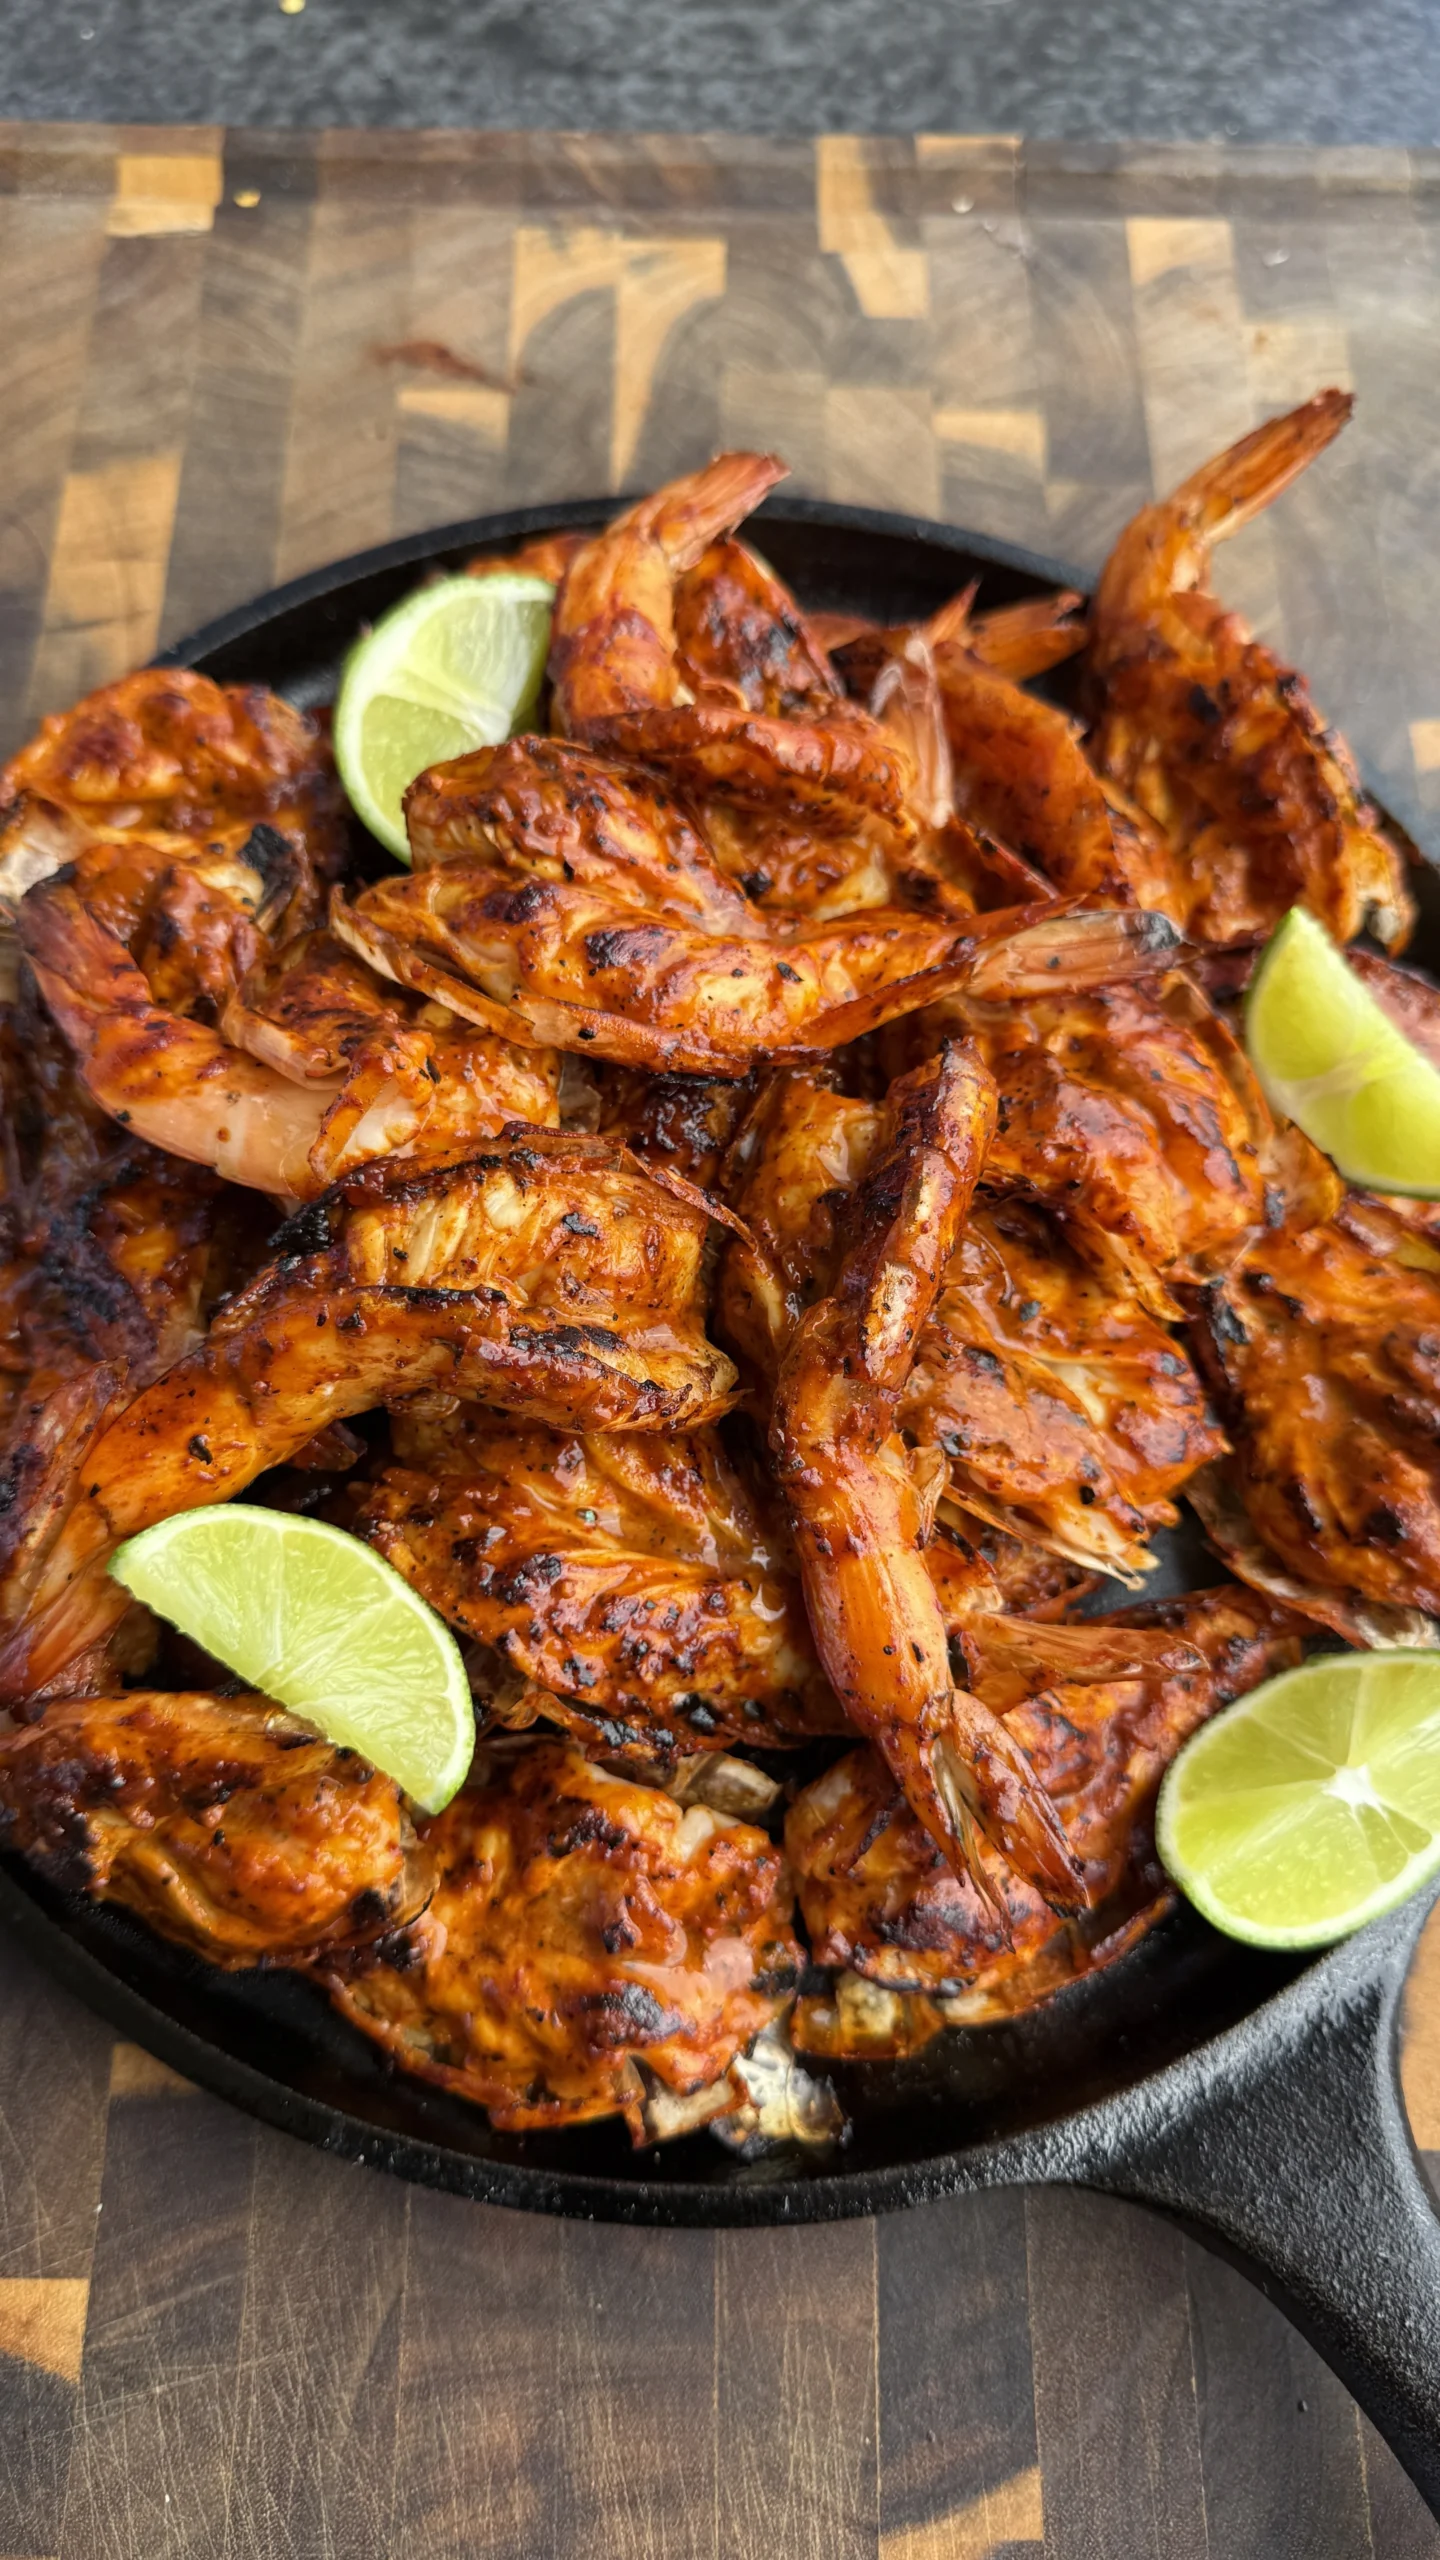
- Lime wedges for serving
Detailed Step-by-Step Instructions
Step 1: Prep All Your Ingredients Remove the chorizo from its casing and break it into chunks. Dice your sweet onion into small, even pieces – about 1/4 inch works well. Remove the seeds from the jalapeños and dice them finely. If you like more heat, leave some seeds in.
Shred or cube your Oaxaca cheese if it’s not already prepared. Room temperature cheese melts more evenly than cold cheese, so take it out of the fridge about 30 minutes before cooking. Having everything prepped makes the cooking process much smoother.
Step 2: Cook the Chorizo to Perfection Heat a large skillet or cast iron pan over medium heat. Add the chorizo and break it up as it cooks, using a wooden spoon or spatula. Cook for 8-10 minutes, stirring occasionally, until the chorizo is well-browned and has rendered a good amount of fat.
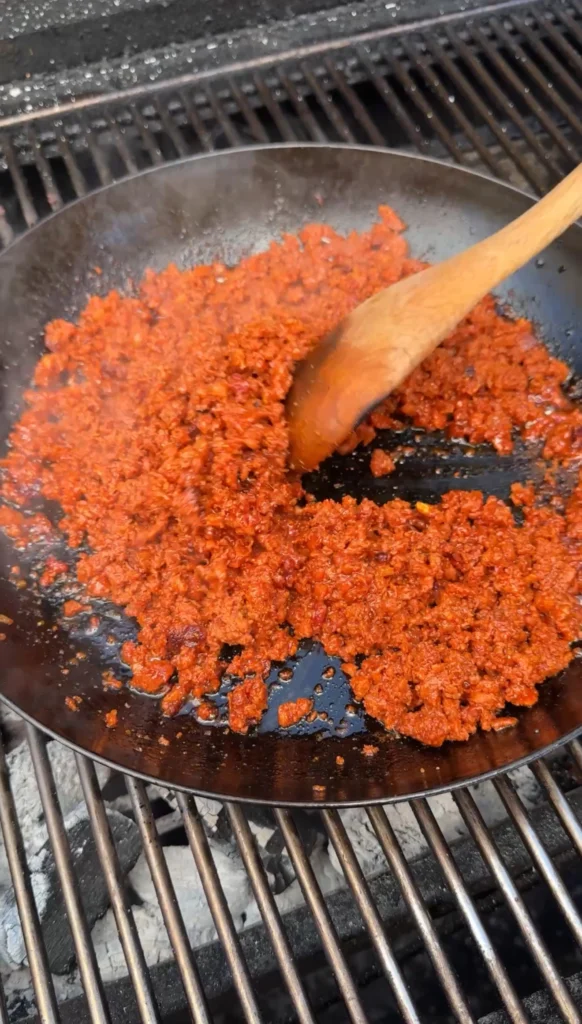
You want the chorizo pieces to be about pebble-sized – not too fine but not huge chunks either. The chorizo should be fully cooked and nicely caramelized. Don’t drain the fat – you’ll need some of it for the next steps.
Step 3: Add the Vegetables Add the diced onion to the pan with the chorizo and cook for 4-5 minutes until it starts to soften and become translucent. Stir occasionally to prevent sticking. The onion should pick up some of the chorizo flavor and fat.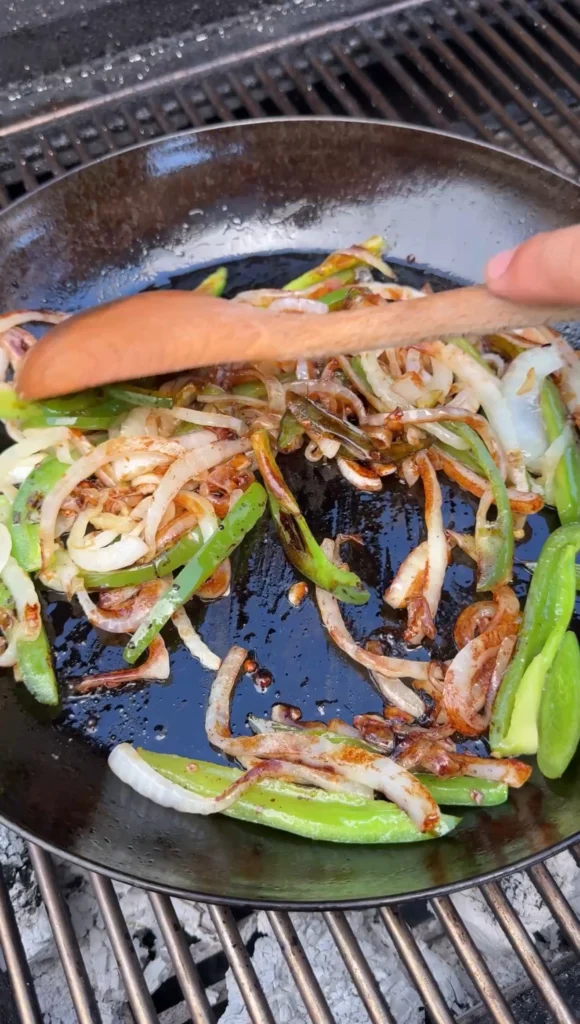
Add the diced jalapeños and cook for another 2-3 minutes until they’re softened. The vegetables should be tender and well-incorporated with the chorizo. At this point, your kitchen should smell absolutely incredible.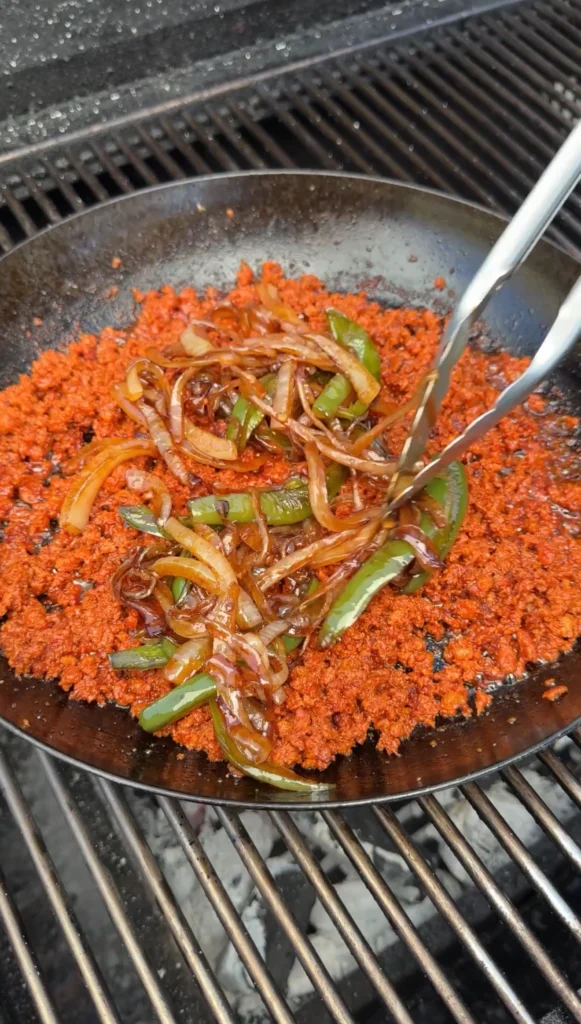
Step 4: Melt the Cheese Gradually Reduce heat to medium-low. This is crucial – too high heat will cause the cheese to seize up. Add about half the Oaxaca cheese and stir gently until it starts to melt. The cheese should melt smoothly into the chorizo mixture.
Add the remaining cheese gradually, stirring constantly with gentle figure-eight motions. Don’t rush this step – let each addition melt completely before adding more. The mixture should become creamy and cohesive.
Step 5: Achieve Perfect Consistency Continue stirring gently until all the cheese is melted and the choriqueso is smooth and creamy. It should have a pourable consistency but not be too thin. If it seems too thick, you can add a tablespoon of milk or cream.
The finished choriqueso should be glossy and smooth, with visible pieces of chorizo and vegetables throughout. It should coat a spoon but still flow easily. Taste and adjust seasoning if needed, though the chorizo usually provides plenty of flavor.
Step 6: Serve Immediately While Hot Transfer the choriqueso to a serving dish or keep it warm in the skillet. Garnish with fresh cilantro, diced tomatoes, or sliced green onions if desired. Serve immediately with warm tortilla chips, crusty bread, or flour tortillas.
Choriqueso is best served hot and fresh. It will thicken as it cools, but you can gently reheat it if needed. Just use low heat and stir frequently to prevent the cheese from breaking.

Choriqueso Recipe - Authentic Mexican Cheese Dip with Chorizo
Ingredients
Method
- Remove chorizo from casing and prep all vegetables. Let cheese come to room temperature.
- Cook chorizo in large skillet over medium heat for 8-10 minutes, breaking it up until well-browned.
- Add diced onion and cook 4-5 minutes until softened. Add jalapeños and cook 2-3 minutes more.
- Reduce heat to medium-low. Add half the cheese and stir gently until melted.
- Gradually add remaining cheese, stirring constantly until smooth and creamy.
- Serve immediately while hot with tortilla chips, bread, or tortillas. Garnish as desired.
Notes
Tried this recipe?
Let us know how it was!Conclusion
This choriqueso recipe has become my most requested party dish. There’s something magical about that combination of spicy chorizo and creamy melted cheese that just brings people together. I’ve watched shy guests become best friends while huddled around a bowl of this stuff, and kids who claim they don’t like “spicy food” absolutely demolish it.
The best part is how authentic it tastes compared to the processed cheese dips you get at chain restaurants. Using real Oaxaca cheese and quality chorizo makes all the difference. It’s one of those recipes that proves you don’t need a long ingredient list to create something really special.
If you loved this recipe, you’ll find more to savor across our diverse categories. From beef to pork, chicken to turkey, seafood to appetizers, there’s a wealth of flavors waiting for you. Explore them all at CWFeats. Dive into our delicious collections!
Recipe Categories: