Ingredients
Equipment
Method
- Pat wings completely dry. Toss with oil, then add poultry seasoning and mix. Dust lightly with cornstarch last and toss again.
- Place wings on a cold smoker. Turn on and set to 400°F. Let wings ride the full temp curve. Flip once halfway. Cook 35-50 minutes total until skin is crispy and internal temp hits 175-185°F.
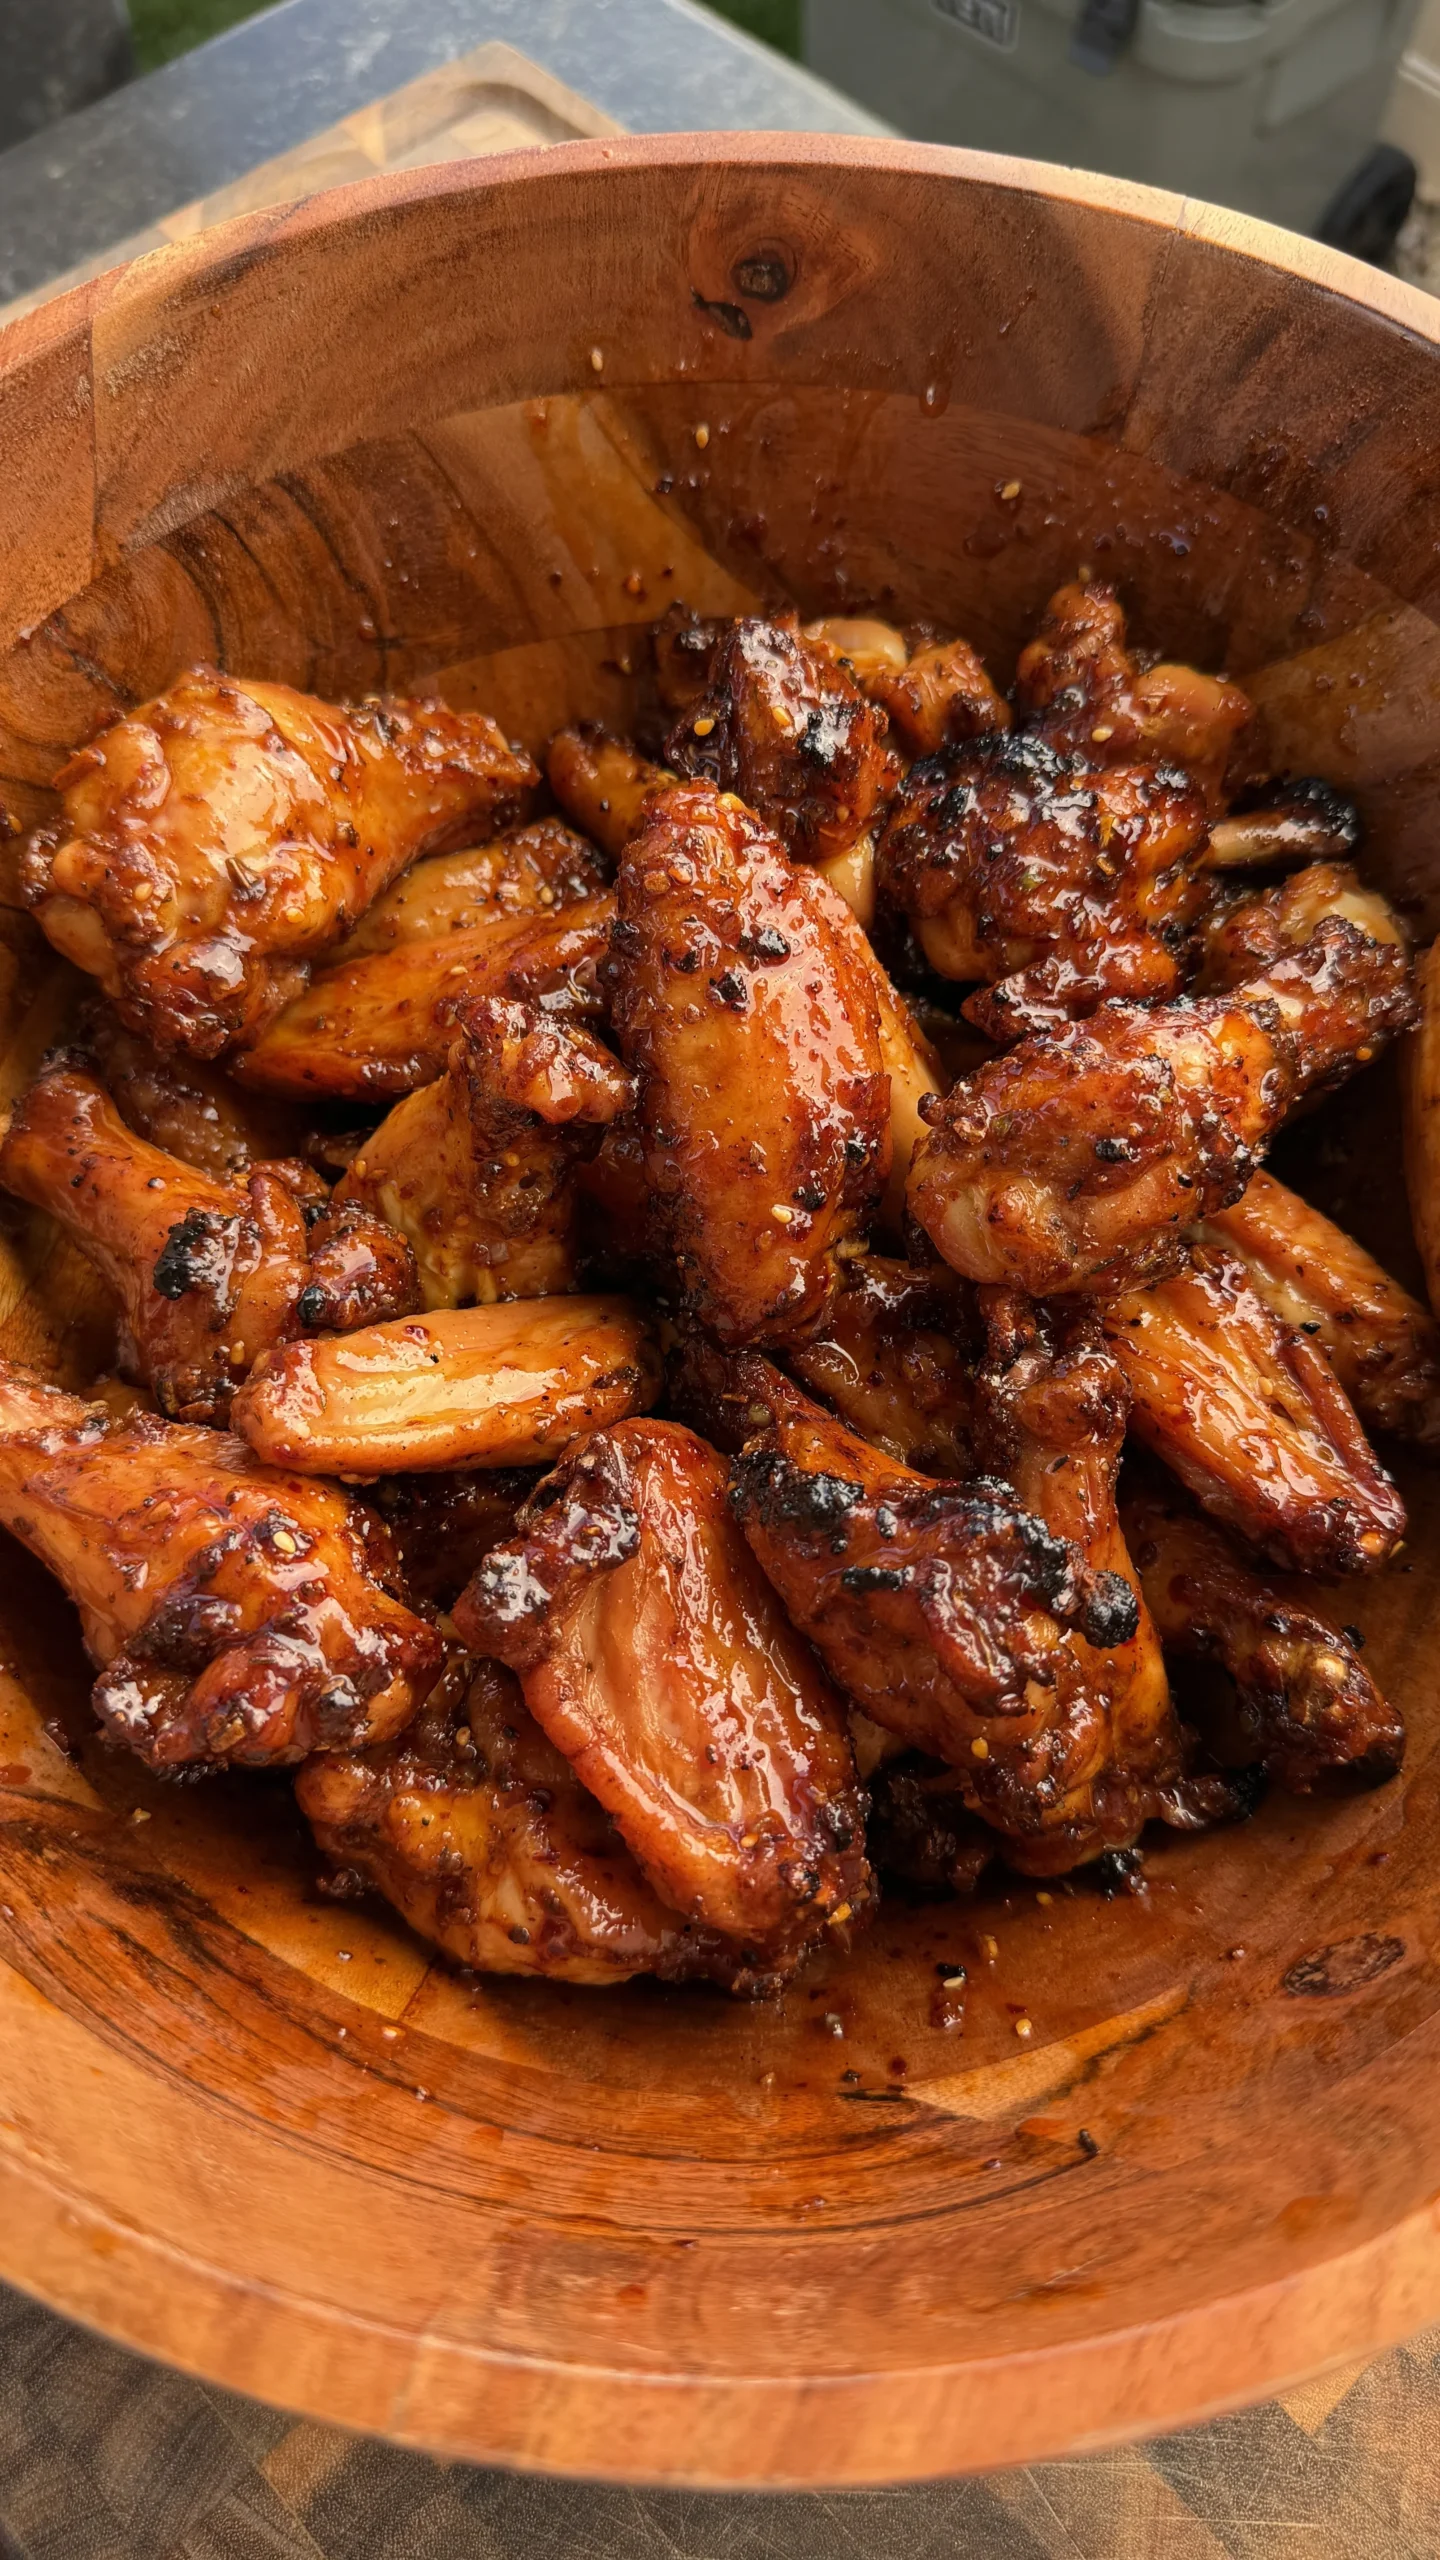
- Melt honey, chili crisp, soy sauce, butter, garlic, and rice vinegar together over low heat until warm and slightly thickened.
- Toss crispy wings in the glaze until fully coated. Place back on smoker for 2-3 minutes to lock the glaze in.
Notes
Cornstarch goes on last: Oil first, then seasoning, then cornstarch. The starch needs to be the outermost layer to interact with the rendering fat.
Light dusting only: Too much cornstarch creates a gummy paste. A thin, even coat is all you need for crispy skin.
Sauce late: Glazing too early softens the crispy skin. The chili crisp honey goes on only after the wings are fully cooked and the skin is set.
Extra crunch: Crack the lid during the last 5 minutes to let moisture escape and dry the skin out even further before glazing.