Pulled Pork Nachos
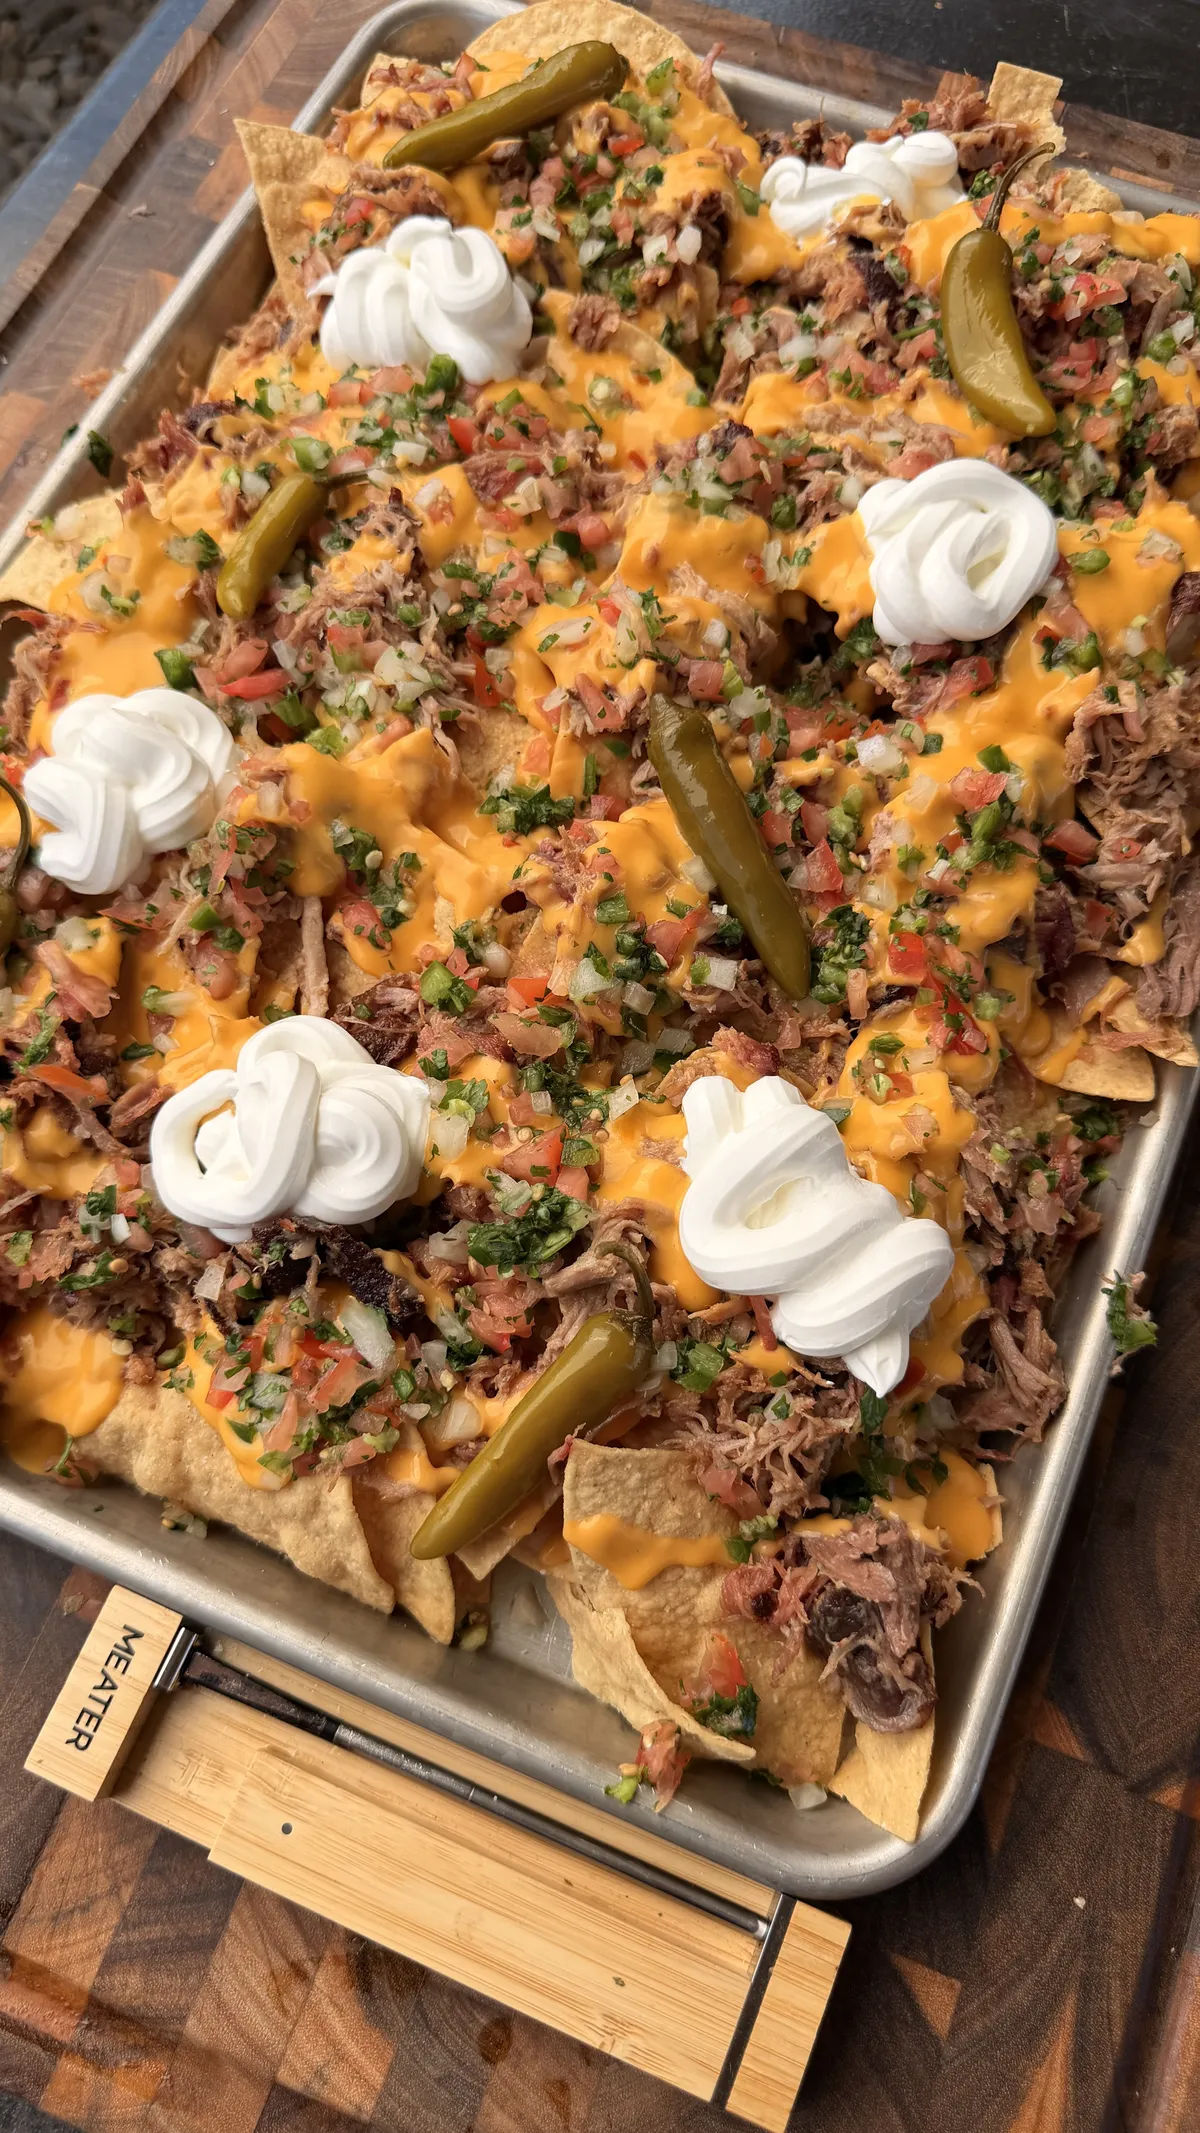
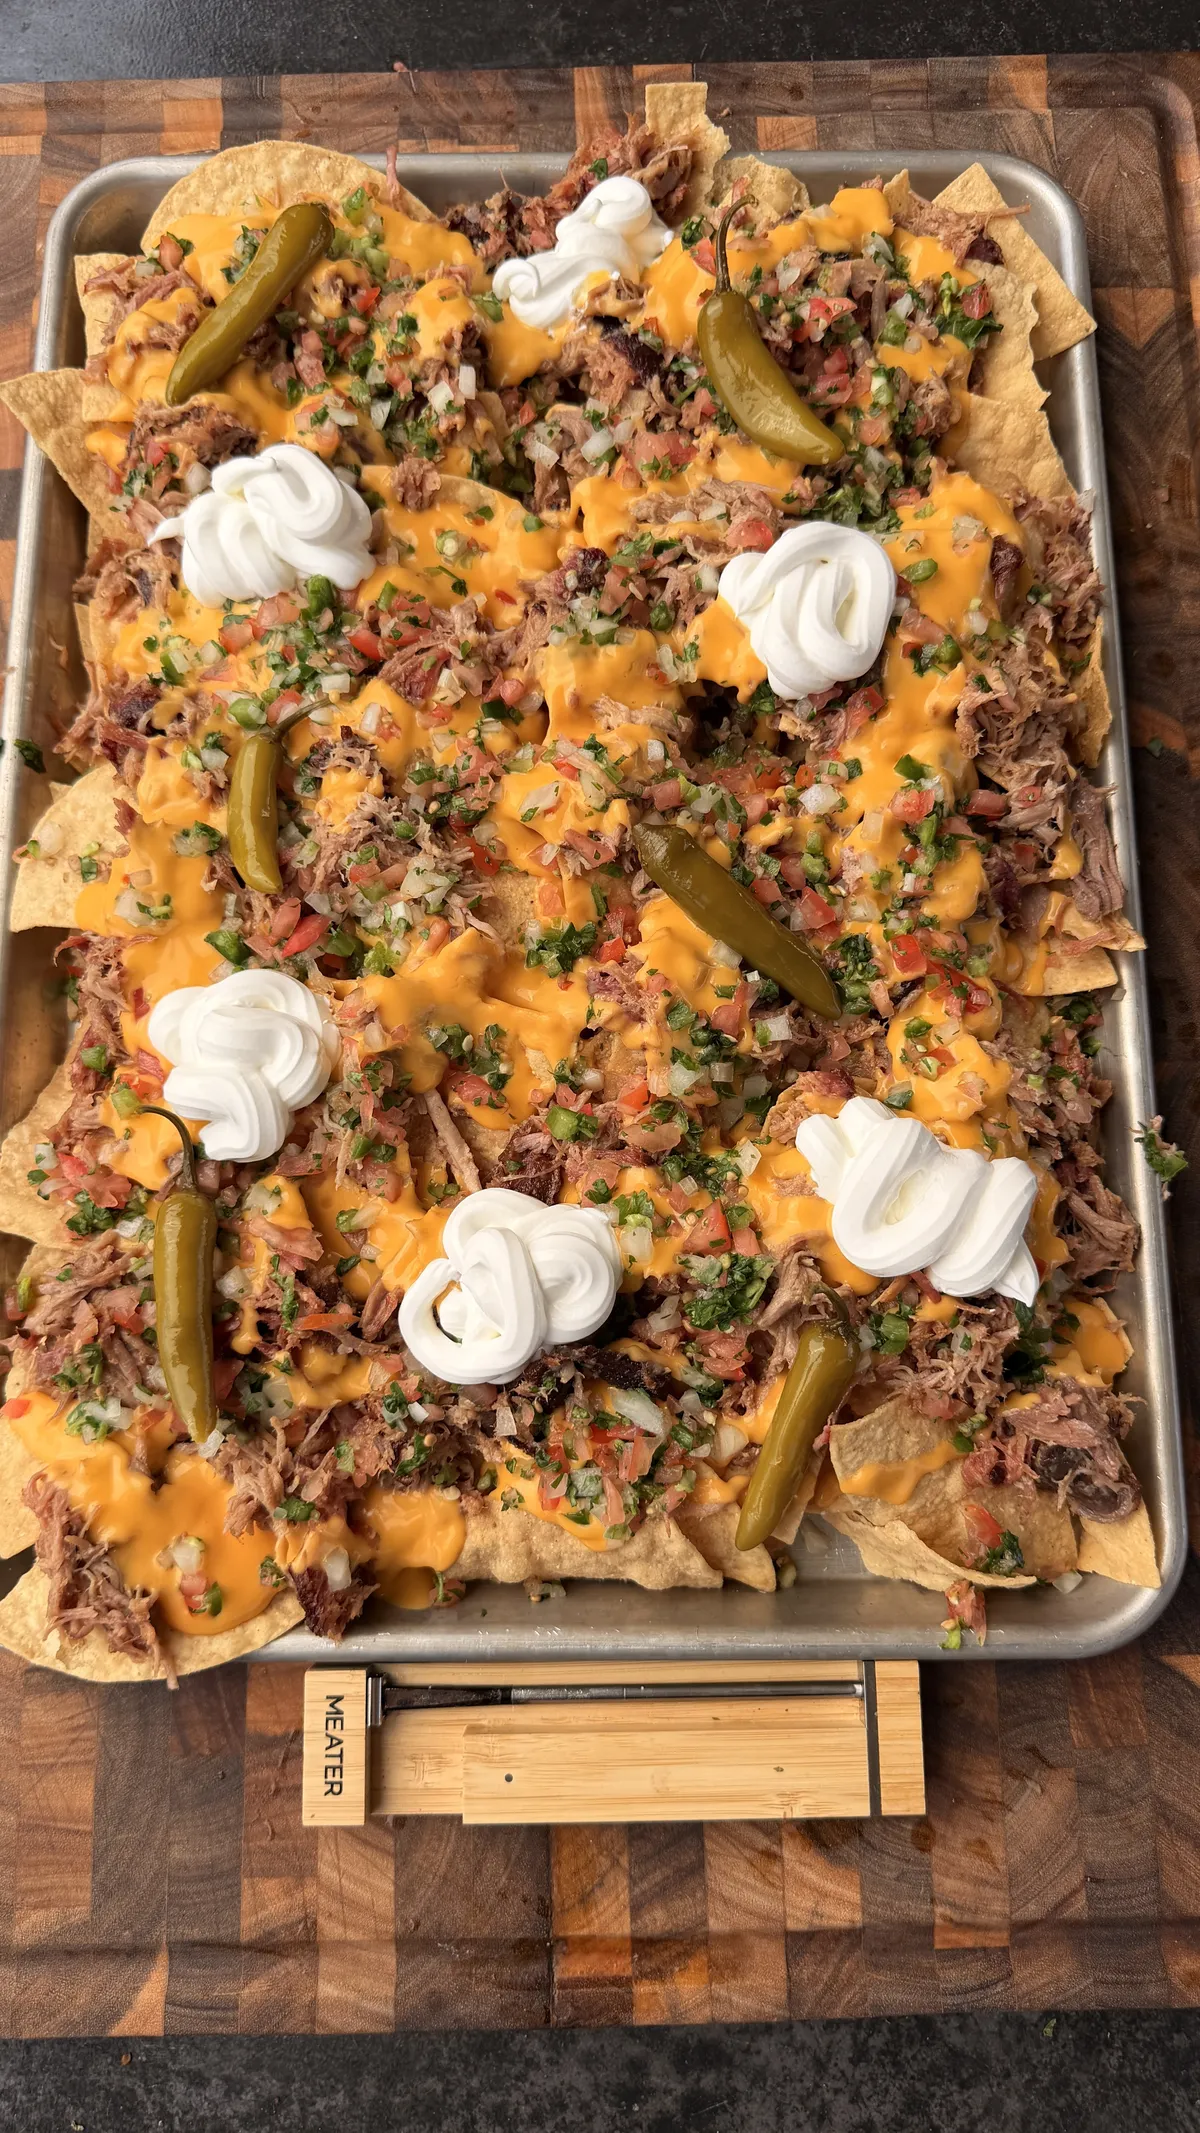
These pulled pork nachos start with fresh pork on the smoker, NOT pulled pork leftovers. I cross hatch the fat cap, season it with a sweet BBQ rub, smoke till the bark sets, wrap and crank the heat to finish. Shred it, pile it high on chips with warm nacho cheese sauce and fresh pico de gallo, and you’ve got a tray that feeds the whole tailgate.
Author’s Notes
It Is Very Rewarding
You know, you can also smoke your pork overnight so you don’t have to baby it. You can also do this in the oven, same temperature.
It is very rewarding. Recipe does take a long time. Besides that, it is very flavorful.
You can feed tons of people with this. You might even have some leftovers.
Miguel
What Goes Into Pulled Pork Nachos
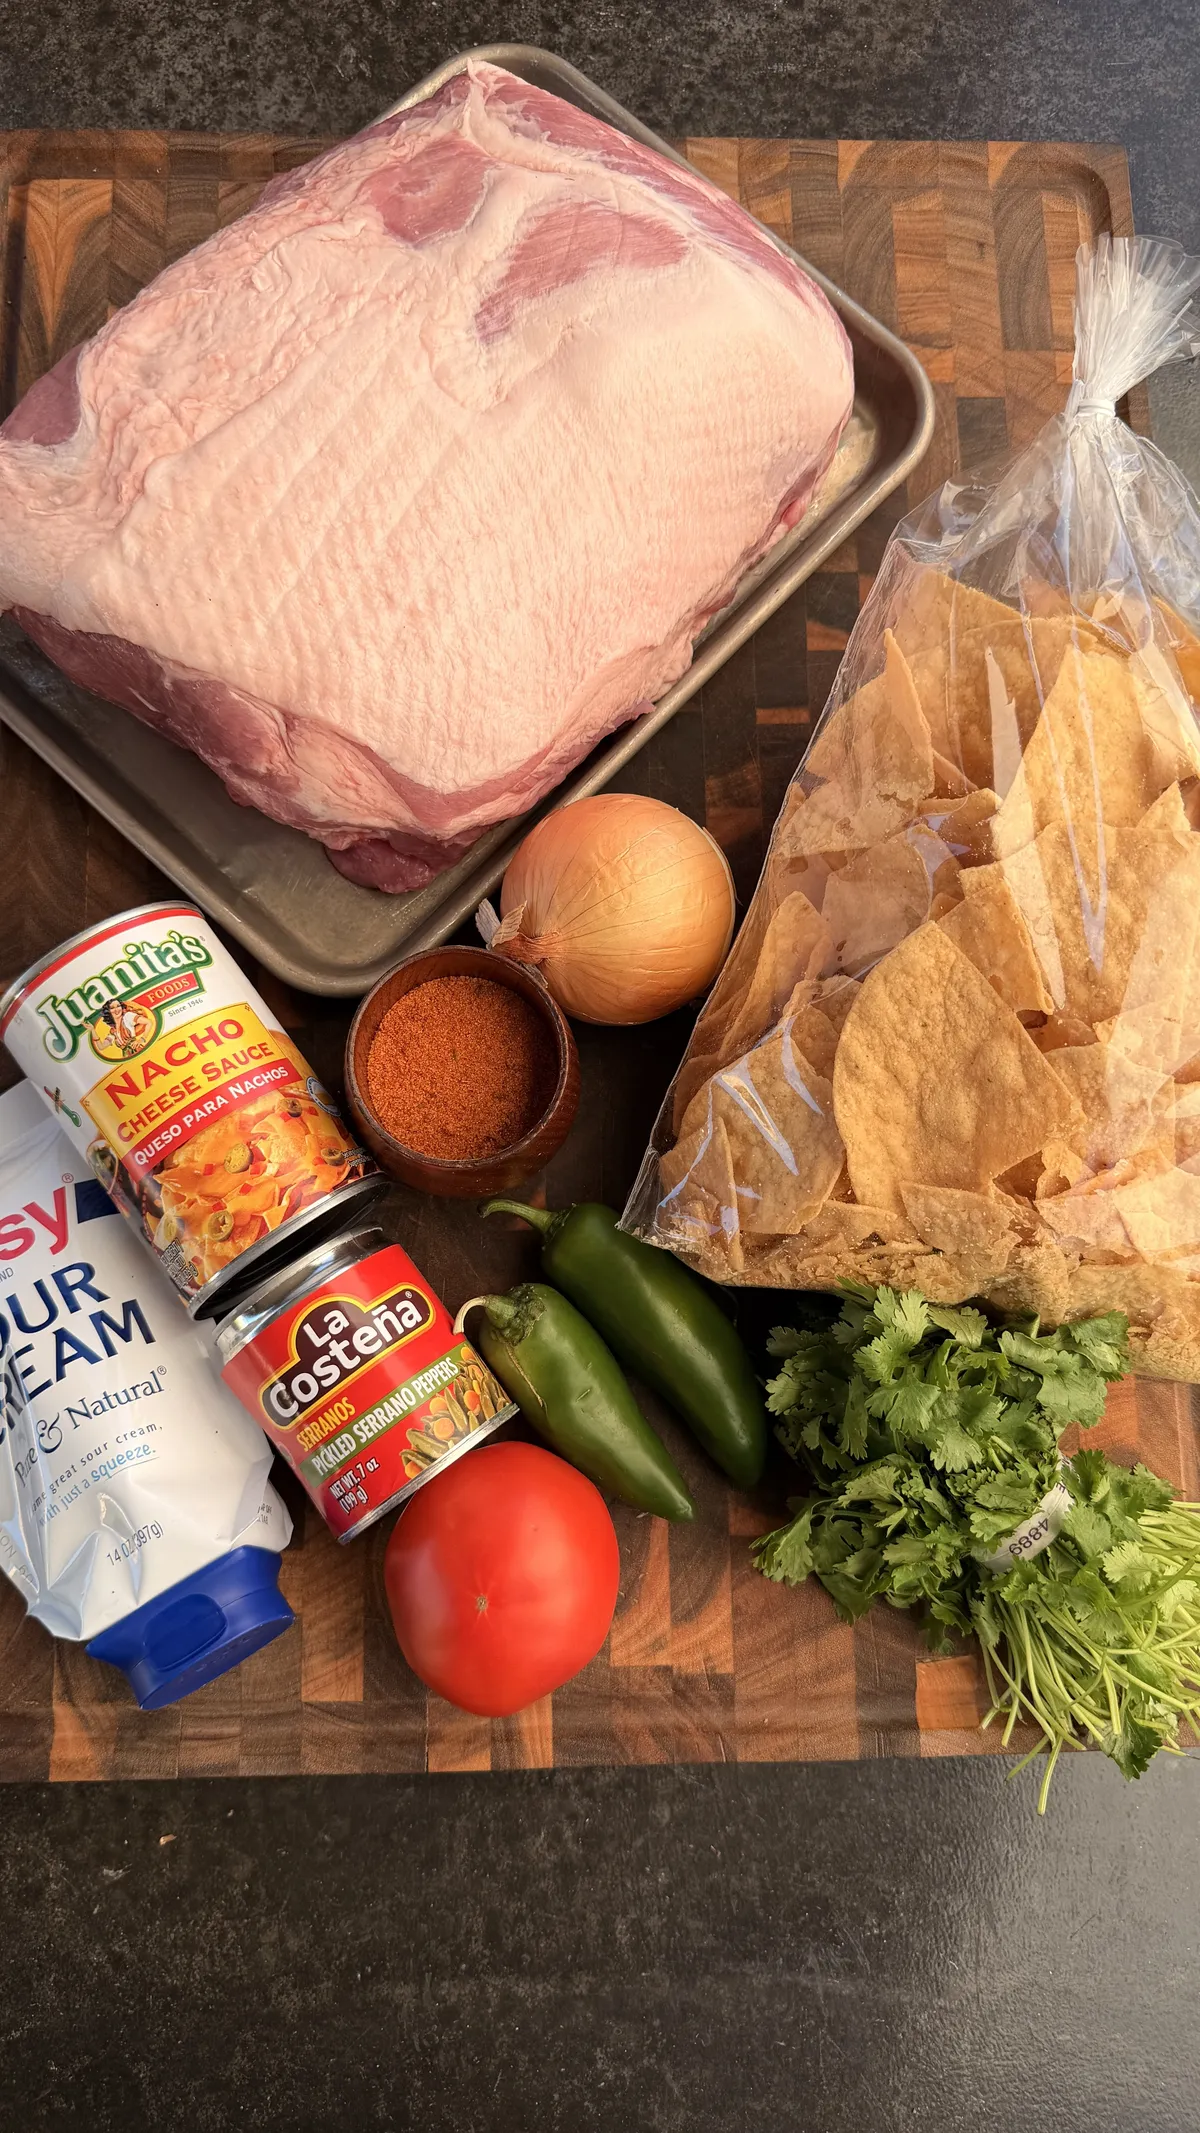
| Ingredient | Notes |
|---|---|
| Bone in pork butt | Also labeled pork shoulder. I prefer bone in for flavor, and the bone pulling out clean is also a good sign you’re finished. |
| Sweet BBQ rub | Use whatever you like best. Sweet works well because it plays off of the pickled jalapeños that go on top. |
| Roma tomatoes | Diced, for pico. Roma because they have less juice than a regular slicing tomato. |
| White onion | 1/4 onion, finely diced. |
| Jalapeños | 2 peppers, finely diced for the pico. |
| Cilantro | Finely chopped. |
| Limes | The juice of two limes for the pico. |
| Salt | To taste for the pico. |
| Tortilla chips | Store bought works great. This is what I used. |
| Nacho cheese sauce | Store bought works here too. Just warm it up before you use it. |
| Sour cream | Dollop it on after the pico. |
| Pickled jalapeños or serranos | The final touch, spooned over the top. They provide a brightness that cuts through everything underneath them. |
Find exact amounts for everything in the recipe card below.
How I Made the Pulled Pork Nachos
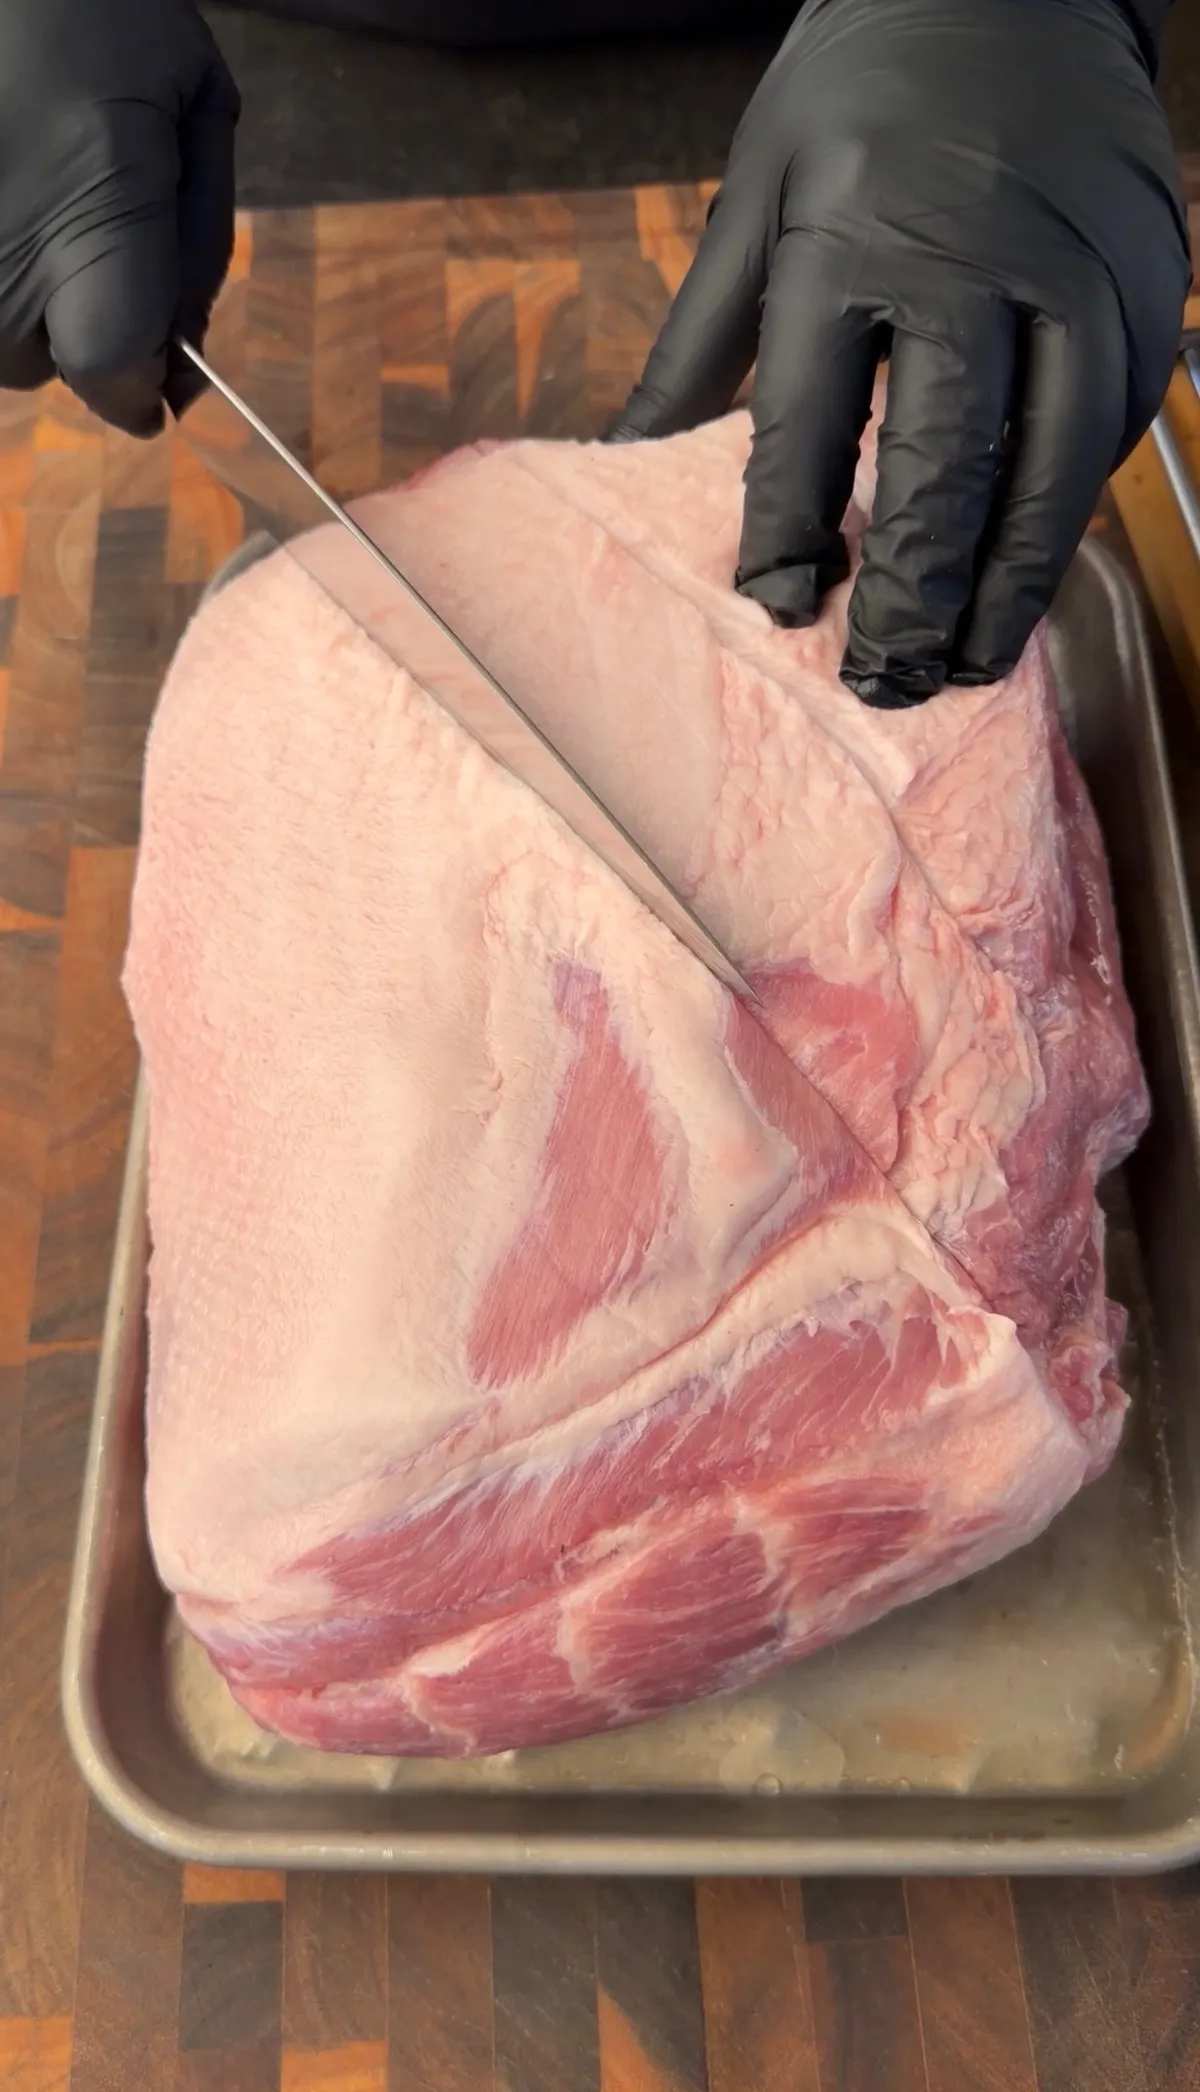
I scored the fat cap with a cross hatch pattern and coated the whole shoulder with sweet BBQ rub.
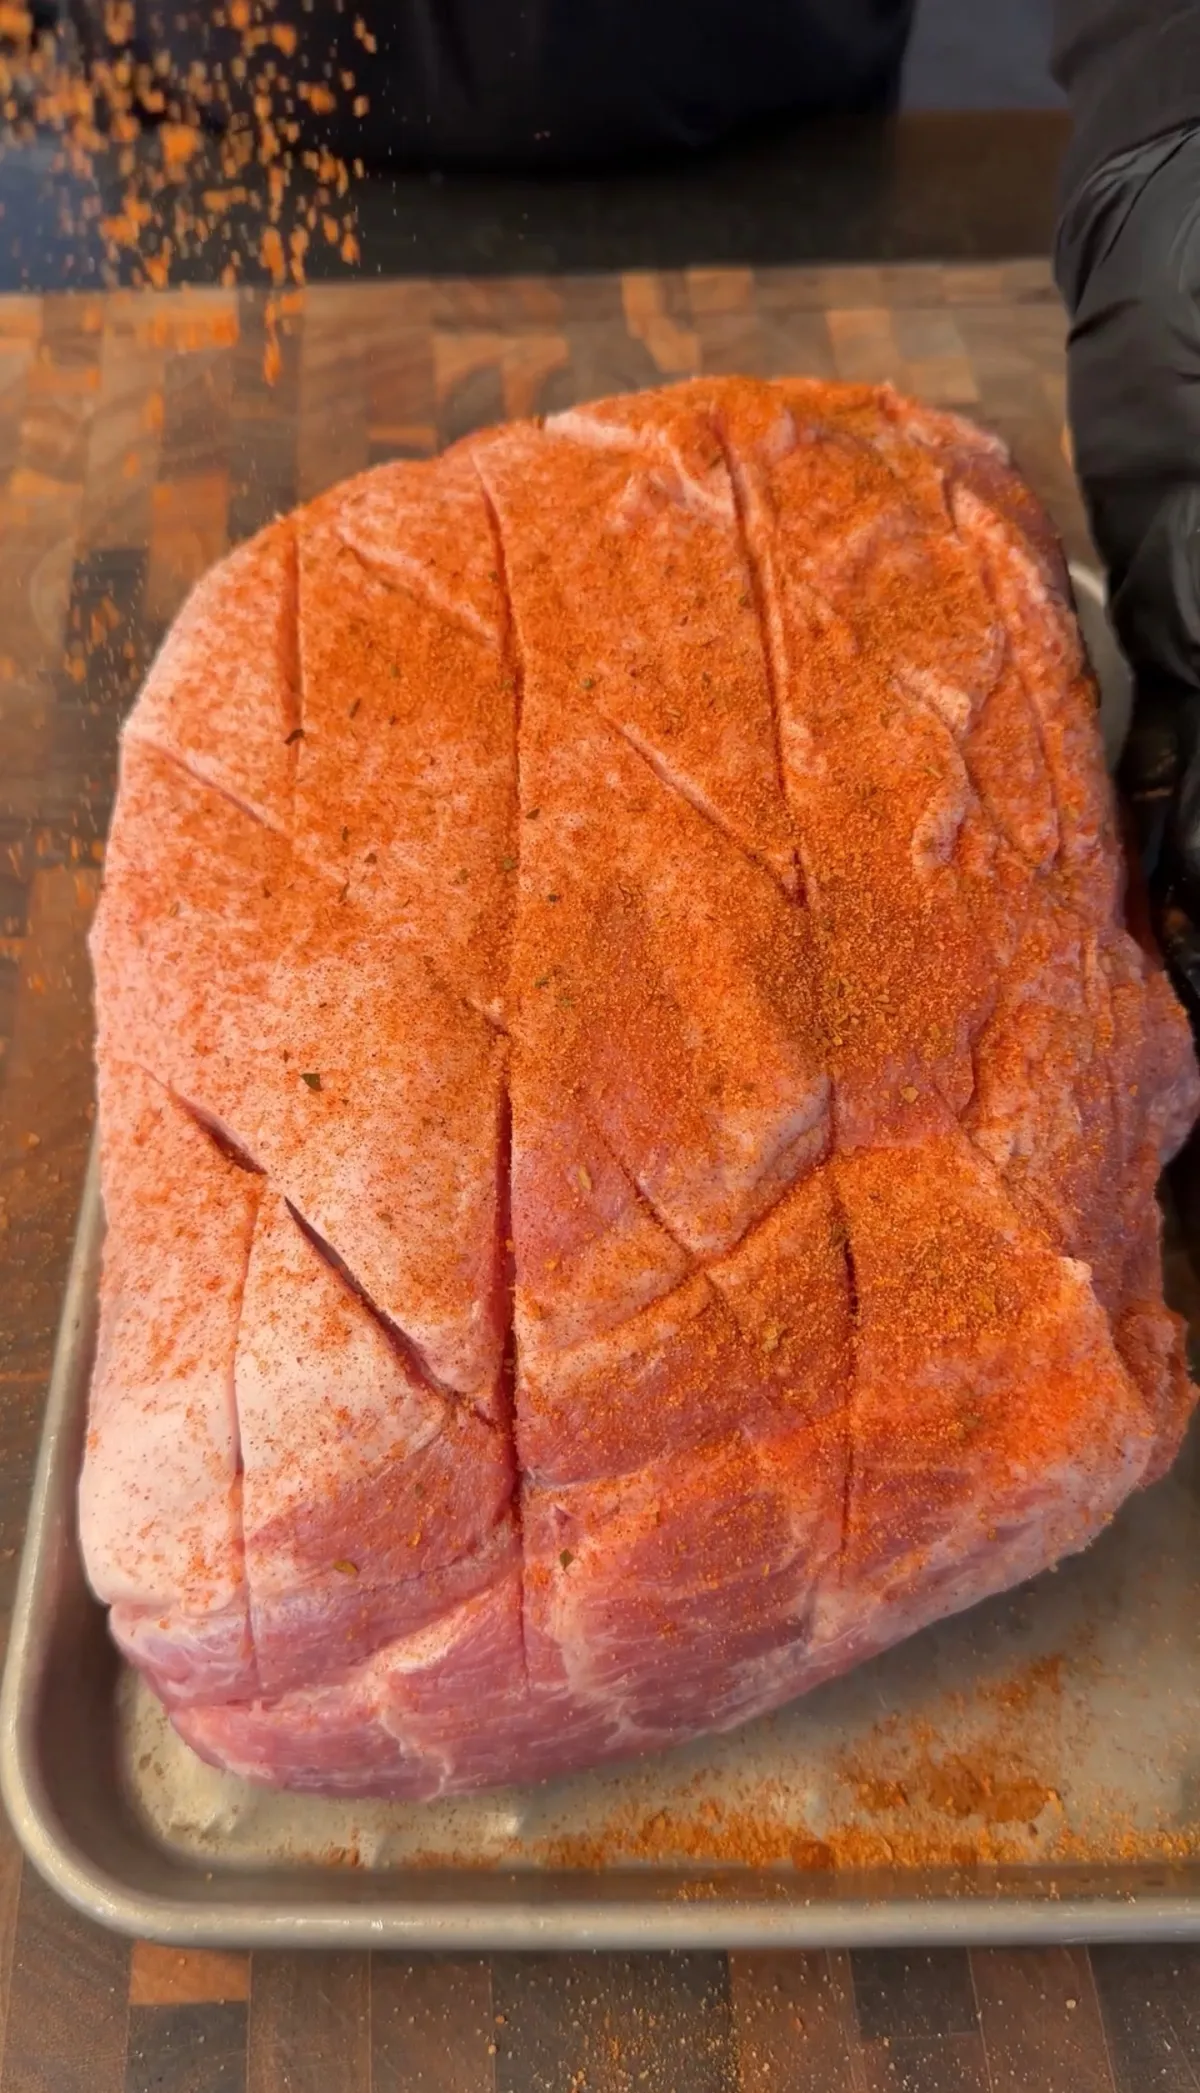
On the smoker it goes until the bark has set and it’s got the color I want it to.
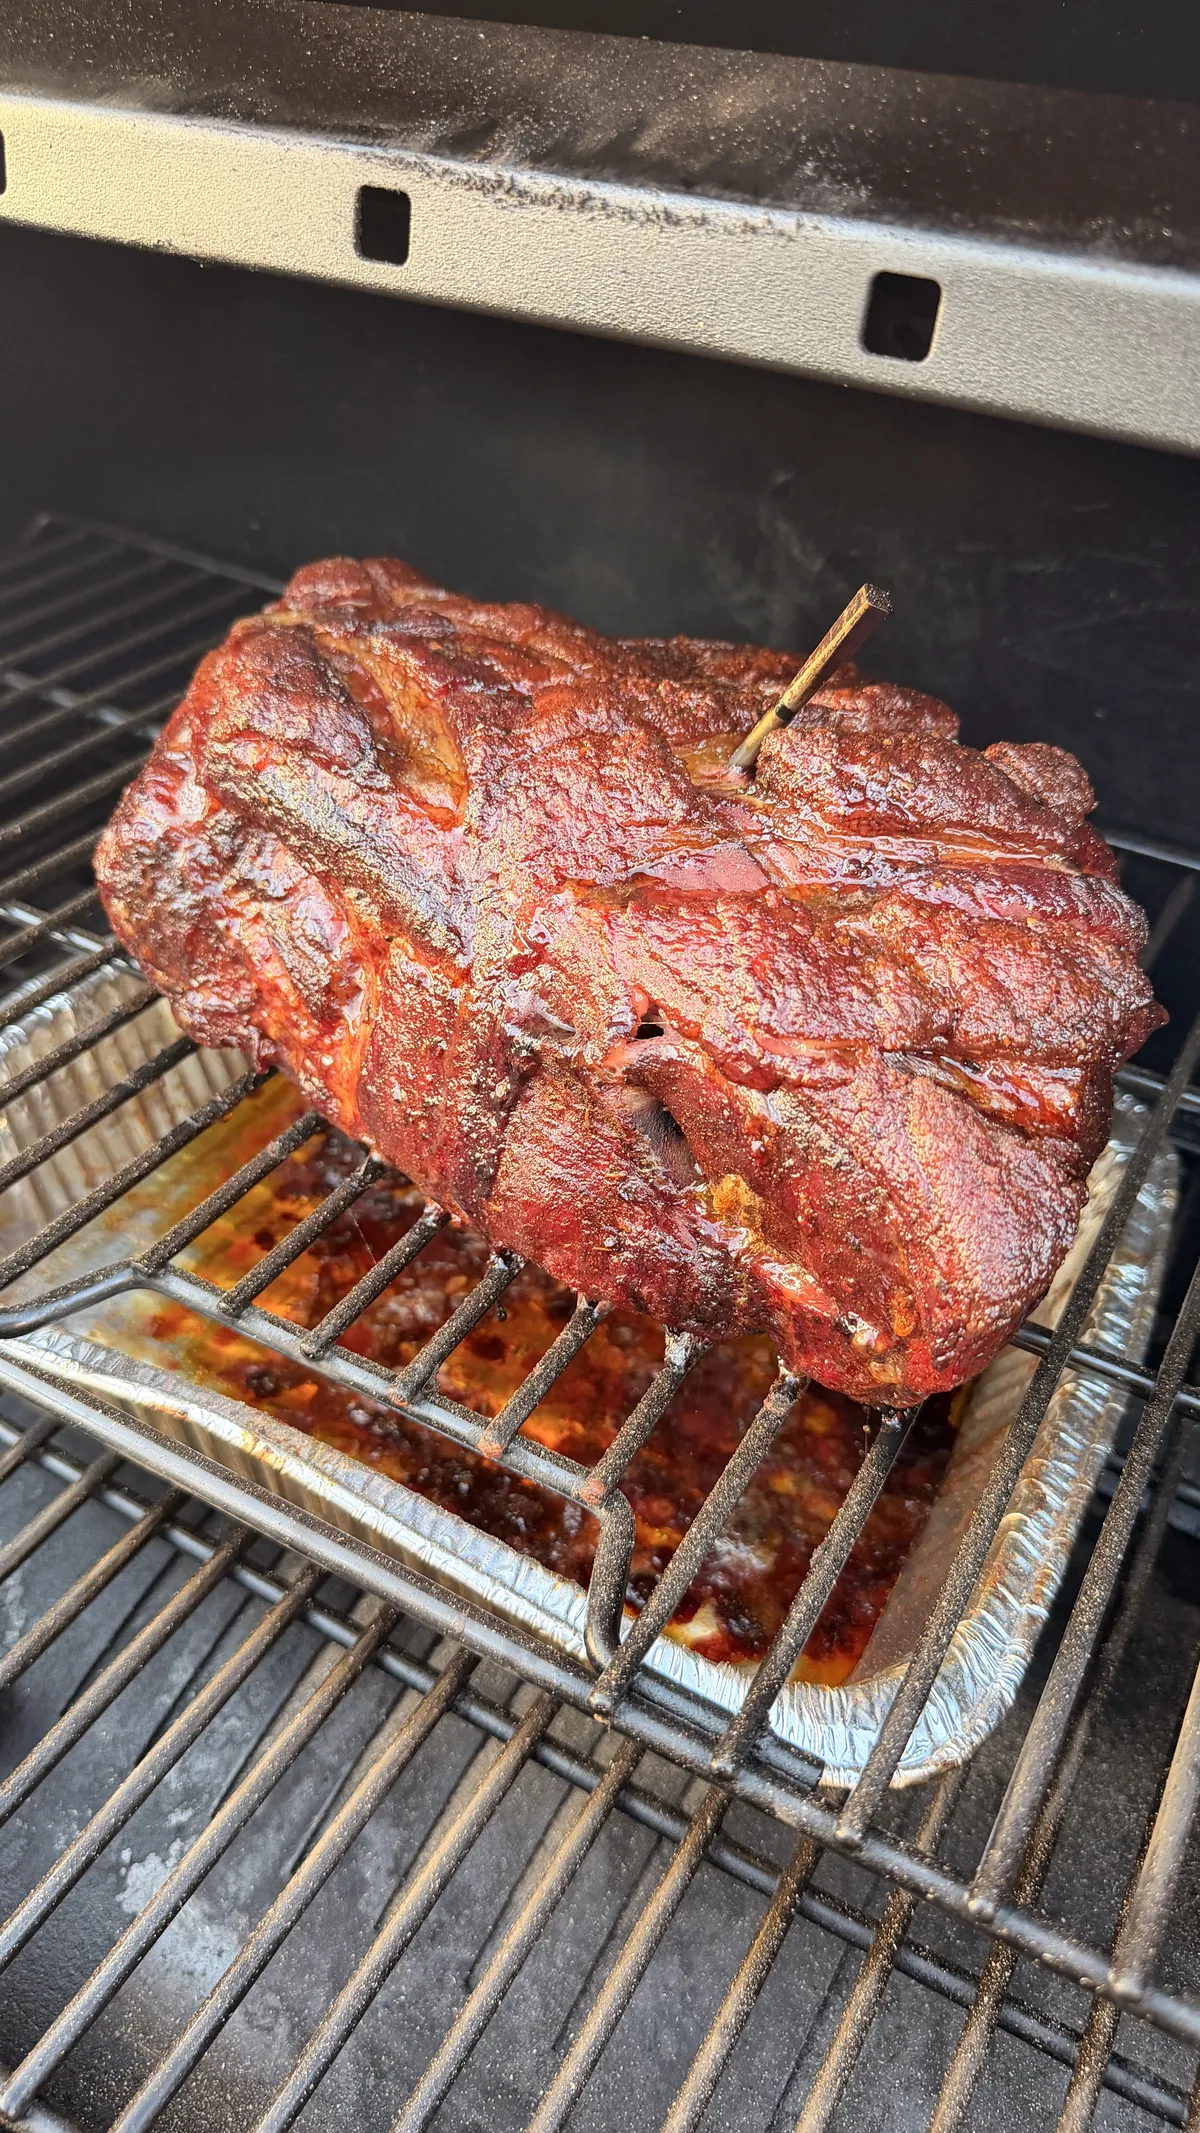
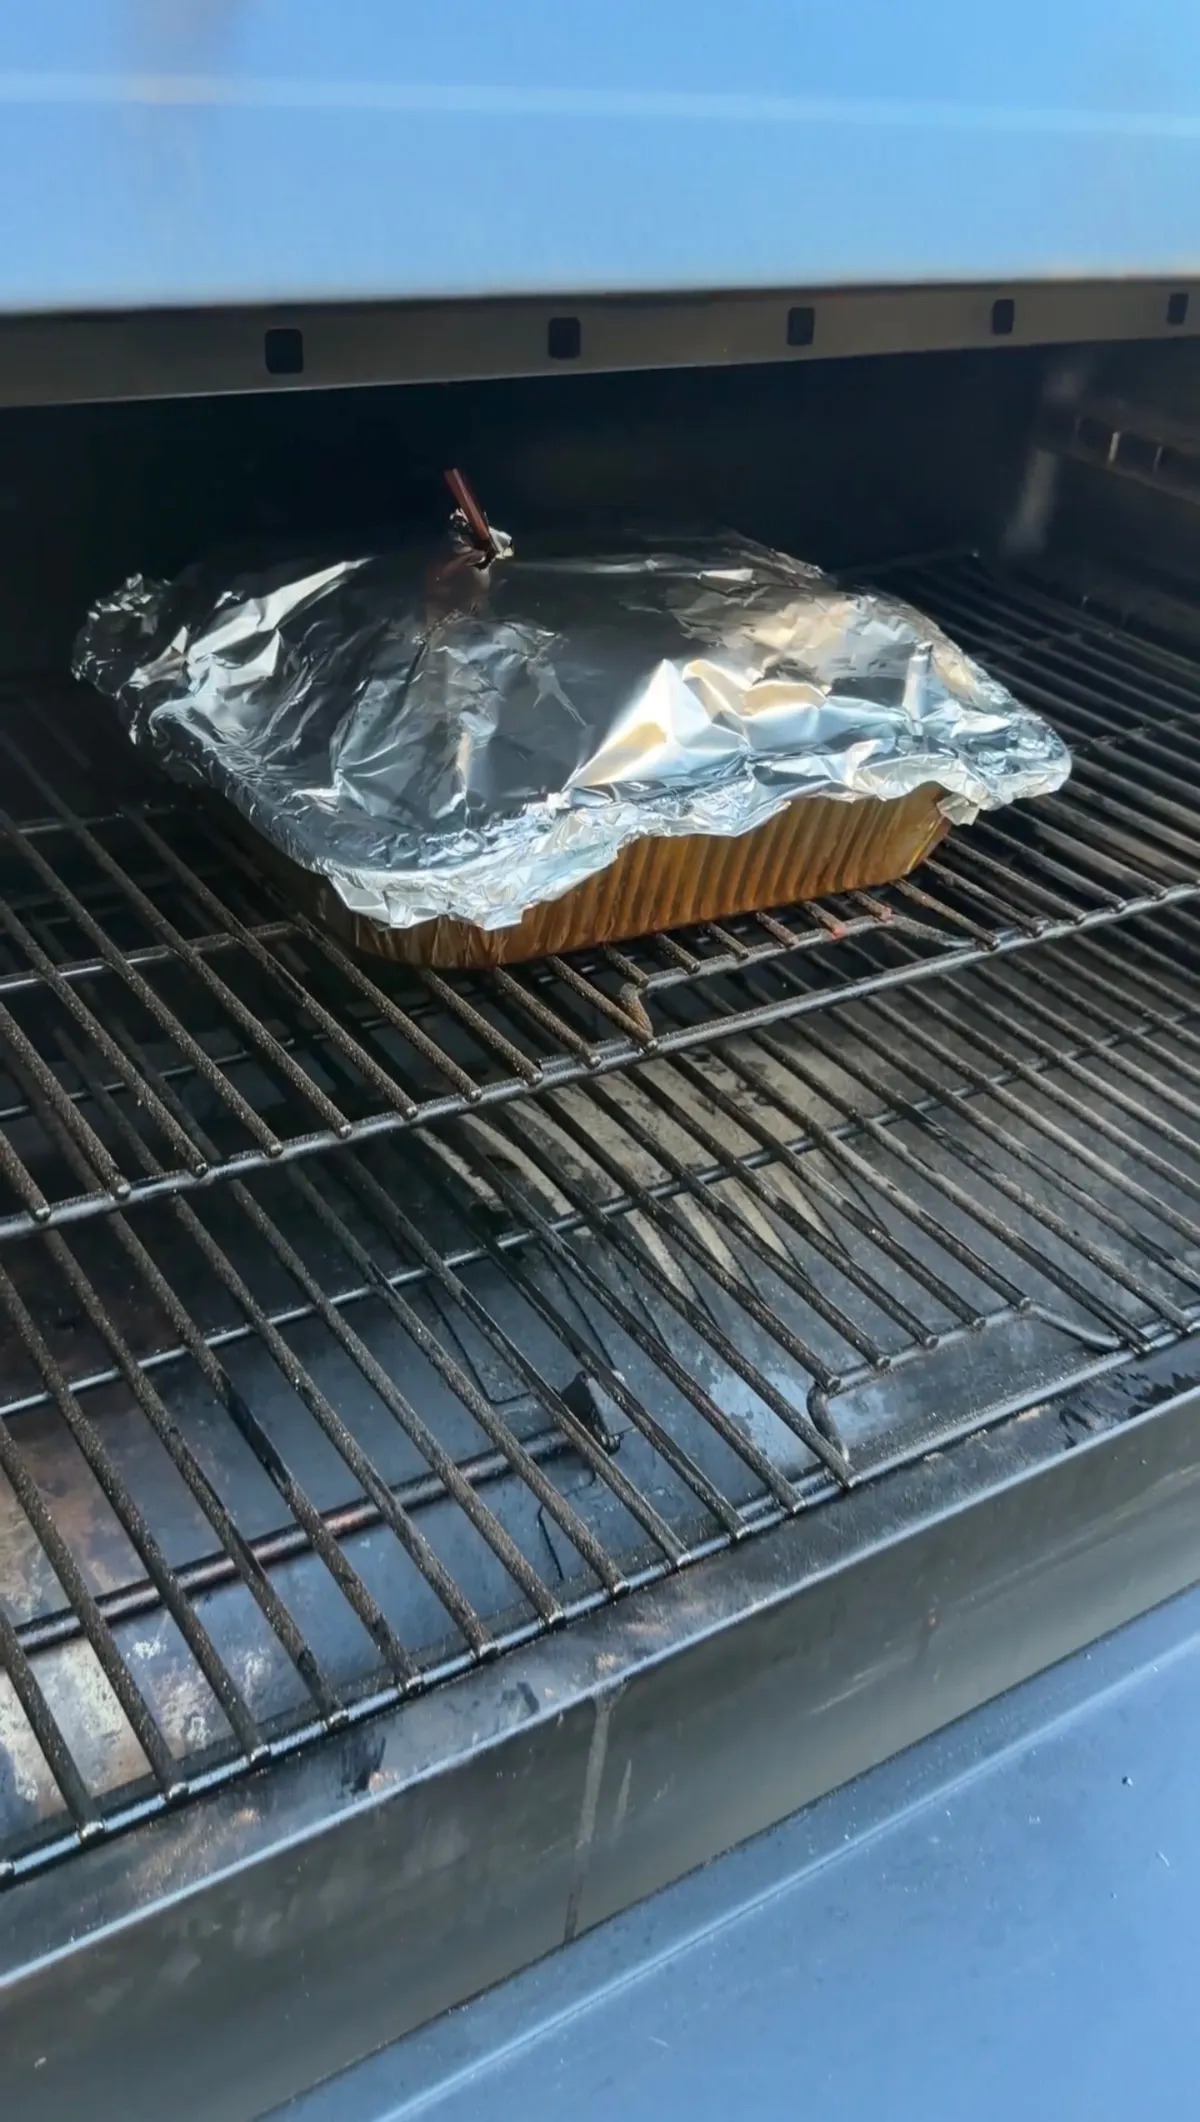
Move it to a foil tray and seal it up with foil.
Now crank up that smoker and let it go until it’s probe tender.
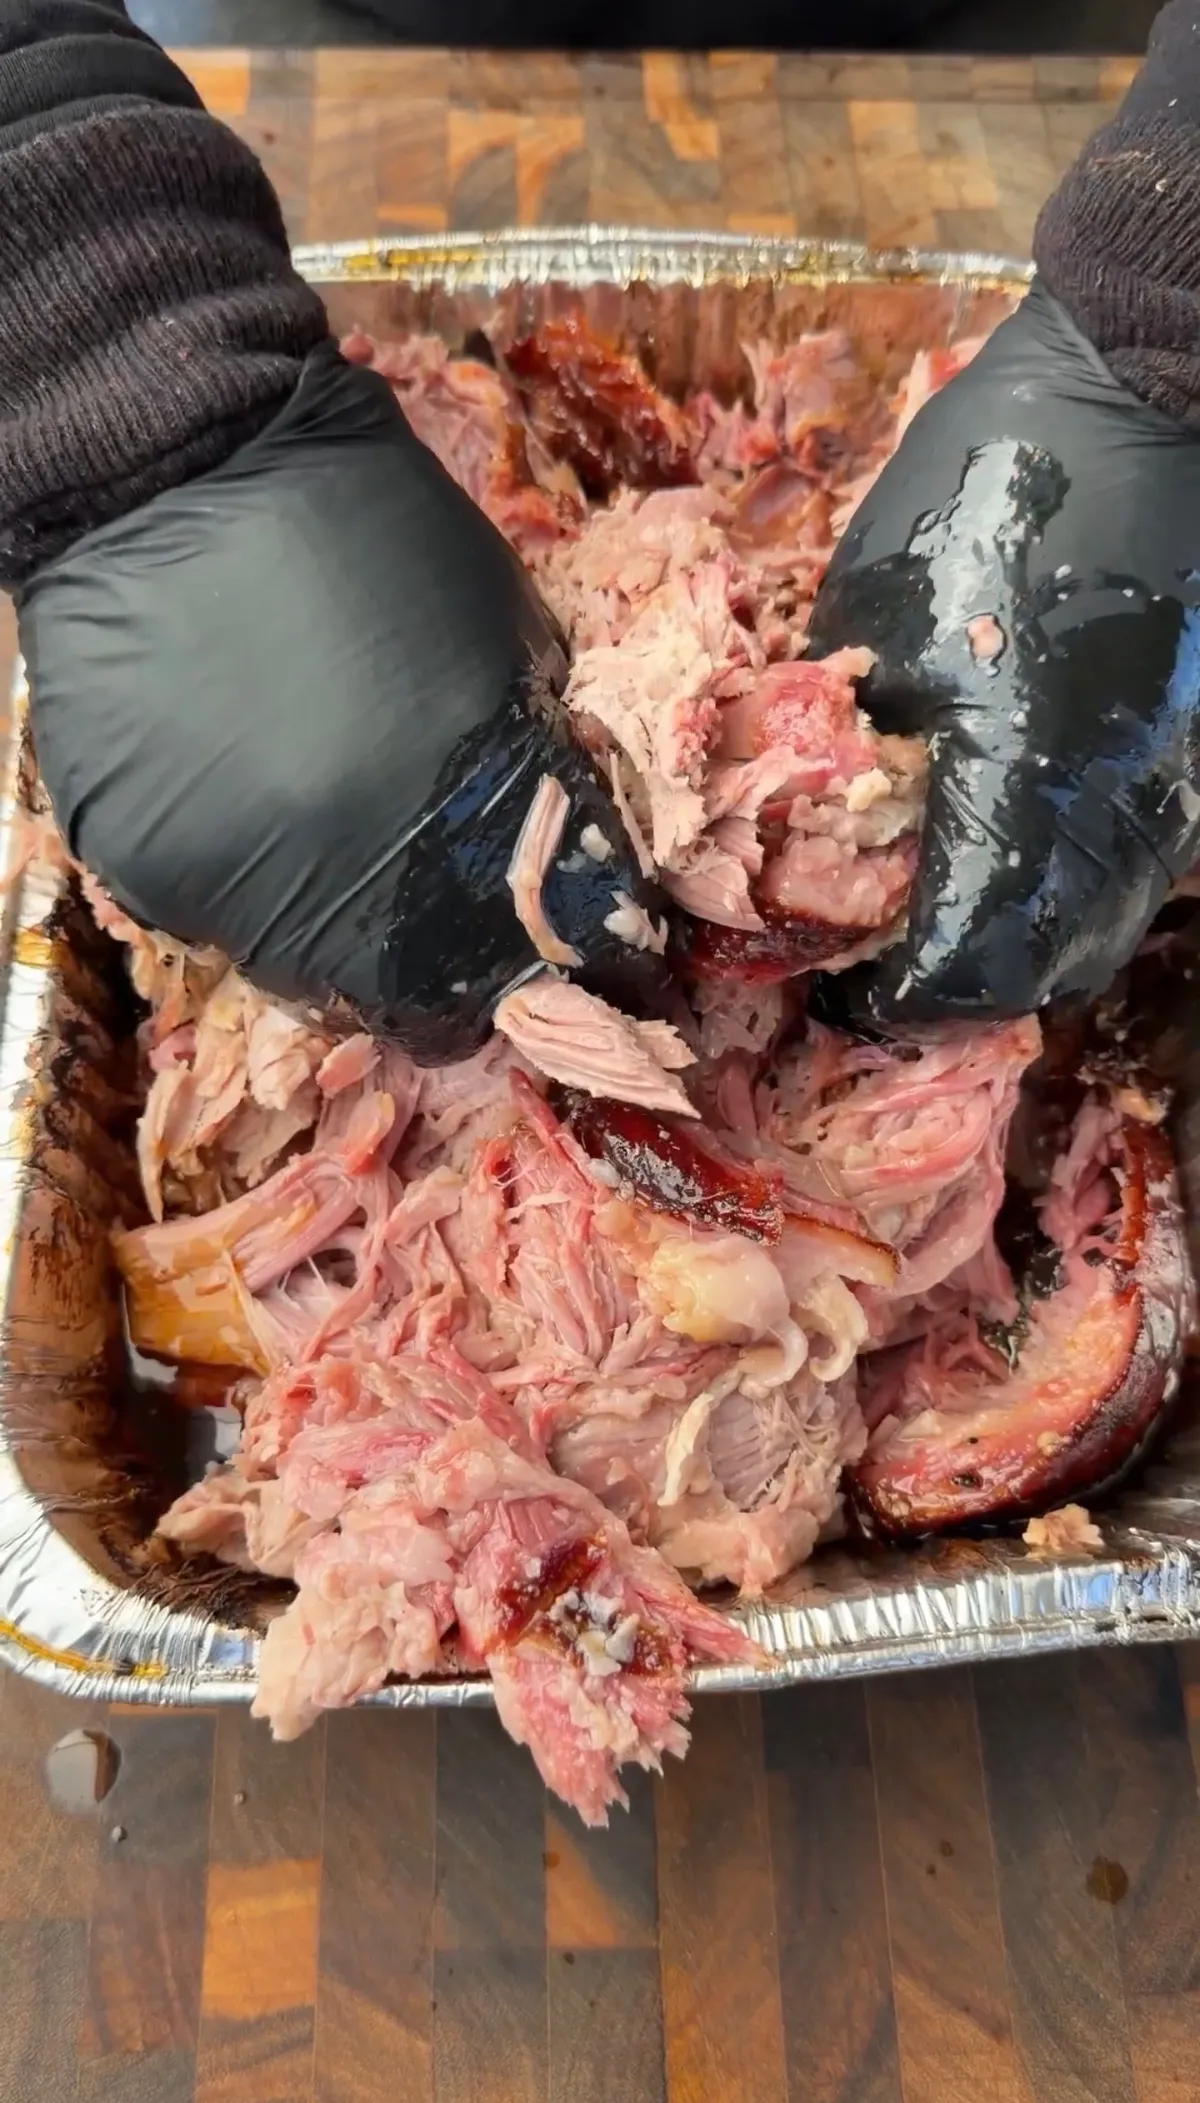
Pull it off, let it rest and then shred it. Pick the bone out as you go along and you can pull out any extra large pieces of fat too.
While the pork was smoking I diced up tomatoes, onion, jalapeños, cilantro, squeezed two limes and added salt to make the pico. Then I tossed it and put it in the fridge to chill.
Grab a baking sheet and spread out a layer of chips. Top it with pork, cheese sauce, then pico.
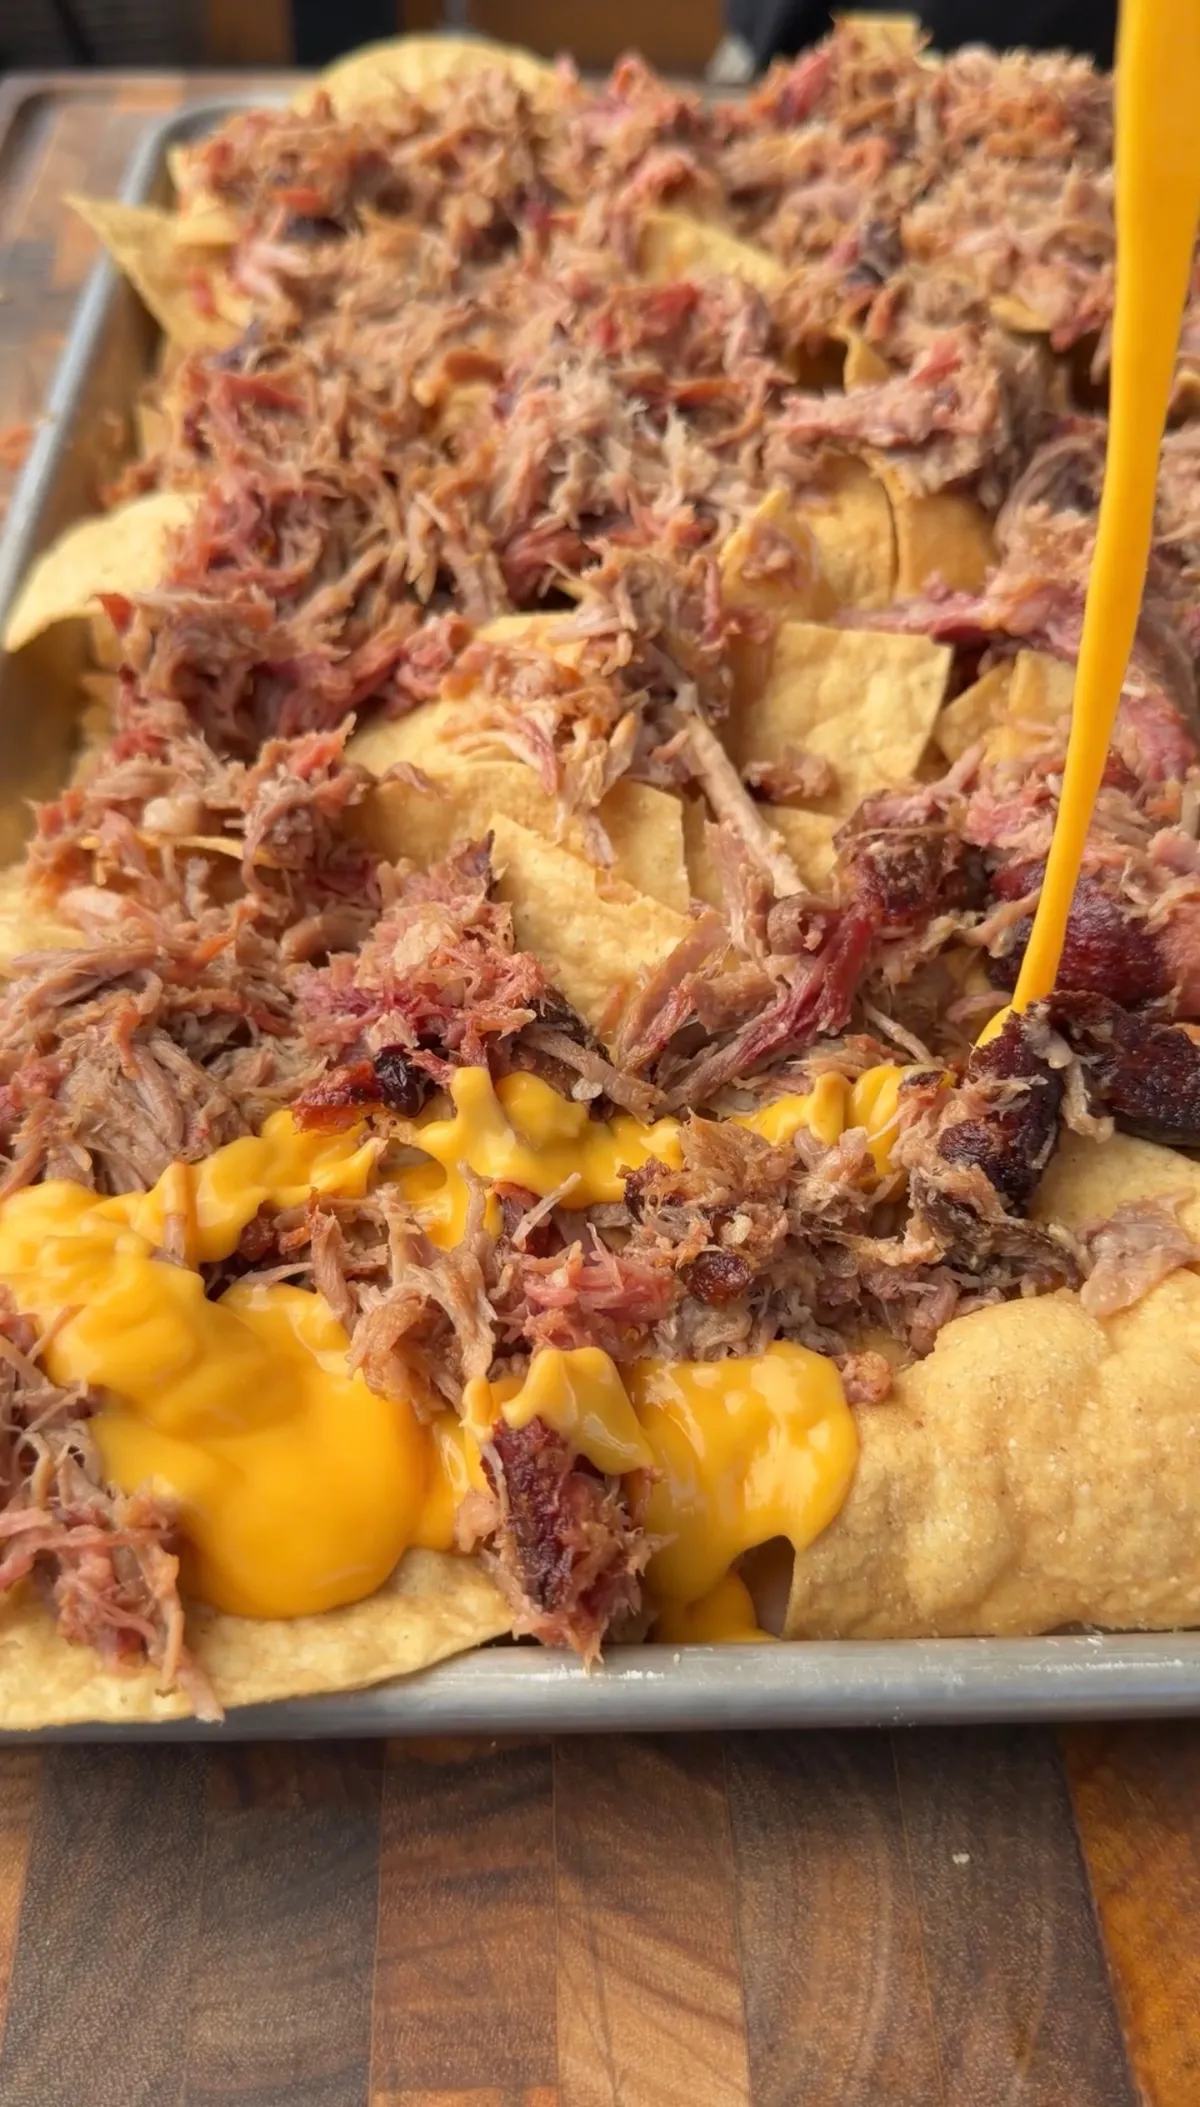
Dollops of sour cream go over that and you’re ready for pickled jalapeños.
Times and temperatures for everything are below in the recipe card.
Why I Wrap It Up and Crank the Heat
Wrapping is common practice in smoking. Letting the meat cook covered in its own juices is the final phase in a lot of recipes. One tip you may not know about is that I wrap mine and crank the smoker.
Everything smoke related is going to happen before you wrap the meat. Once that bark has formed and the color is where you want it, keeping that meat out in the open isn’t going to do anything but dry out. Wrapping the meat seals that phase of the cook off from everything else.
No more outside air can get in, so it can’t dry out. The bark can’t burn either because it’s sitting in its own steam. That’s why cranking the heat works. You’re no longer smoking that meat. You’re braising it in a covered pan, which works faster at higher temps.
It finishes the same either way. The difference is just time.
Smoke It Overnight and Don’t Have To Watch It
This cook takes awhile. There’s just no getting around that. What you can do is sleep through it.
Start it before you go to bed. Let it cook low and slow and when you wake up you’re most of the way there. If the nachos have to be somewhere at a time then I recommend starting it overnight. That takes all the guess work out of when you need to start it.
You still shred it fresh. Pork holds heat for awhile when it’s wrapped and resting so leave room for that.
Cook the Pork in the Oven
Use the same temps you would on the smoker, start to finish.
You lose the smoke and maintain everything else. Well worth trading off when you’re going to cover it with nacho cheese and pico anyway.
Wrap it up, throw it in a foil tray and cook until probe tender just like you would on the smoker.
Build It in This Order, and Not Randomly
Chips, Pork, cheese sauce, pico, sour cream, peppers. Layering nachos is NOT random.
That’s also why I put the cheese sauce on before the pico. Pico is cold and wet. Straight onto a naked chip it’ll make it soggy in seconds.
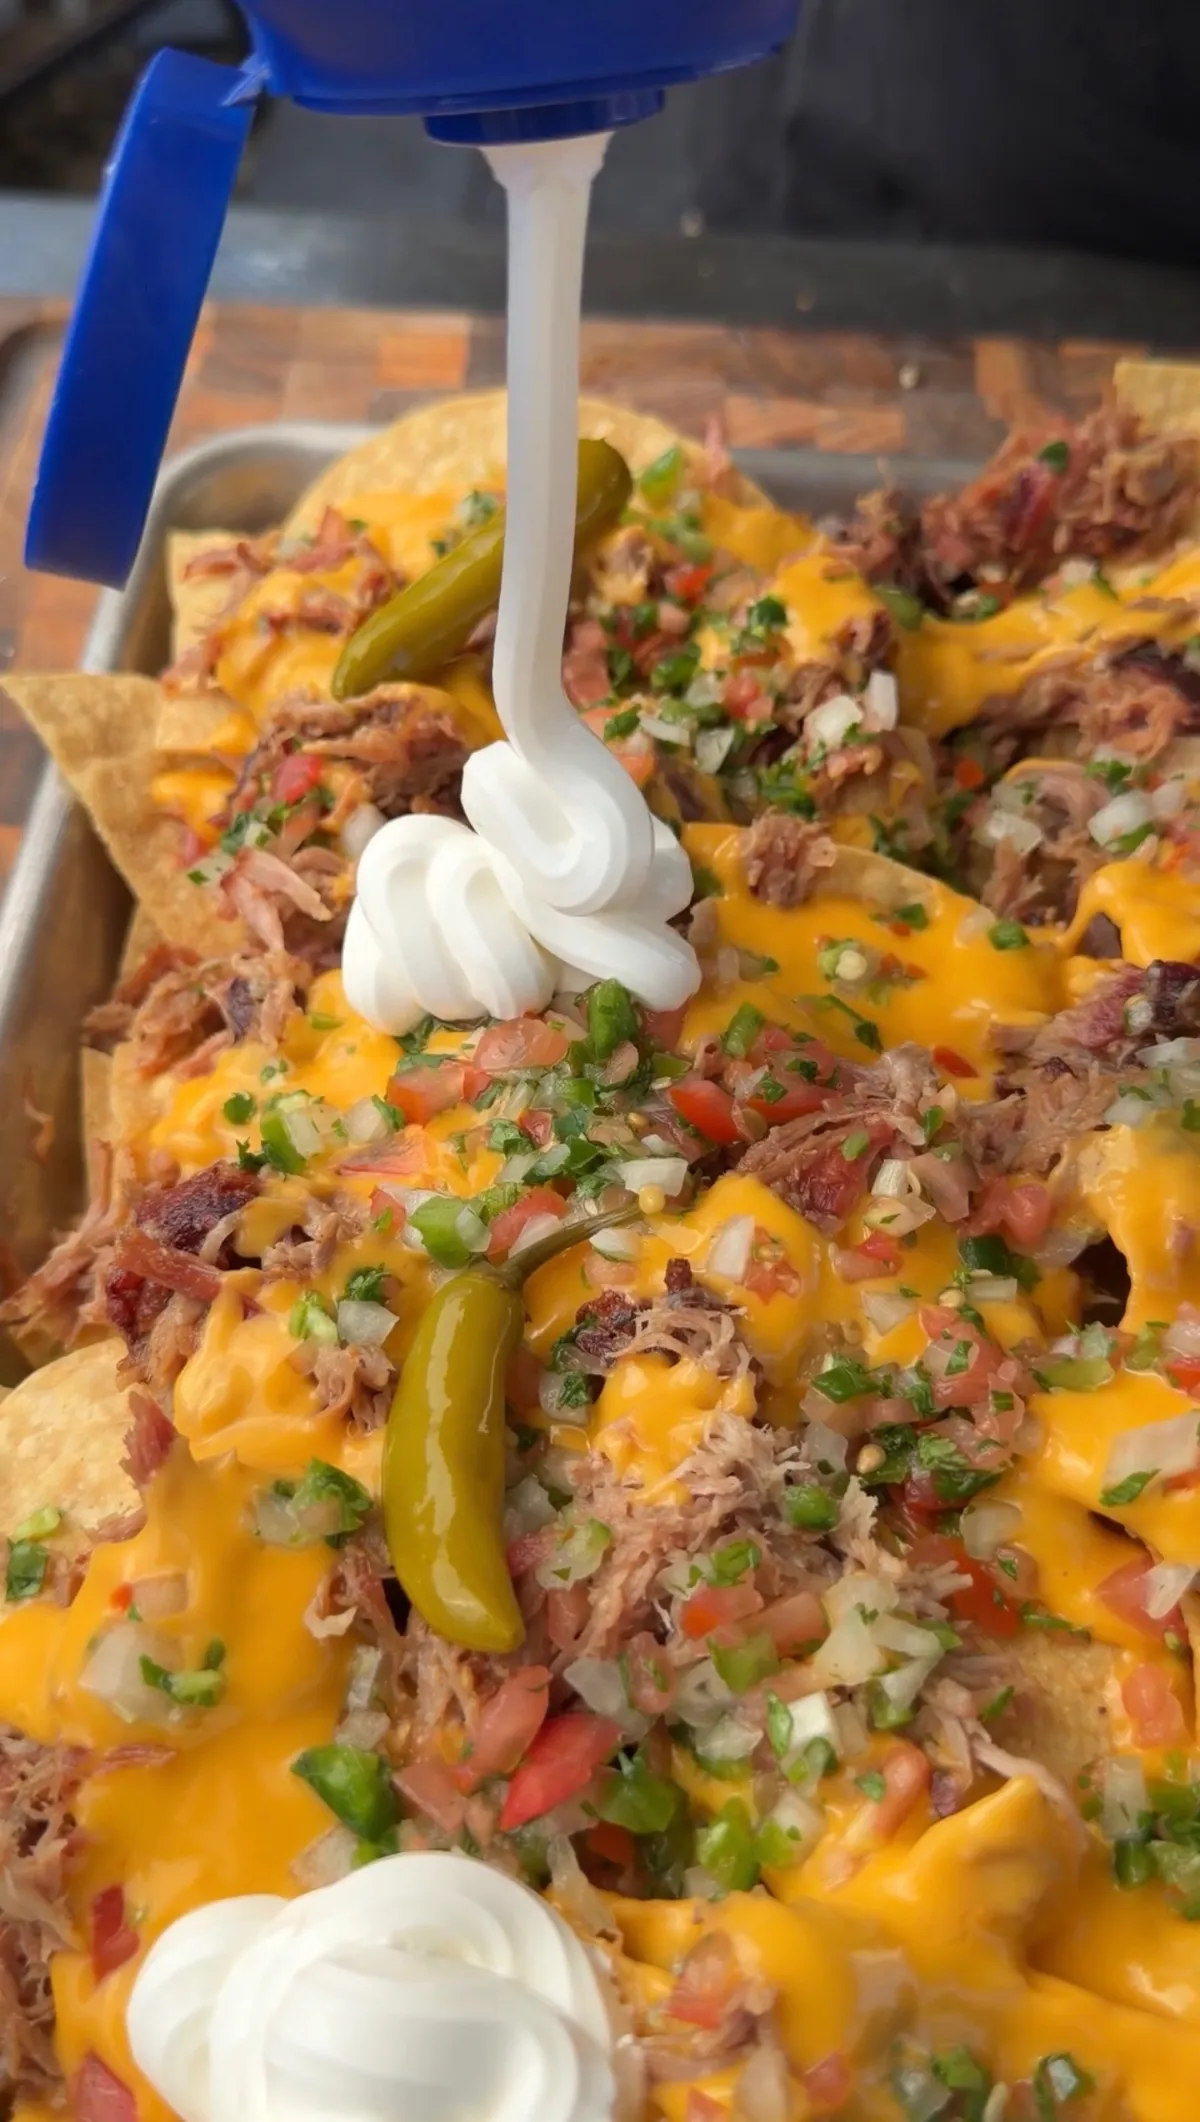
The sour cream and pickled peppers get added last because they’re cold and they’re finishing touches. Toss them under hot pork and they’ll just melt into everything and lose their purpose.
The other way to make your chips soggy is time. Make the tray right when you plan to serve it. Nacho’s are never make ahead, even when everything on it is.
Tips for Pulled Pork Nachos
- Cross Hatch the Fat Cap. Helps the rub penetrate the fat layer and help it render.
- Let it Rest. Do not get excited and skip resting the meat before shredding. This allows the juices to redistribute through the meat instead of dripping out as soon as you touch it.
- Store Bought Works Fine. I used store bought chips and store bought nacho cheese because I’m not pretending they’re from scratch. The pork is doing all the heavy lifting flavor wise here.
- Make Enough for Everyone. This makes a ton, and there will probably be pork left over to make something else with.
Make-Ahead and Storage
The pork can be made ahead of time. Smoke it overnight or a day before, leave it whole and wrapped in the fridge and shred and heat it up when you need it.
Make the pico while the pork is smoking and store it in the fridge until you build the nachos.
Leftovers. Pork will keep in an airtight container and reheats great. Just add a splash of liquid when reheating so it doesn’t dry out.
Don’t bother saving leftover nachos. That’s the thing about nachos, you can’t really save them.
Frequently Asked Questions
Can I use leftover pulled pork instead?
Sure! That’s how most nacho recipes are made. Just warm it up before putting it on the chips so there’s something else hot on the tray besides the cheese sauce.
Do I have to use bone-in pork shoulder?
Nope. Boneless works just fine. Bone in adds flavor and it’s good to know when the pork is done (bone pulls out easily) but they cook exactly the same.
Why did my chips get soggy?
Probably because the pico got dropped on them before the cheese sauce. Or you built the tray too early and no one ate them fast enough. Build nachos right before you serve them.
Related Recipes
- Chili Cheese Fries
- Carne Asada Loaded Baked Potatoes
- Smoked Braised Lamb Birria
- Mexican Style Smoked Burgers
My Gear
Everything I cook with lives here: linktr.ee/cooking_with_fire___
Explore More Recipes
Chicken | Beef | Pork | Seafood
Pulled Pork Nachos, Smoked for a Tailgate
Ingredients
Equipment
Method
- Score the fat cap in a crosshatch pattern. Season the entire pork shoulder generously with your favorite sweet BBQ rub.
- Place the pork in your smoker at 250°F. Smoke until the bark has developed and the color is where you want it.
- Transfer the pork to a foil tray and cover tightly with foil. Increase the smoker temperature to 350°F and continue cooking until the pork is probe tender and reaches about 203°F internal temperature.
- Remove the pork from the smoker and let it rest for at least 30 minutes before shredding. Once rested, shred the pork, removing the bone and any large pieces of excess fat.
- While the pork is cooking, combine the diced tomatoes, onion, jalapeños, cilantro and lime juice. Season with salt to taste, mix everything together and refrigerate until you are ready to build the nachos.
- Spread a generous layer of tortilla chips onto a baking sheet. Load them up with plenty of pulled pork, followed by warm nacho cheese sauce, then the fresh pico de gallo. The cheese sauce goes on before the pico so the chips do not go soggy.
- Add dollops of sour cream throughout the nachos and finish with pickled jalapeños or sliced serranos.
- Serve right away. Assembled nachos do not hold.