Grilled chicken drumsticks with a smoky char and sticky barbecue glaze start with 2 lbs of drumsticks tossed in olive oil and your favorite chicken seasoning, then grilled hot and fast over direct heat, flipping every 4 to 5 minutes until evenly charred. Barbecue sauce gets basted on in layers, flipping and letting each coat caramelize for about 30 seconds before the next, building a glossy, sticky glaze. The drumsticks then move to indirect heat to finish cooking to an internal temperature of 185°F, where the dark meat fat renders completely and the texture turns fall-apart tender. Total grill time runs about 25 to 30 minutes. Serve with potato salad, grilled corn, baked beans, or mac and cheese.
Jump to Recipe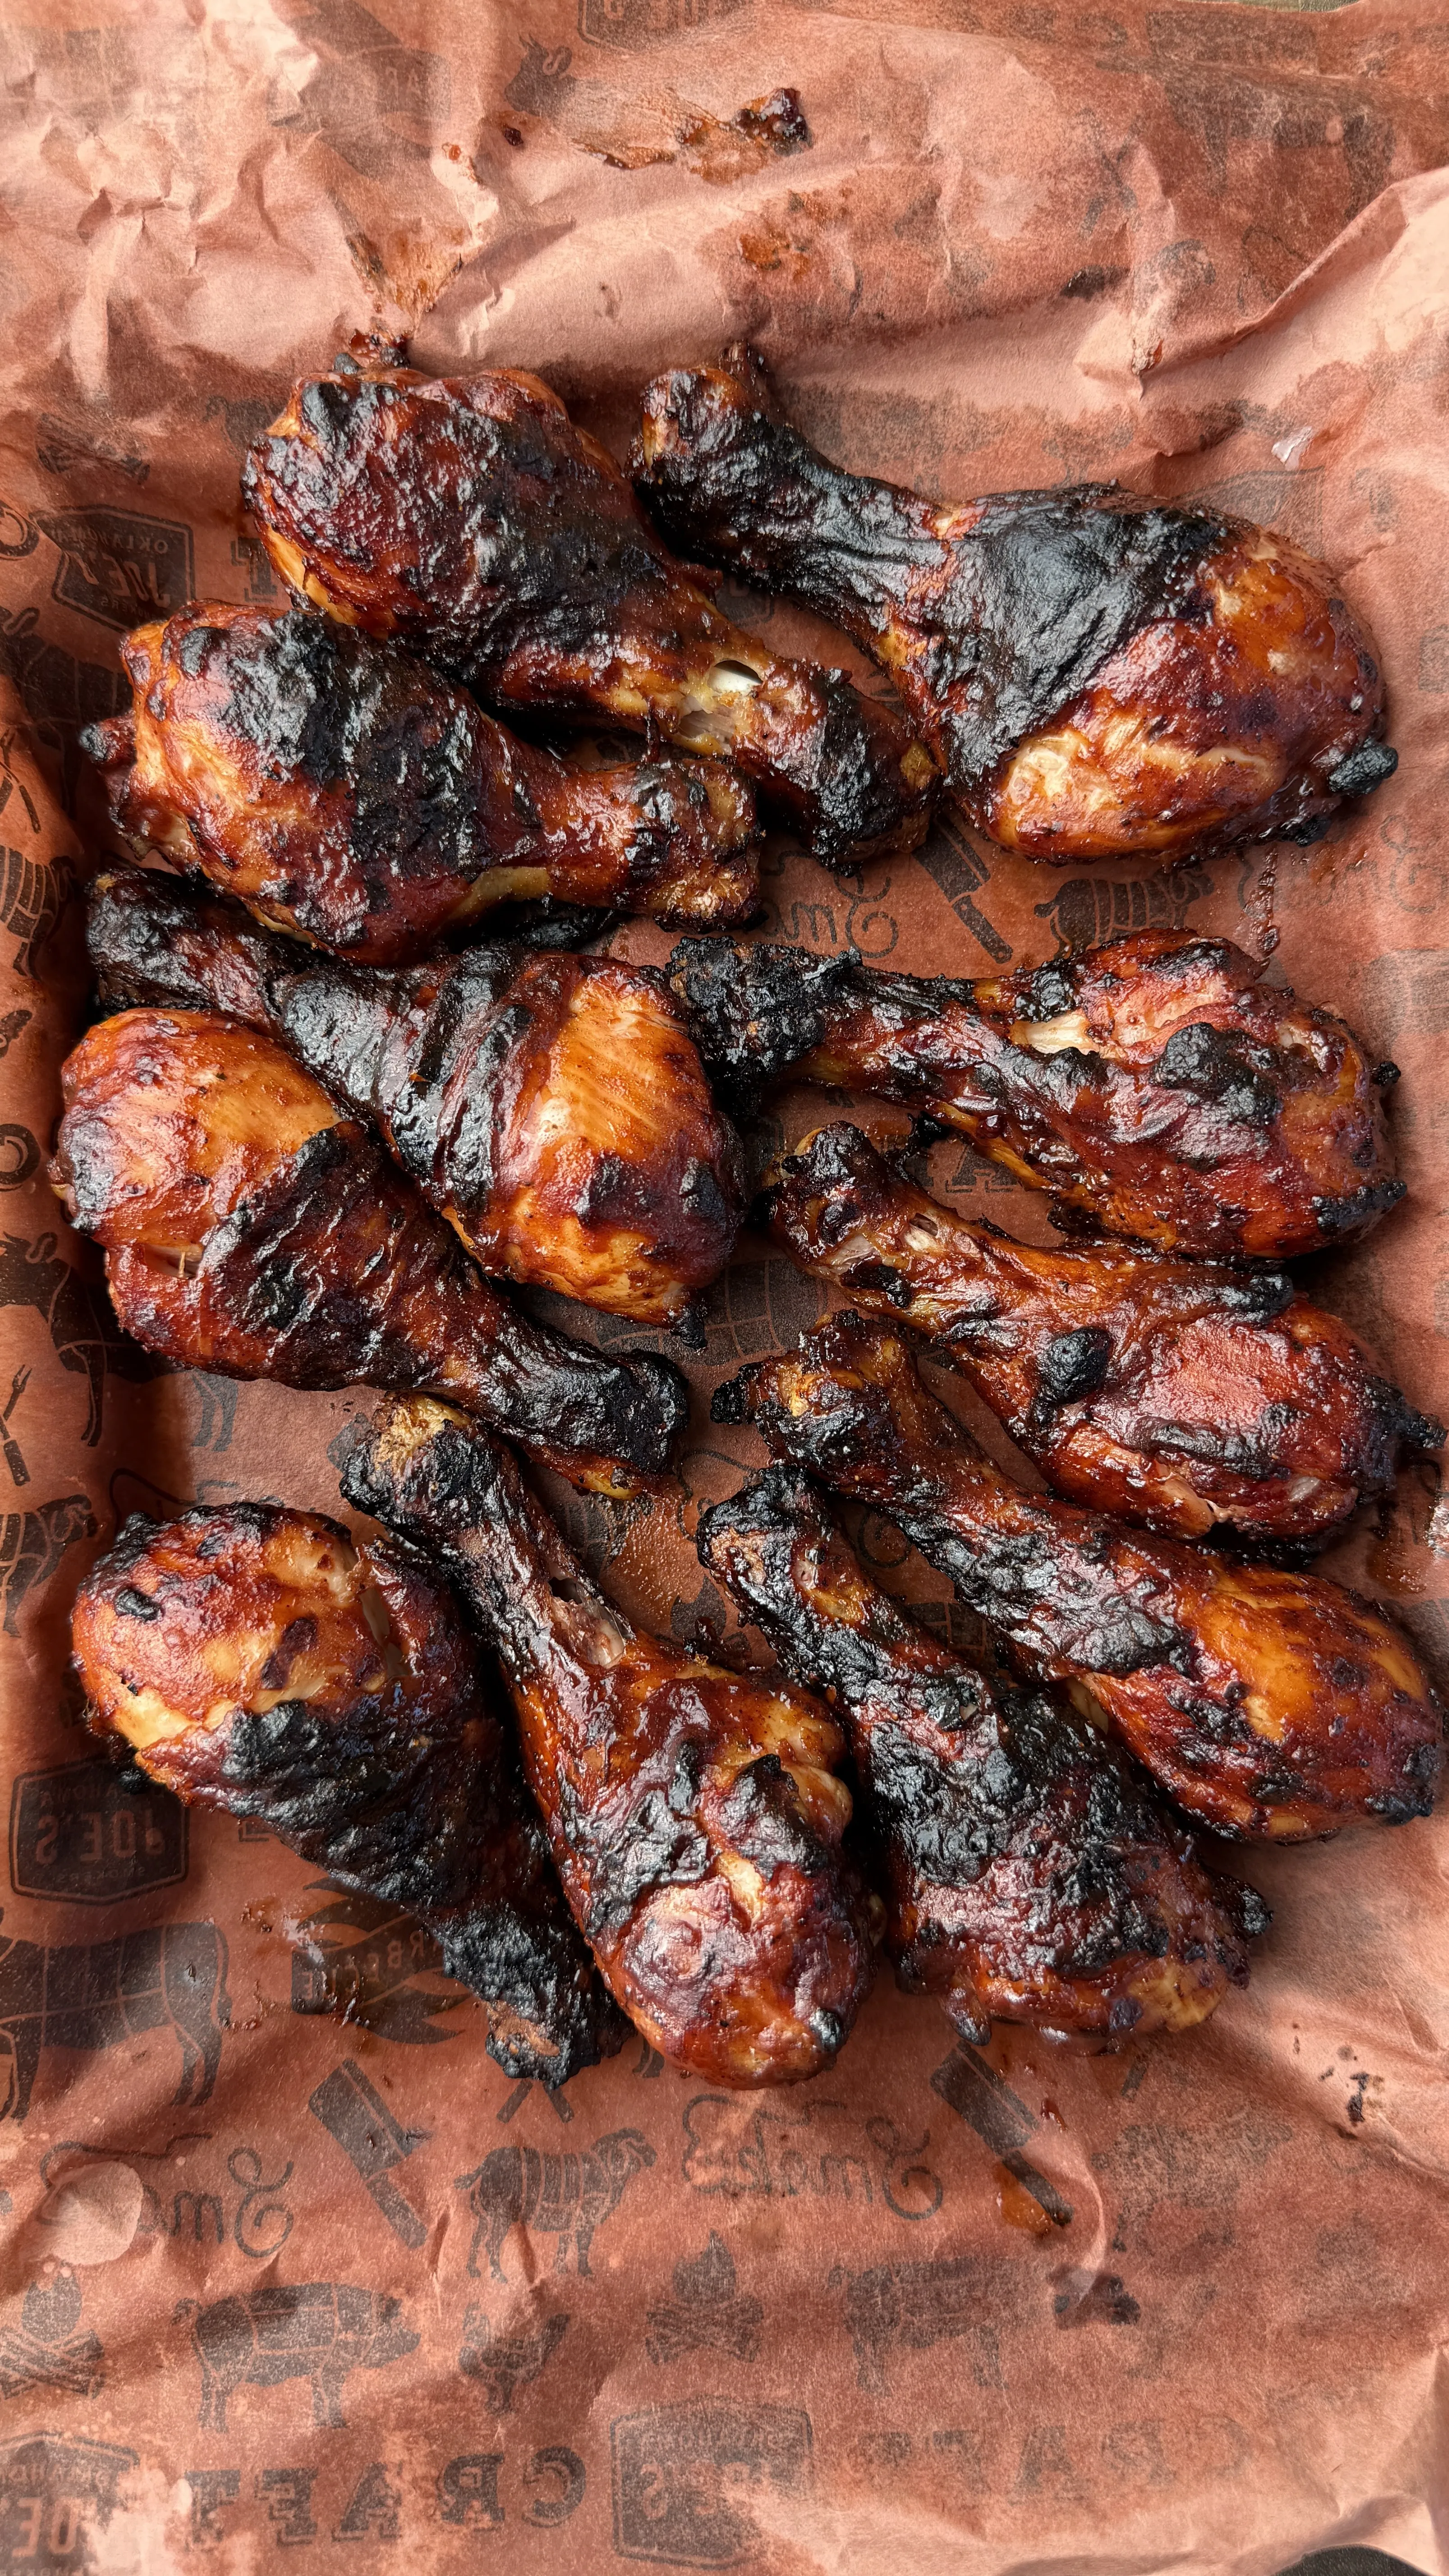
Why 185°F Is the Target for Grilled Chicken Drumsticks
Dark Meat Needs Higher Temps Than Breast Meat
The USDA safe minimum for chicken is 165°F, but drumsticks cooked to only 165°F will be chewy and the connective tissue will not have broken down. Dark meat contains more collagen and fat than white meat, and that collagen does not start converting to gelatin until around 175°F. Cooking drumsticks to 185°F gives the collagen enough time and heat to fully break down, which is what creates that tender, juicy, pull-from-the-bone texture. The rendered fat bastes the meat from inside the drumstick during the cook, keeping it moist even at the higher temperature.
How to Check Internal Temperature on a Drumstick
Insert your instant-read thermometer into the thickest part of the drumstick meat, avoiding the bone. The bone conducts heat faster than the surrounding meat, so touching the bone with the probe will give you a reading that is higher than the actual meat temperature. If the probe reads 185°F in the thickest section away from the bone, the drumstick is done.
How to Season and Prep Drumsticks for the Grill
Oil First, Then Seasoning
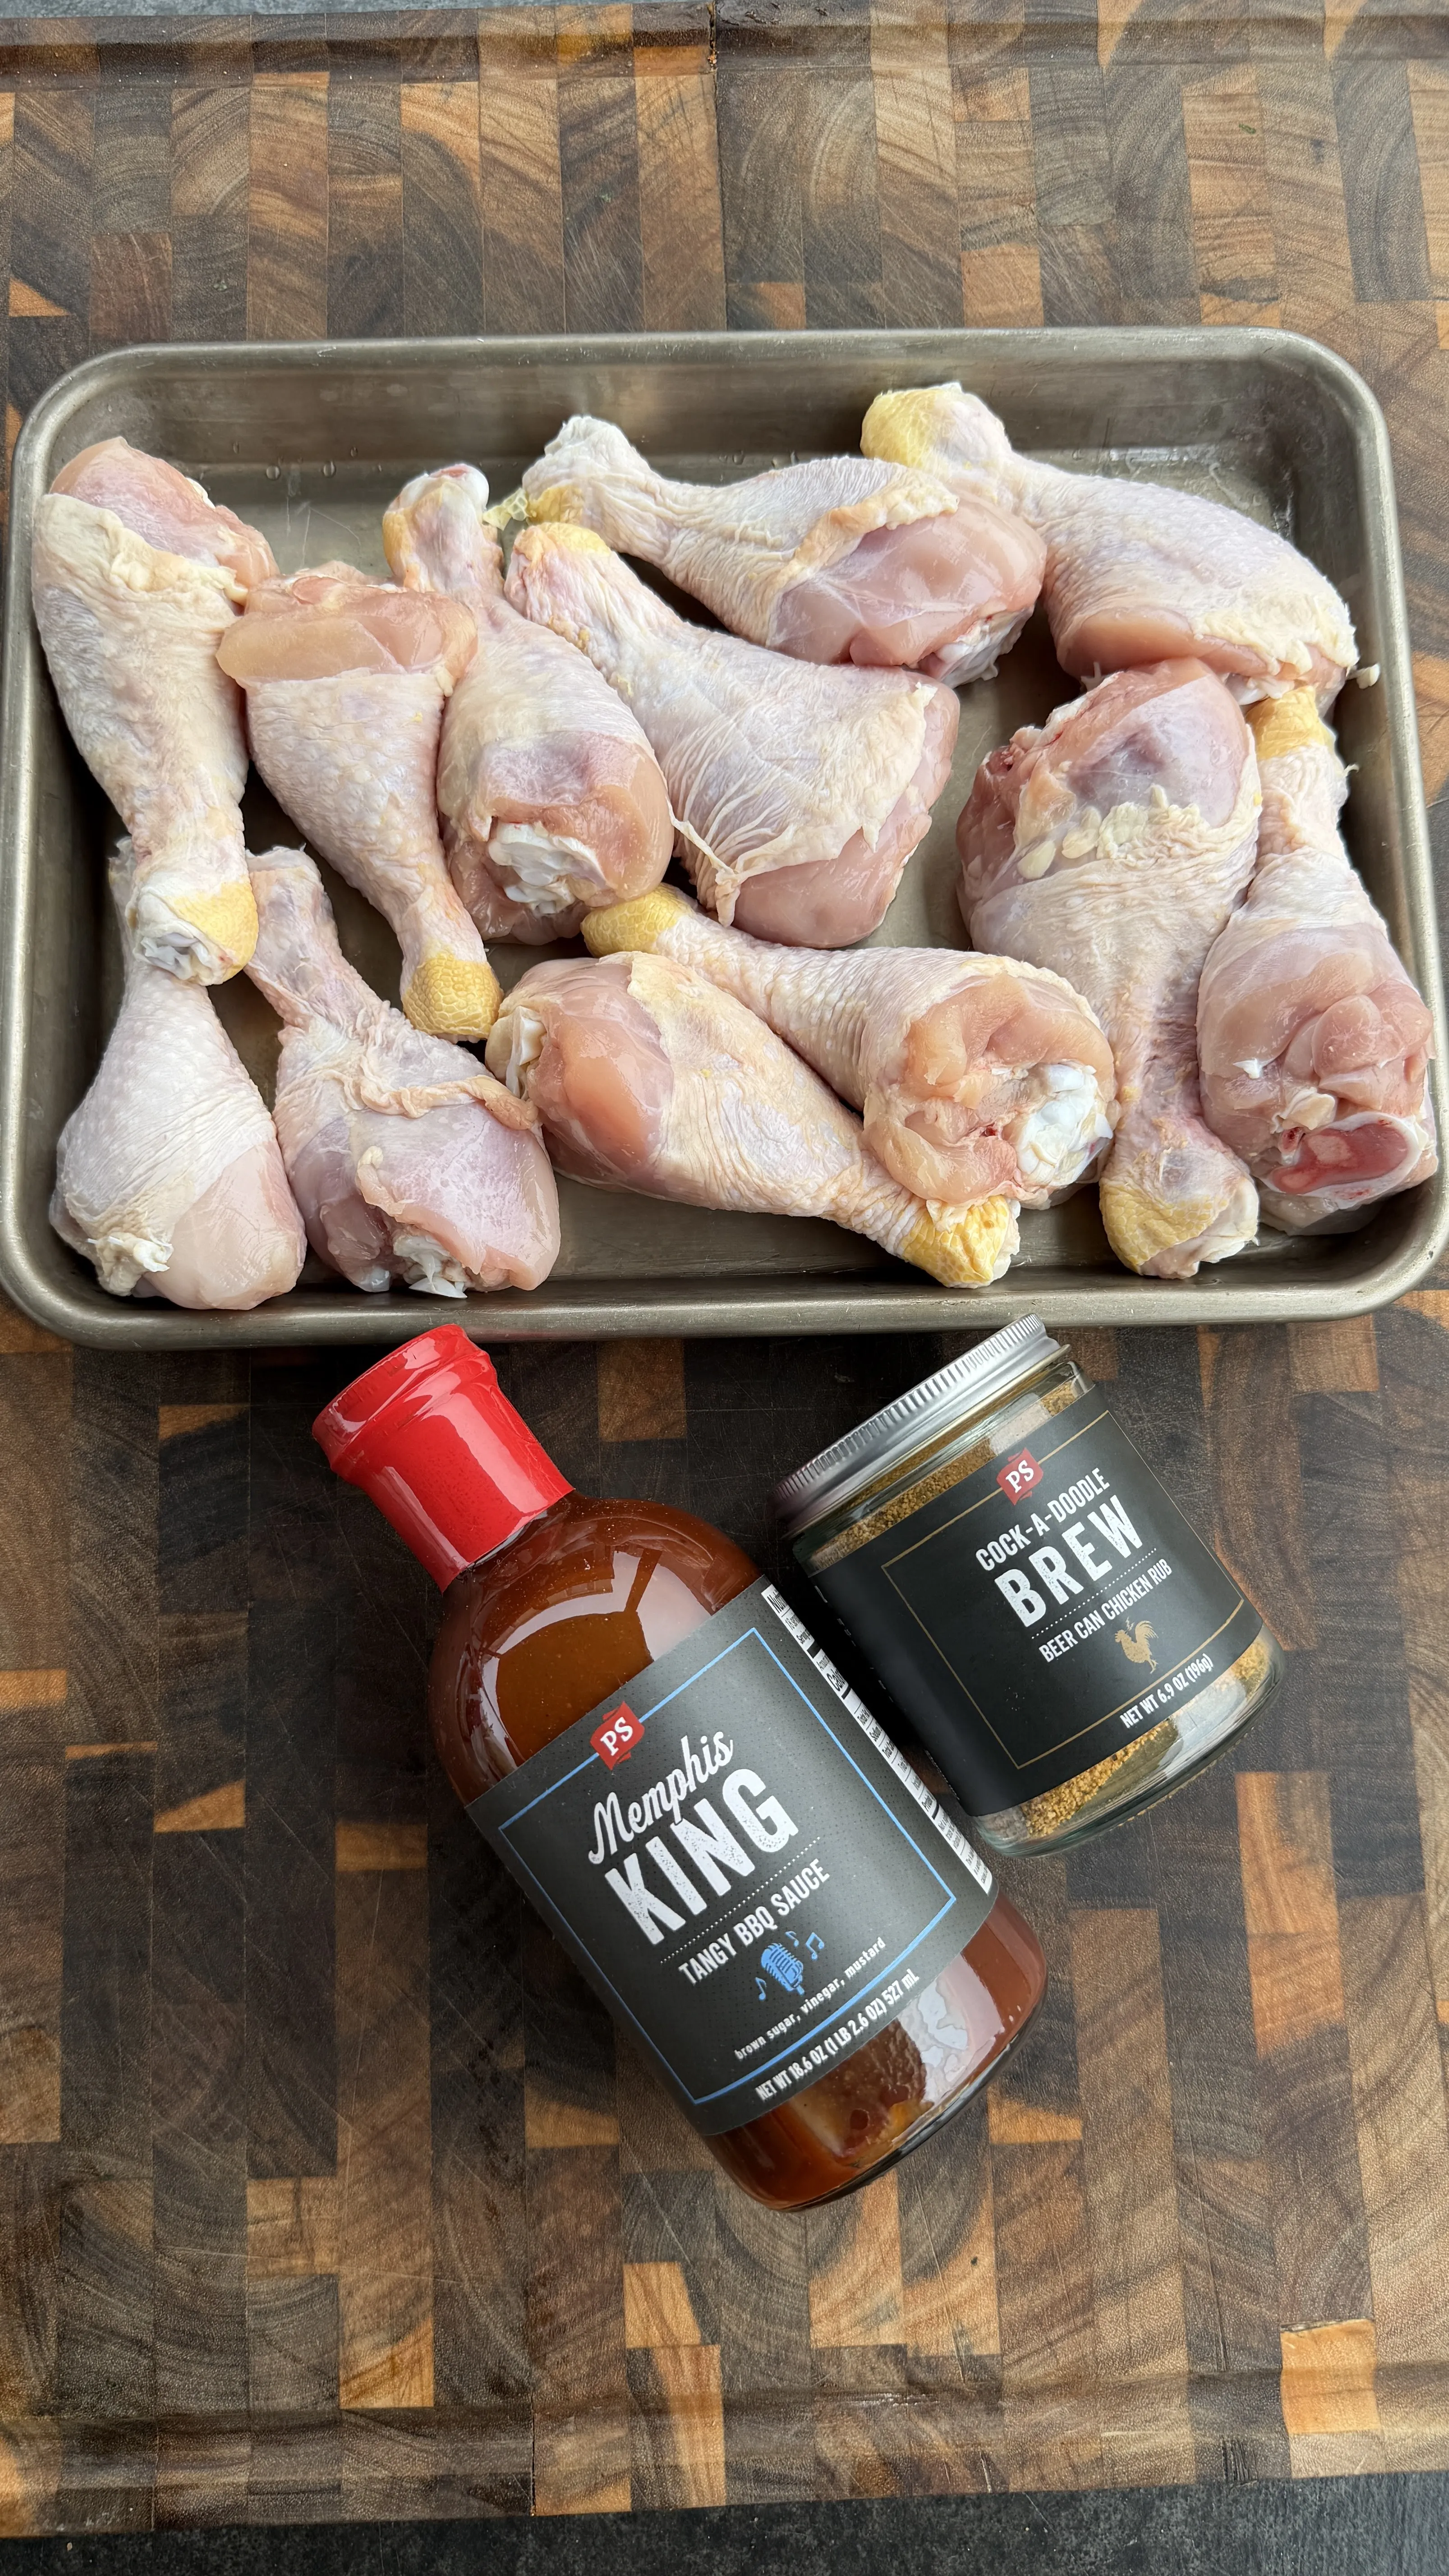
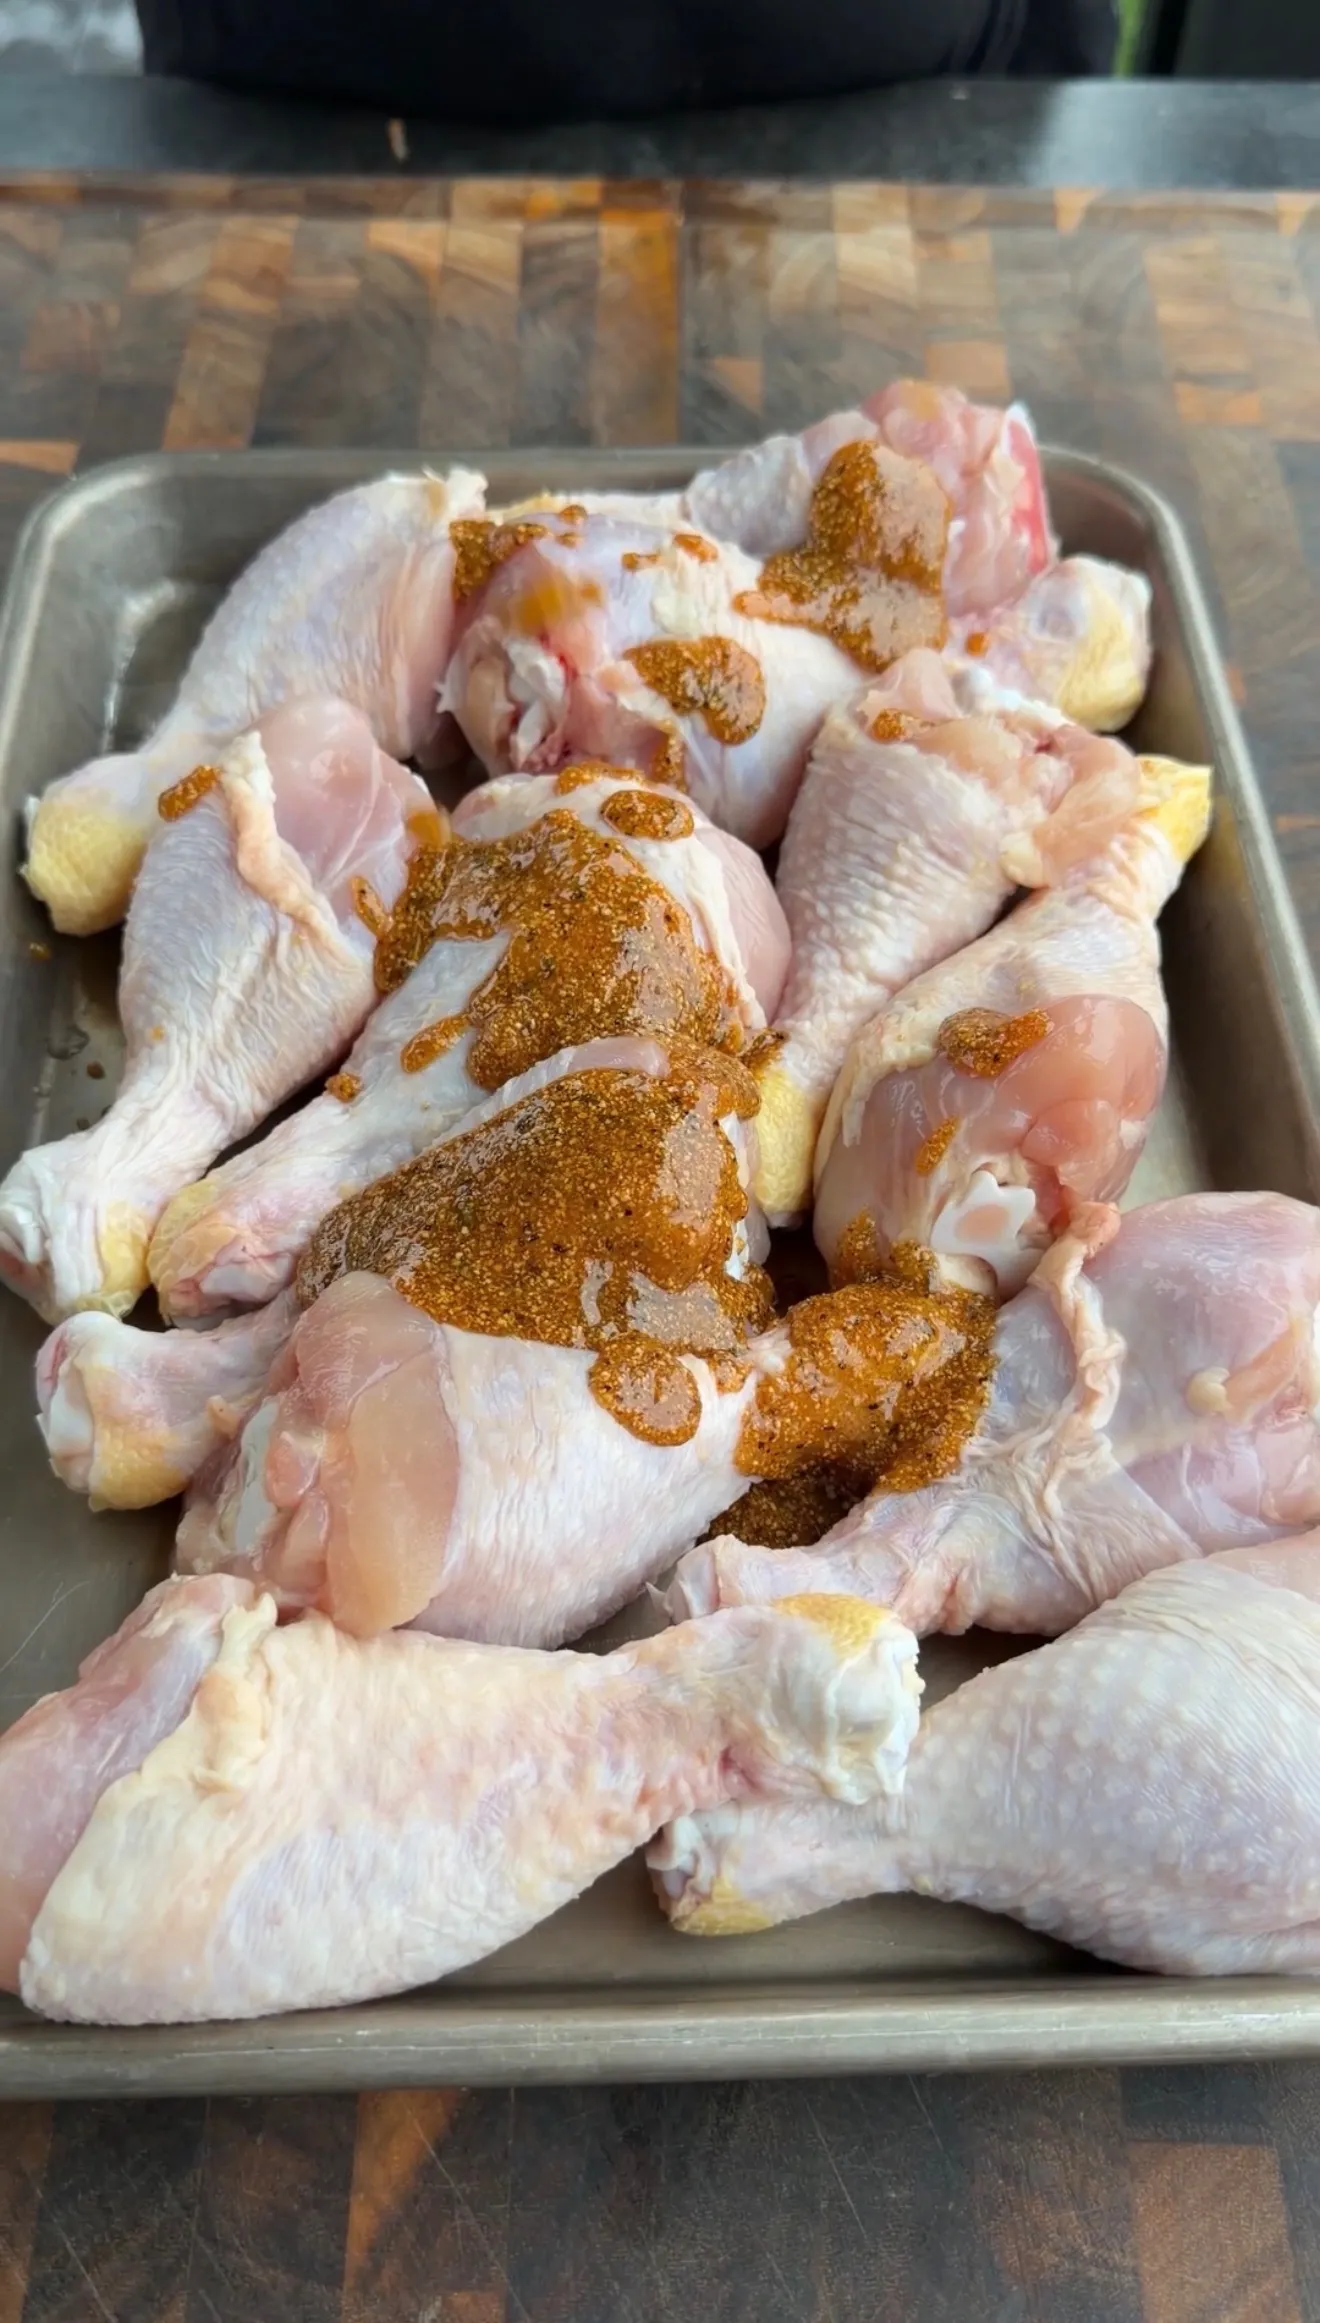
Mix 1/2 cup olive oil or avocado oil with 2 to 3 tablespoons of your favorite chicken seasoning or rub in a large bowl. Add the drumsticks and massage the mixture into every surface until fully coated. The oil serves two purposes: it helps the seasoning adhere to the skin, and it prevents the chicken from sticking to the grill grates during the initial sear. Additionally, the oil promotes even browning across the entire surface of the drumstick.
Pat Dry Before Seasoning for Crispier Skin
For the crispiest skin possible, pat the drumsticks dry with paper towels before adding the oil and seasoning. Moisture on the surface of the chicken creates steam instead of allowing the skin to crisp. Removing that surface moisture means the skin makes direct contact with the hot grill grates and starts browning immediately. The result is a noticeably crispier exterior that holds the barbecue glaze better.
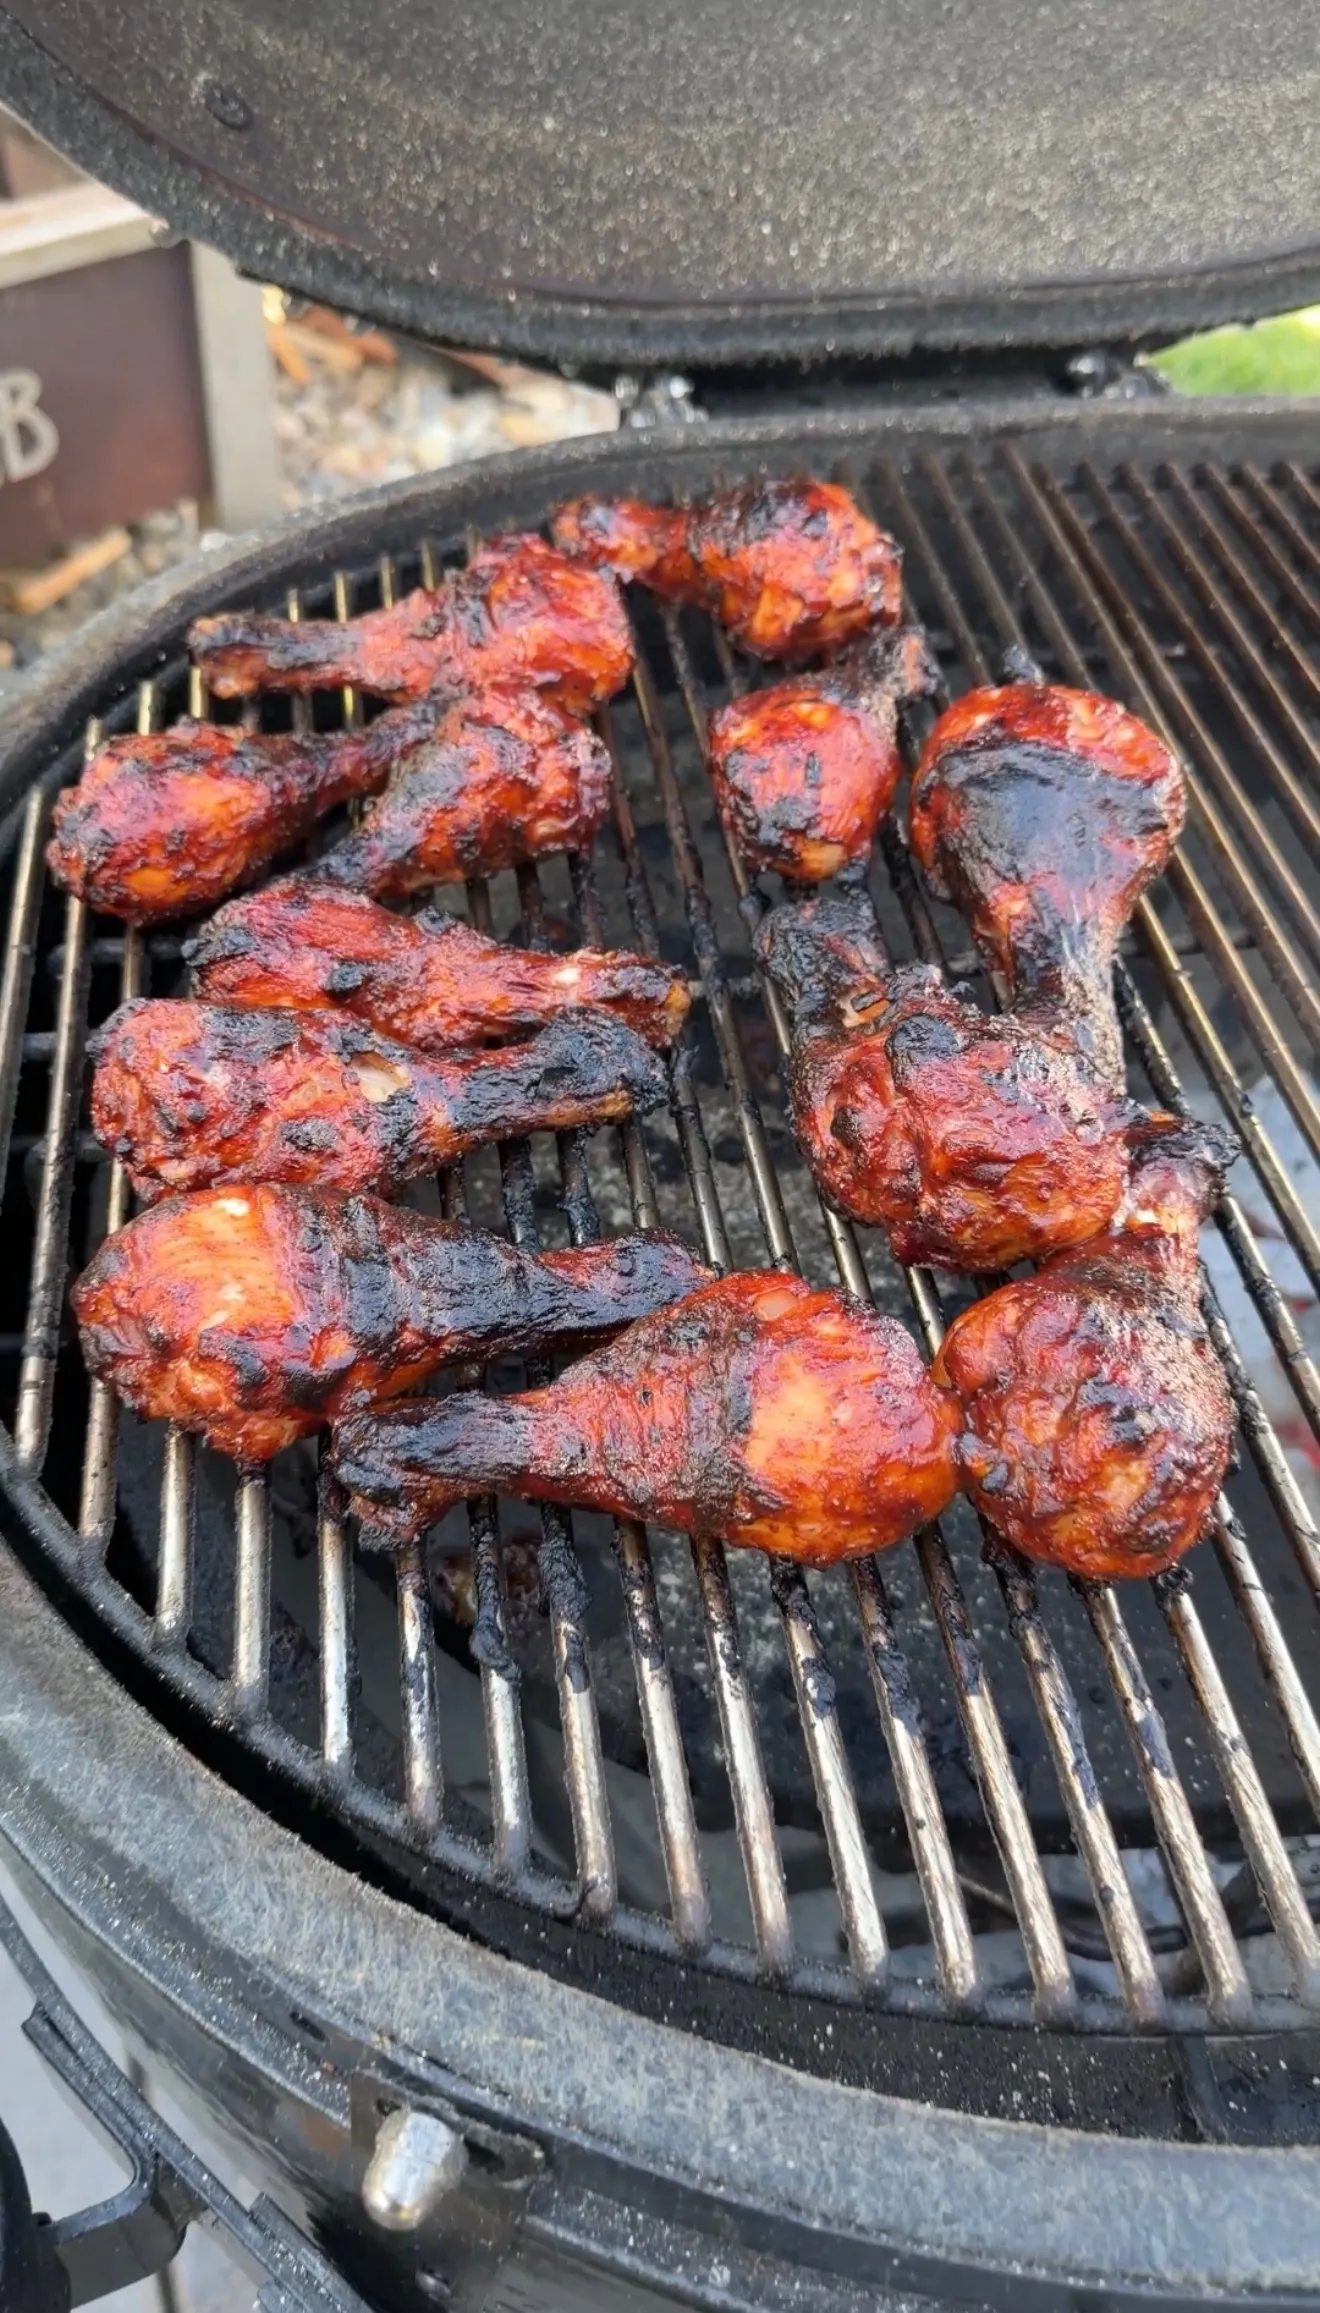
Grilling Method: Direct Heat for Char, Indirect to Finish
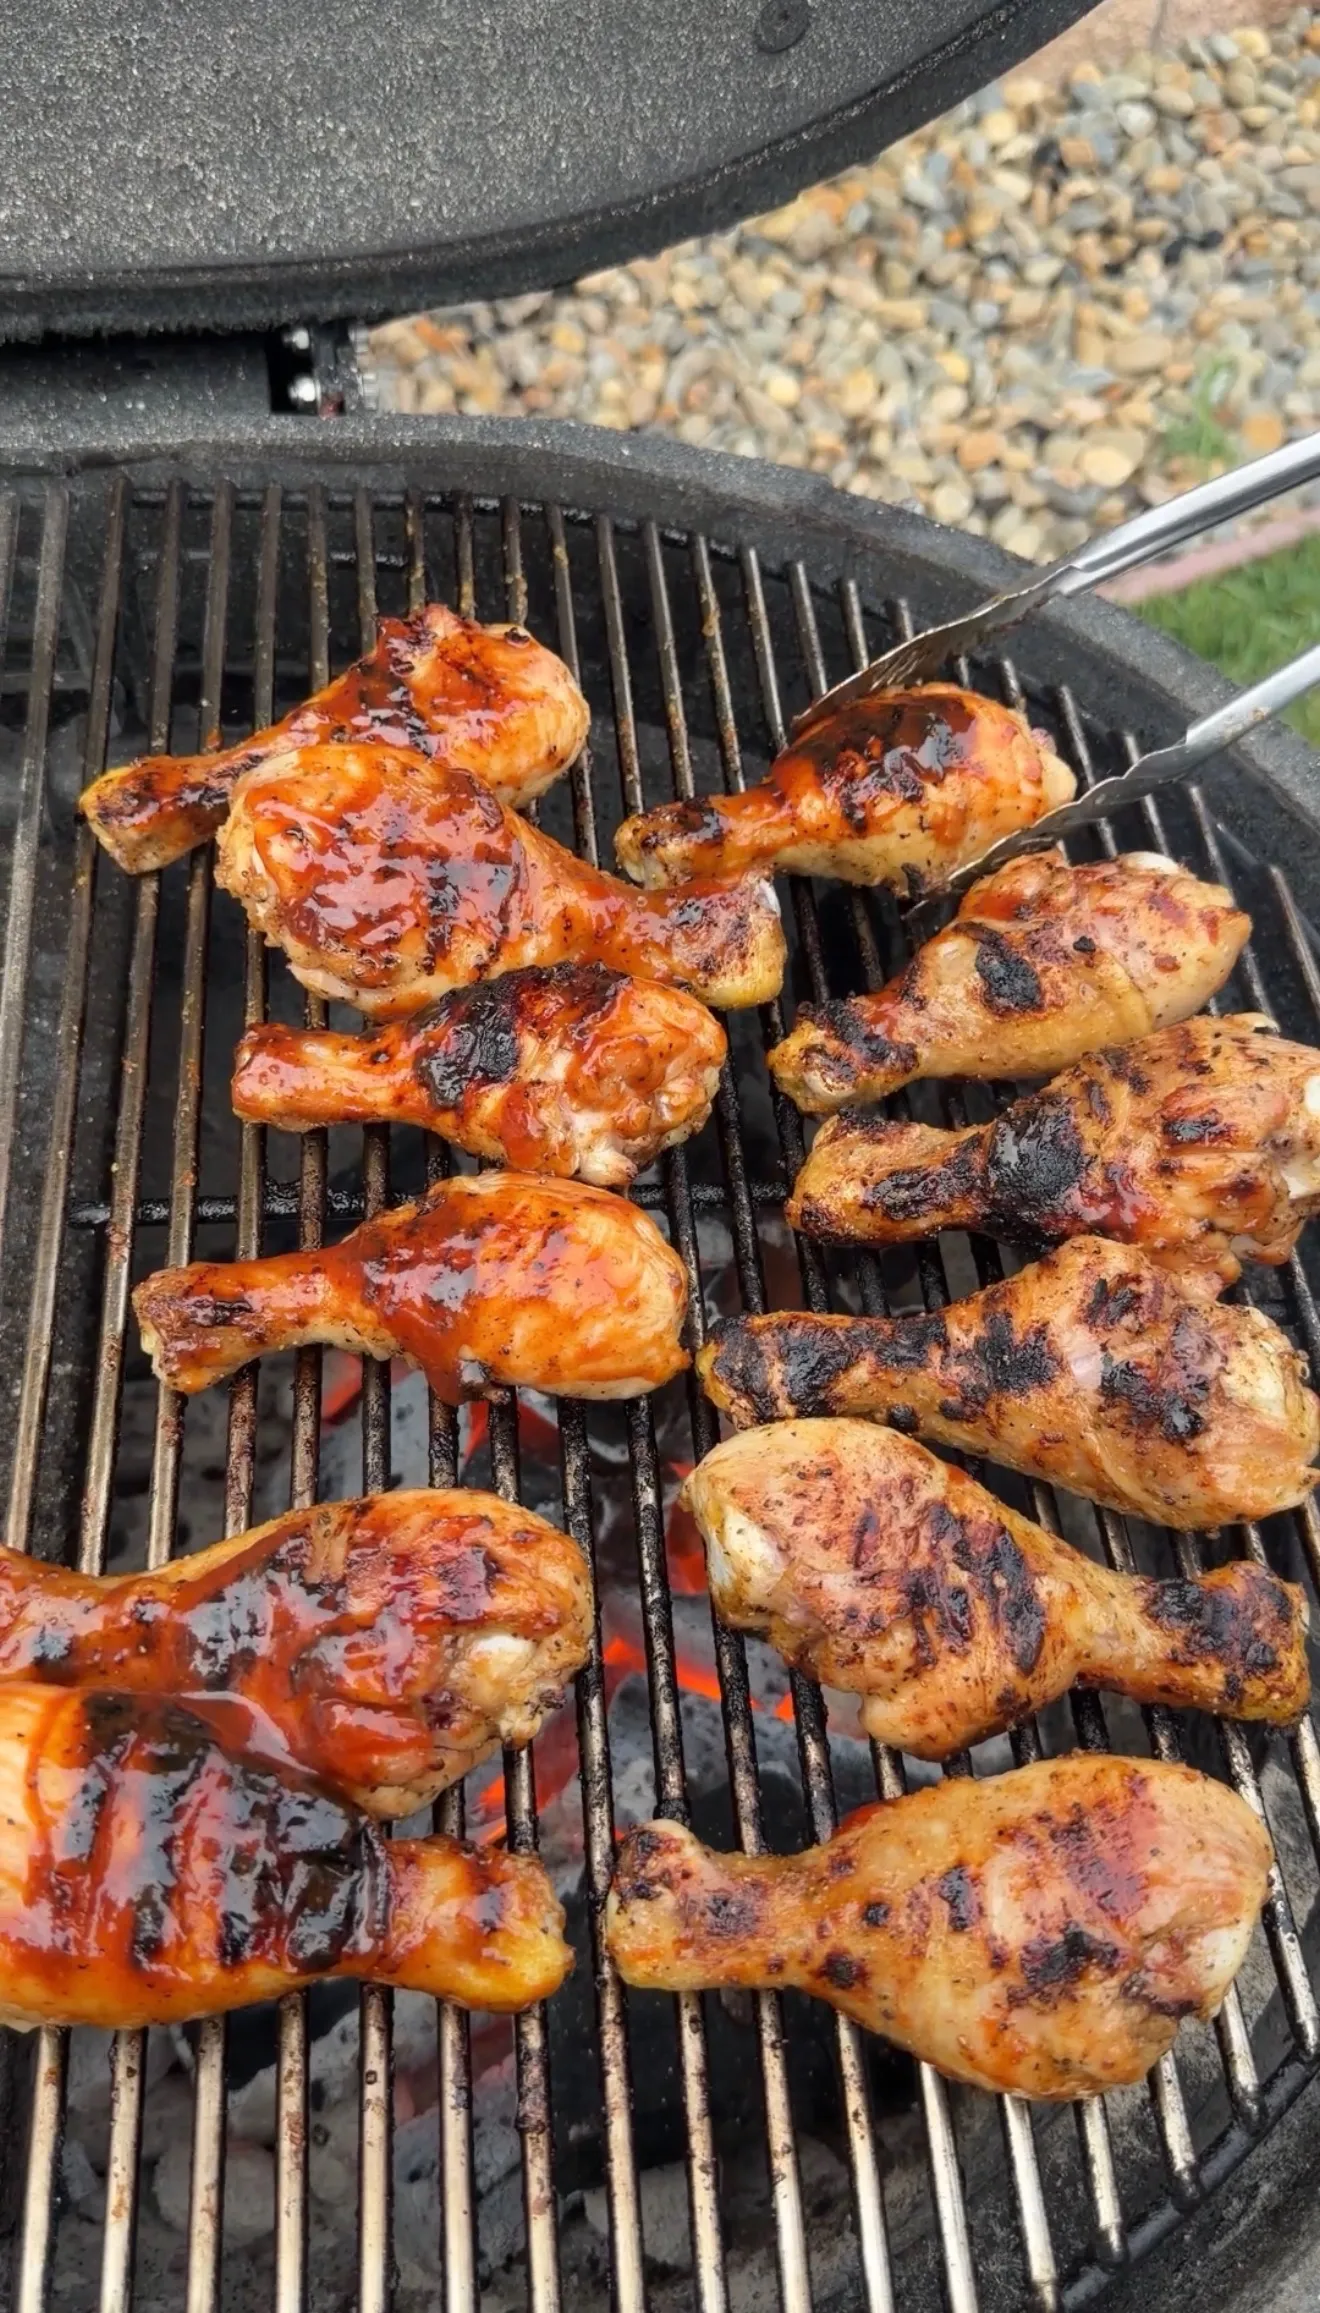
Char Over Direct Heat First
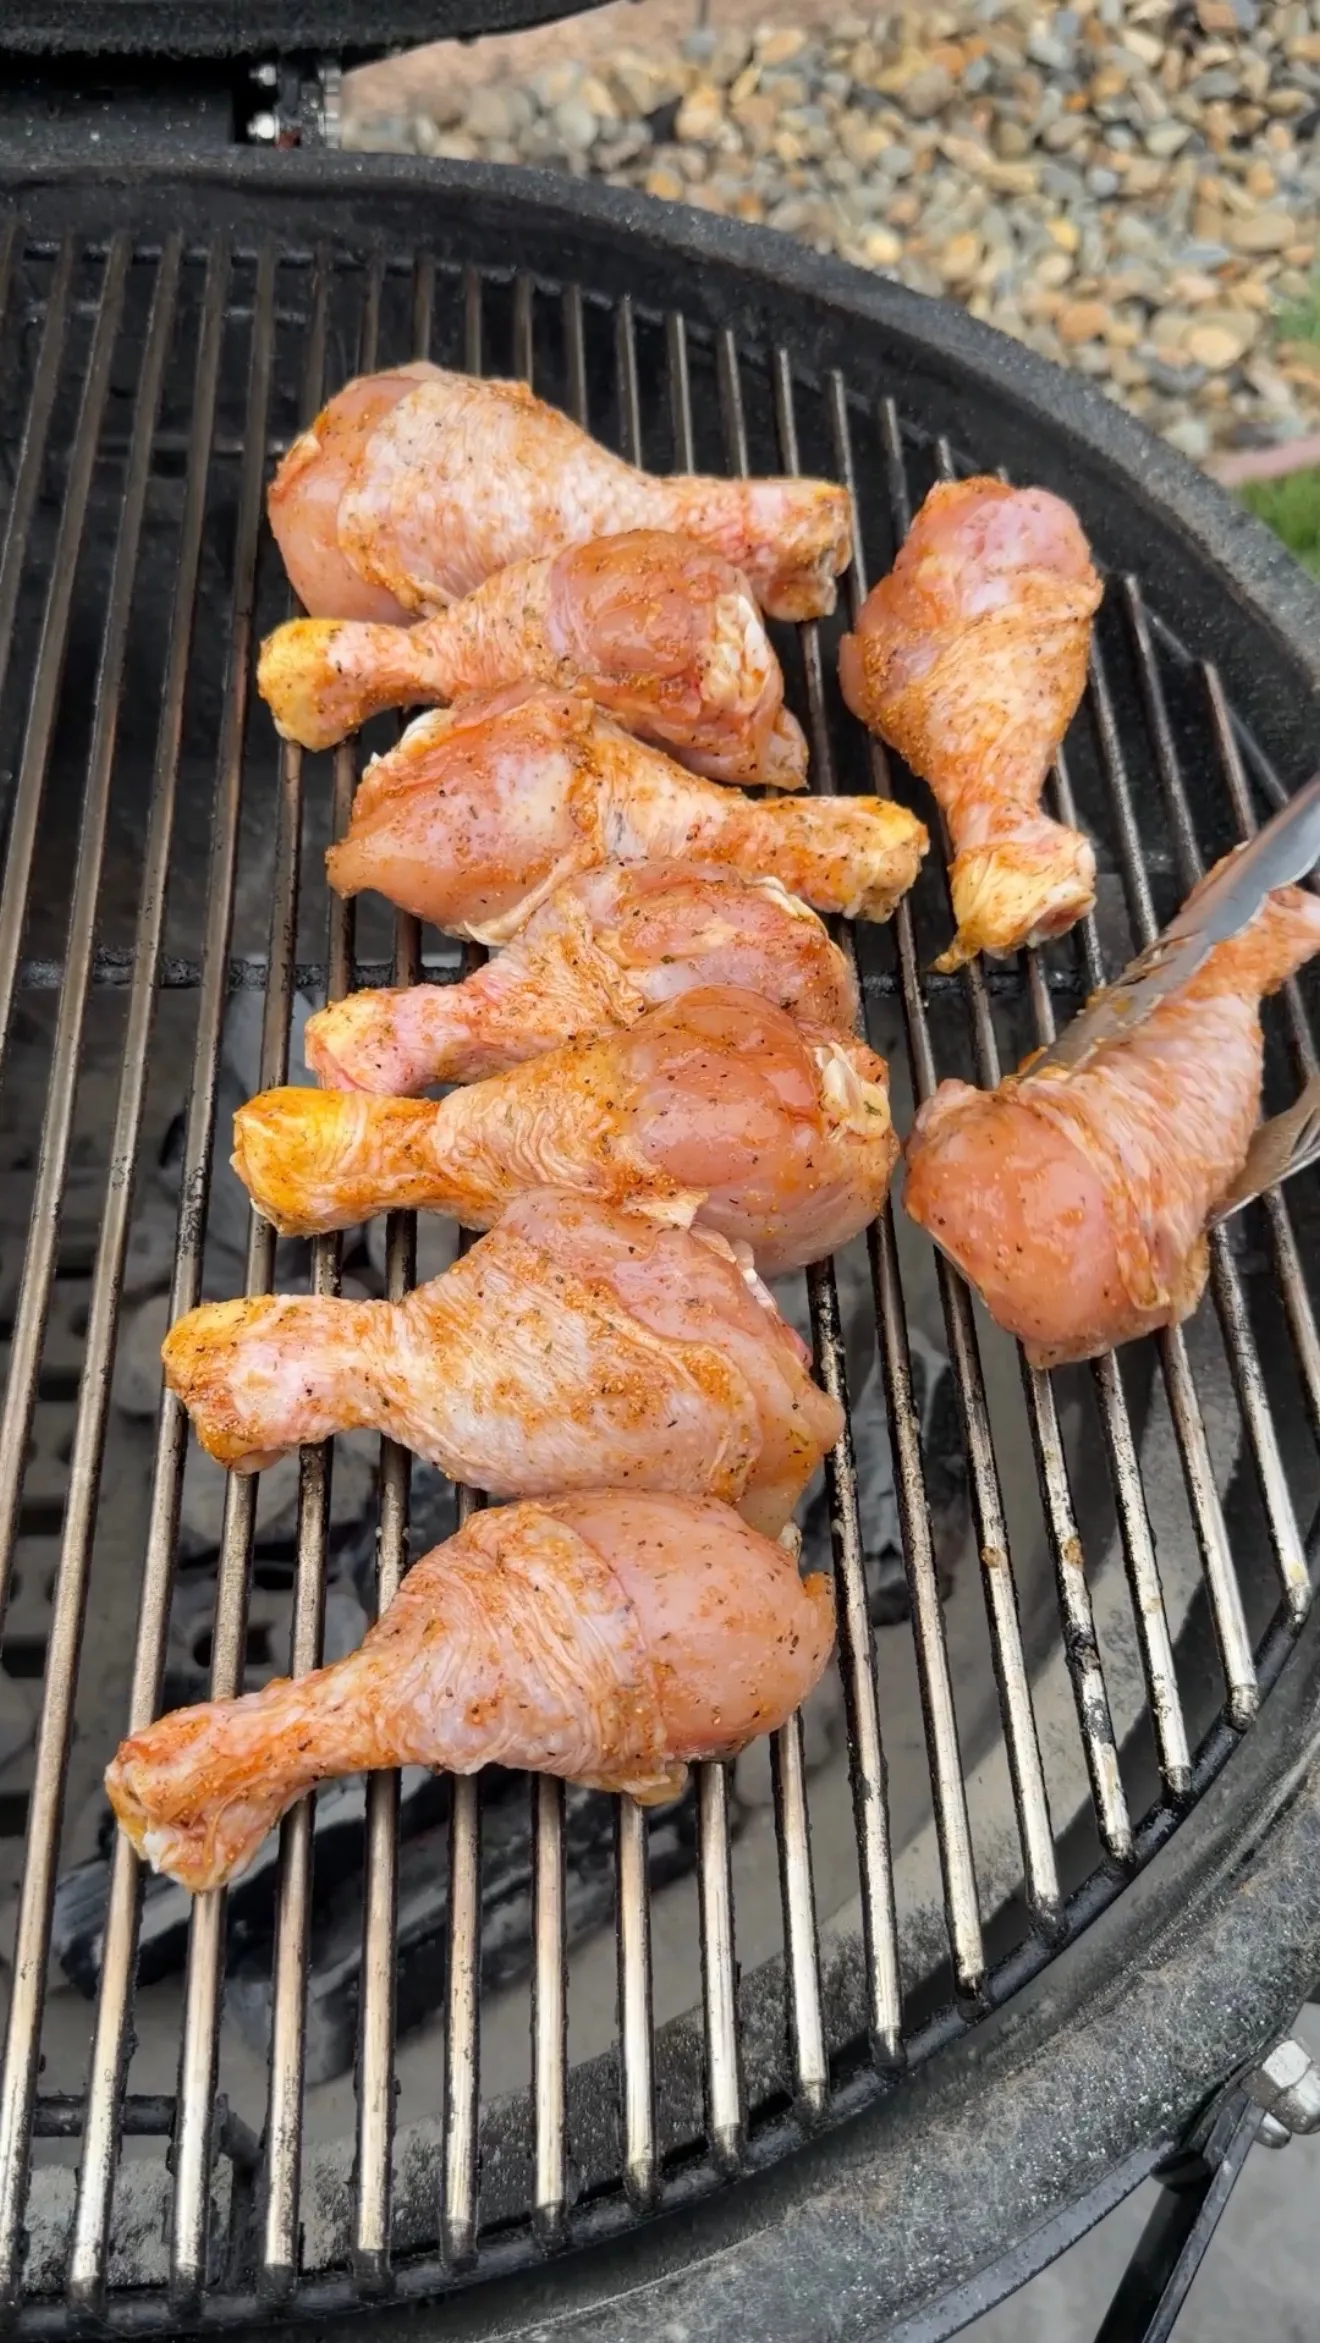
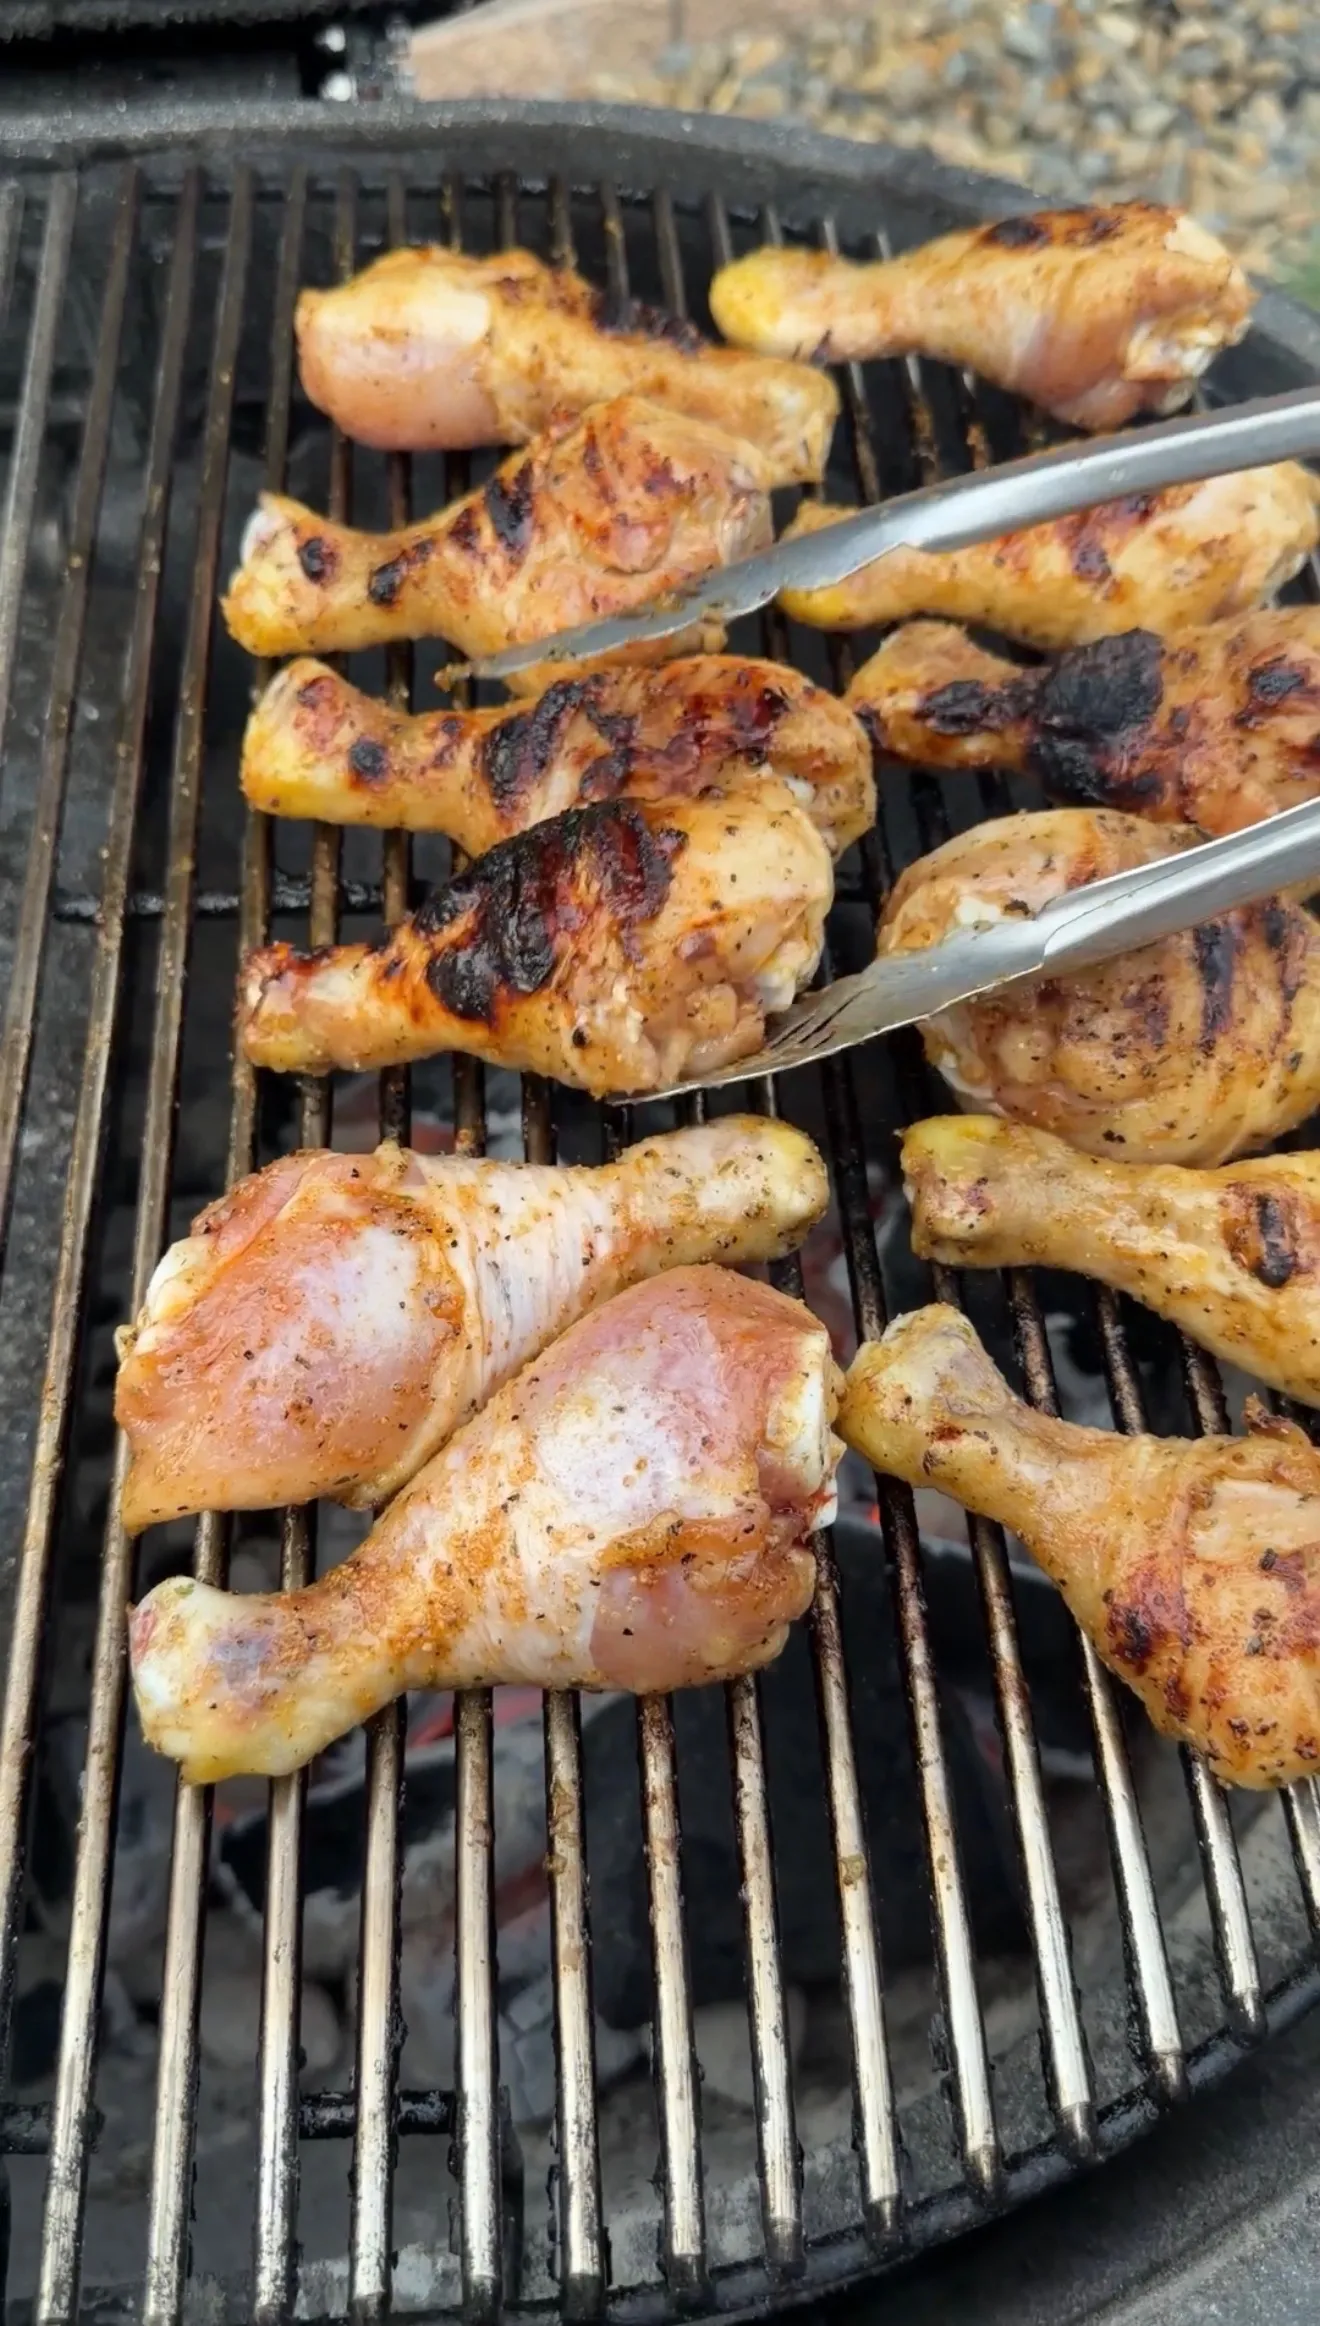
Preheat the grill to medium-high heat. Place the seasoned drumsticks directly over the heat and cook, flipping every 4 to 5 minutes to develop an even char on all sides. The goal during this phase is color and crust, not cooking the chicken through. You want golden-brown, slightly charred skin with visible grill marks on every side of the drumstick. This phase typically takes about 12 to 15 minutes total, depending on your grill temperature.
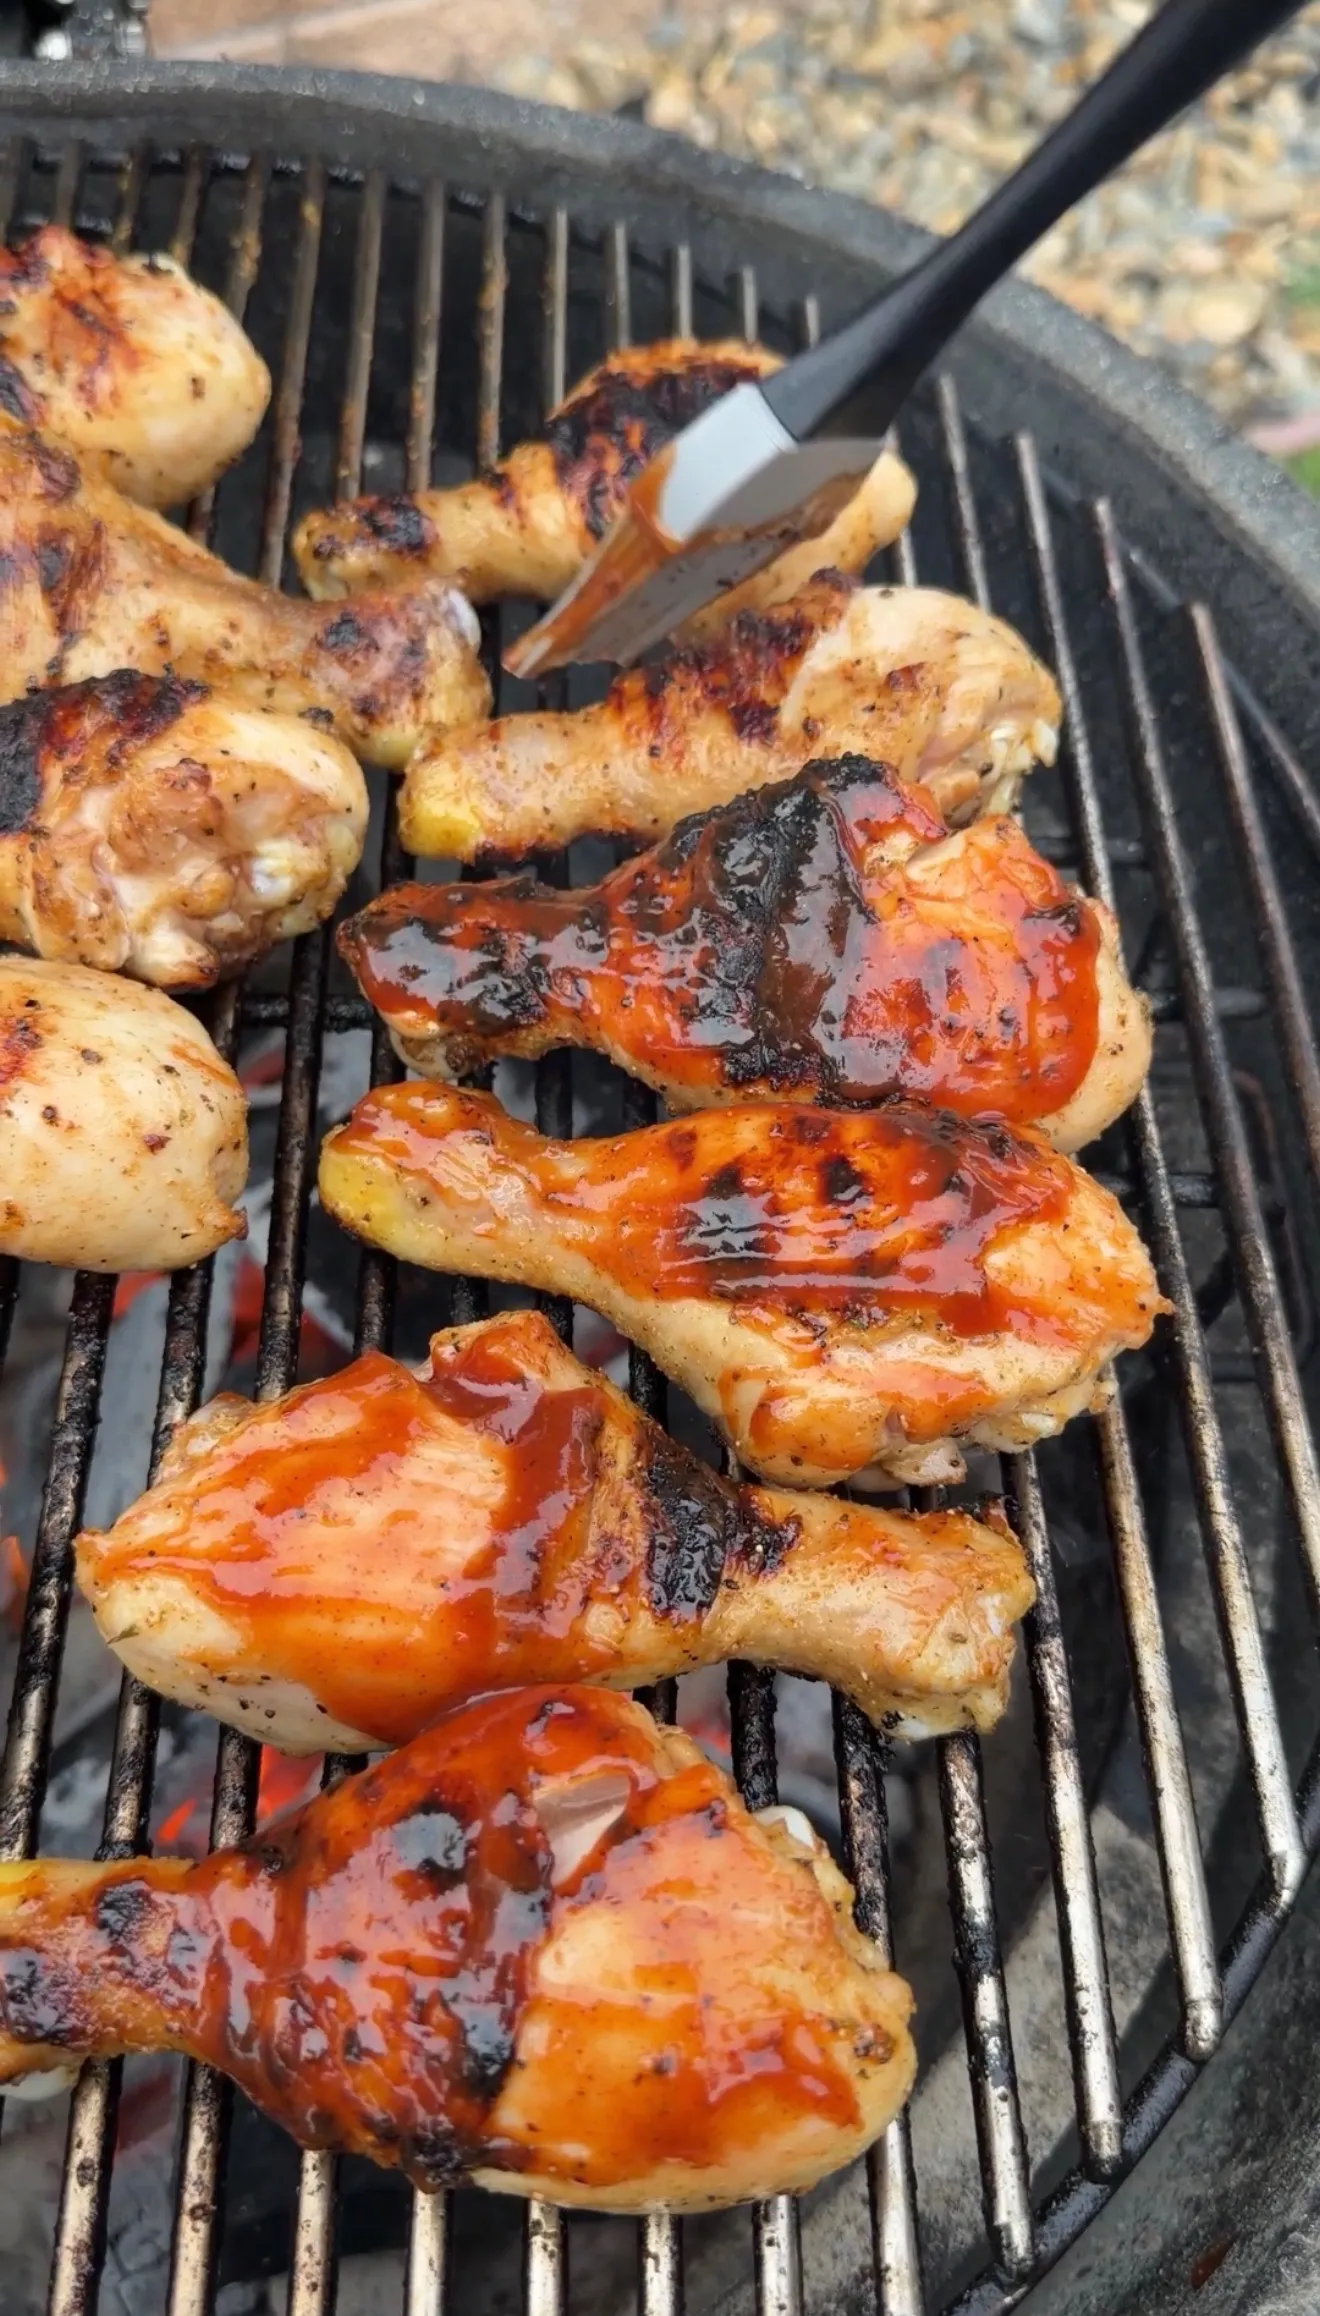
When to Baste with Barbecue Sauce
Barbecue sauce contains sugar, and sugar burns quickly over direct heat. Wait until the drumsticks have a solid char on the first side before basting. Once the skin is charred, baste the tops with barbecue sauce, then flip and baste the other side. Continue flipping and basting until each side has been coated about twice, letting the sauce caramelize and set for about 30 seconds before flipping again. This layered basting technique builds a thick, glossy, sticky glaze instead of a single thin coat that slides off.
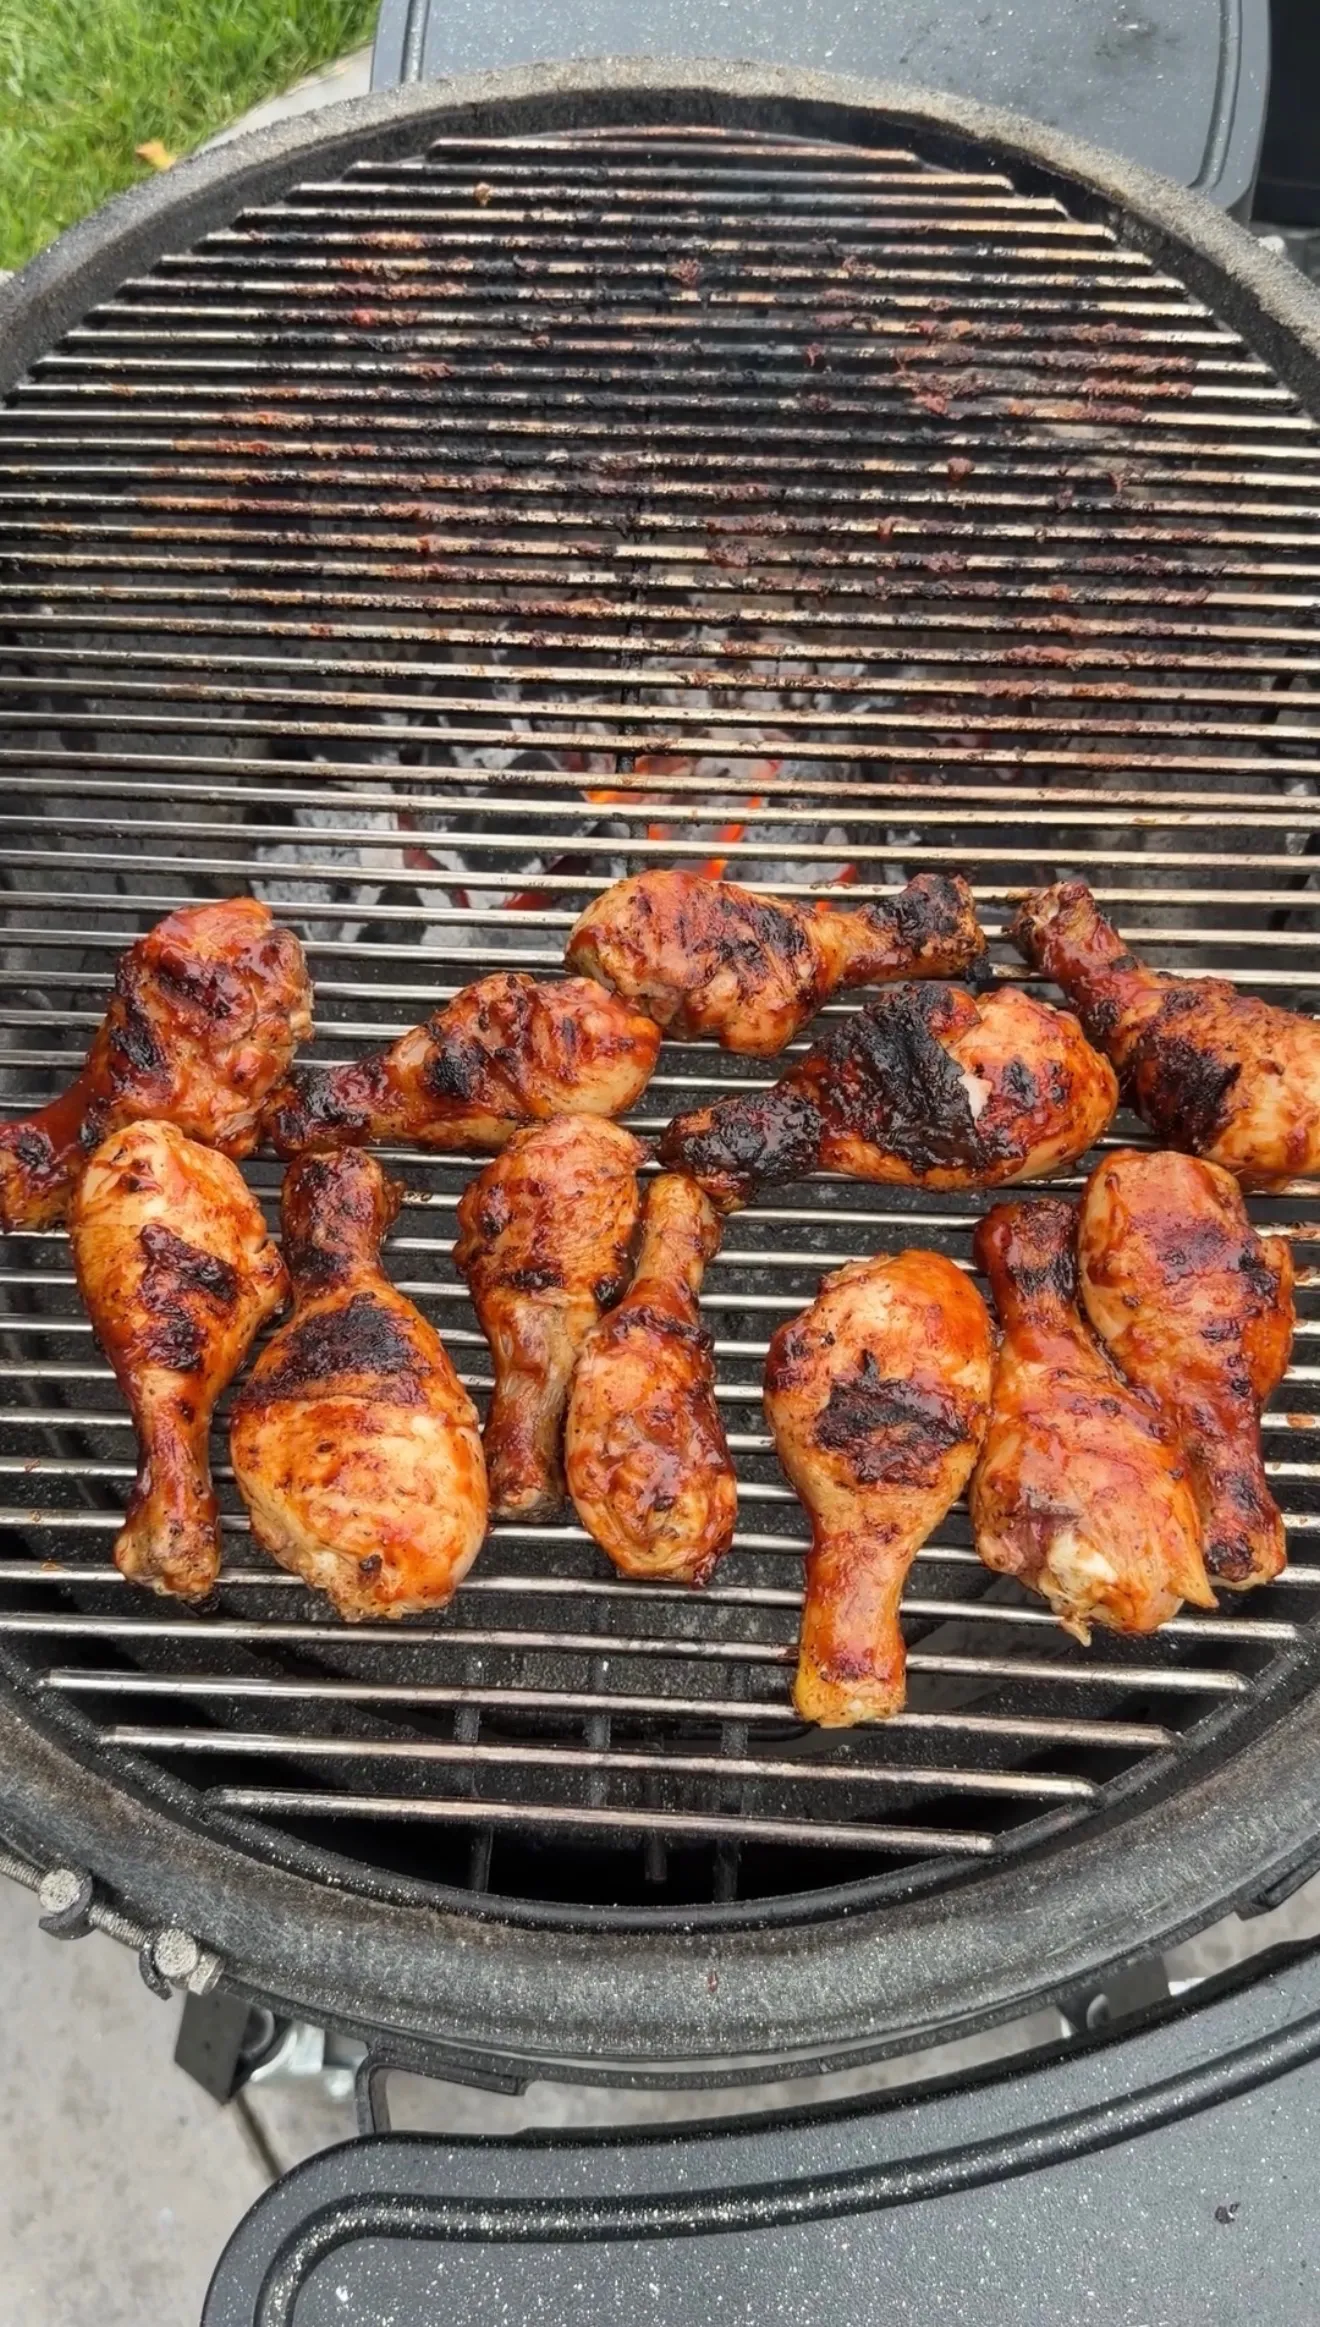
Finish on Indirect Heat to 185°F
After the drumsticks are charred and glazed, move them to the side of the grill opposite the heat source. Close the lid and let them finish cooking over indirect heat until they reach 185°F internal. This gentle finish allows the collagen to break down and the fat to render without burning the sugary barbecue glaze that is already on the surface. The indirect phase usually takes another 10 to 15 minutes depending on how much char you built during the direct phase.
Common Mistakes with Grilled Chicken Drumsticks
Basting Too Early Burns the Sauce
The most common mistake is applying barbecue sauce at the beginning of the cook. Most barbecue sauces contain brown sugar, honey, or molasses that caramelize quickly and then burn over direct heat. Applying sauce before the chicken has charred means you end up with a blackened, bitter coating instead of a glossy glaze. Build the char on the plain seasoned chicken first, then add the sauce in layers during the last few minutes over direct heat.
Pulling at 165°F Leaves Drumsticks Chewy
Chicken breast is done at 165°F because it is lean and dries out past that point. However, drumsticks are dark meat with significantly more collagen and fat. Pulling drumsticks at 165°F leaves the connective tissue intact and the meat will be rubbery and tough around the bone. Cooking to 185°F breaks down that collagen into gelatin, which is what gives properly cooked dark meat its characteristic juicy, tender texture that falls away from the bone cleanly.
Step-by-Step: How to Make Grilled Chicken Drumsticks with BBQ Glaze
Step 1: Season the Drumsticks
Mix olive oil and chicken seasoning in a large bowl. Add the drumsticks and massage the mixture into every surface until fully coated. Pat drumsticks dry with paper towels before adding oil for crispier skin.
Step 2: Char Over Direct Heat
Preheat grill to medium-high. Place drumsticks directly over the heat and cook, flipping every 4 to 5 minutes until evenly charred on all sides. This takes about 12 to 15 minutes.
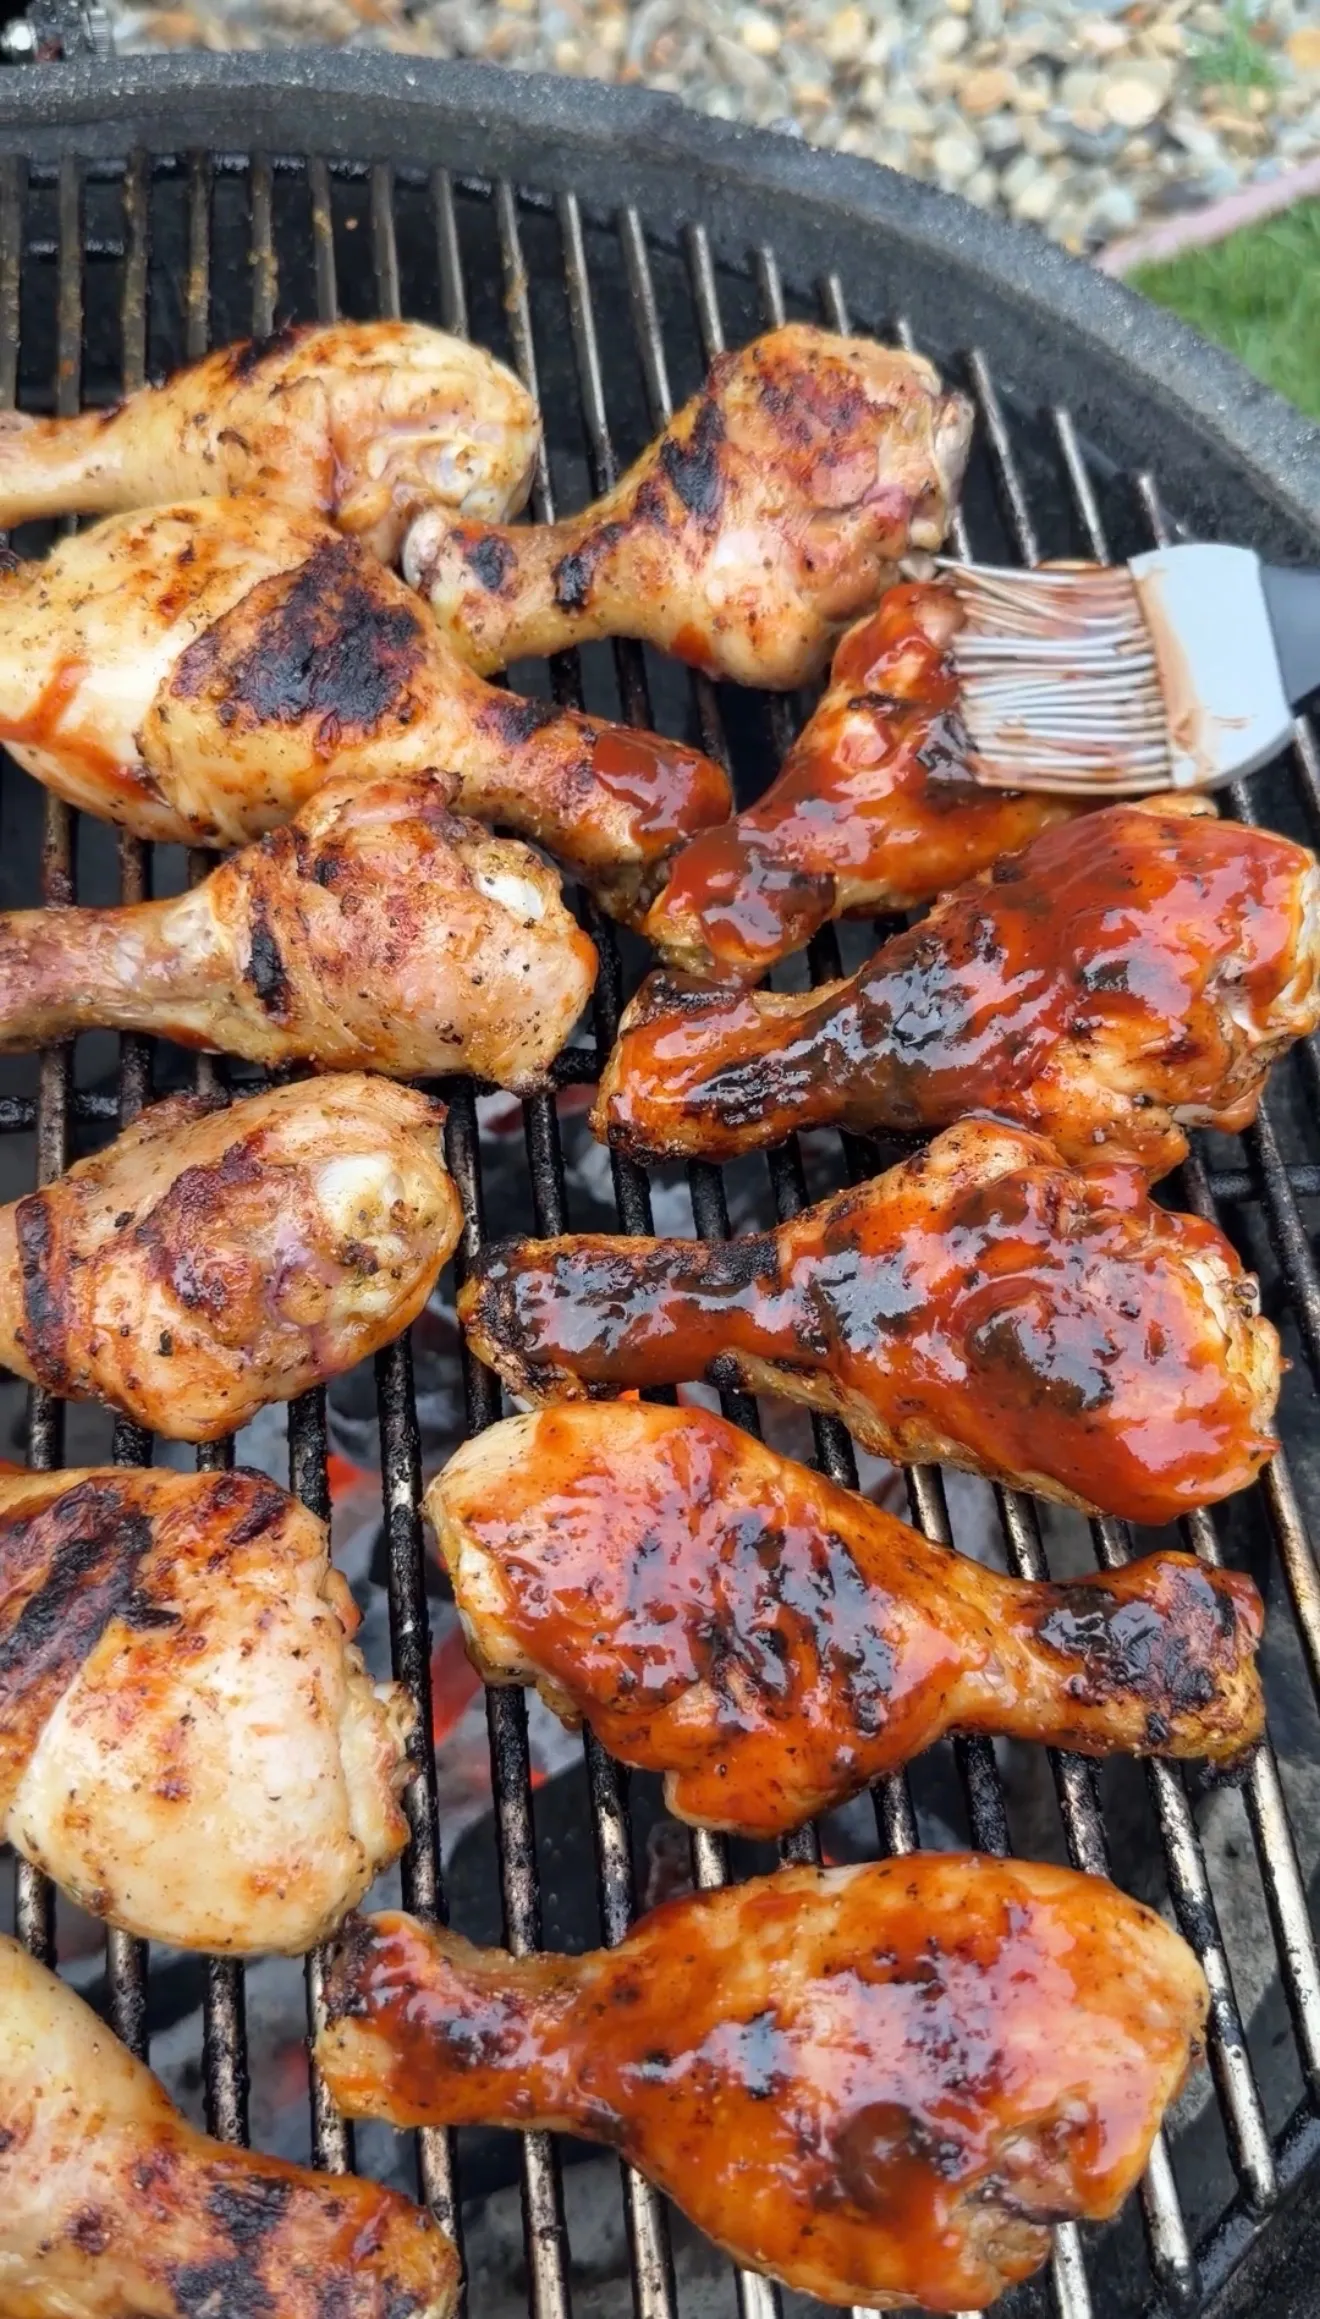
Step 3: Baste with BBQ Sauce in Layers
Once charred, baste the tops with barbecue sauce. Flip and baste the other side. Continue flipping and basting until each side has been coated about twice, letting the sauce caramelize for 30 seconds before each flip.
Step 4: Finish on Indirect Heat to 185°F
Move the glazed drumsticks to indirect heat. Close the lid and cook until they reach 185°F internal. Let rest a few minutes before serving with potato salad, grilled corn, baked beans, or mac and cheese.
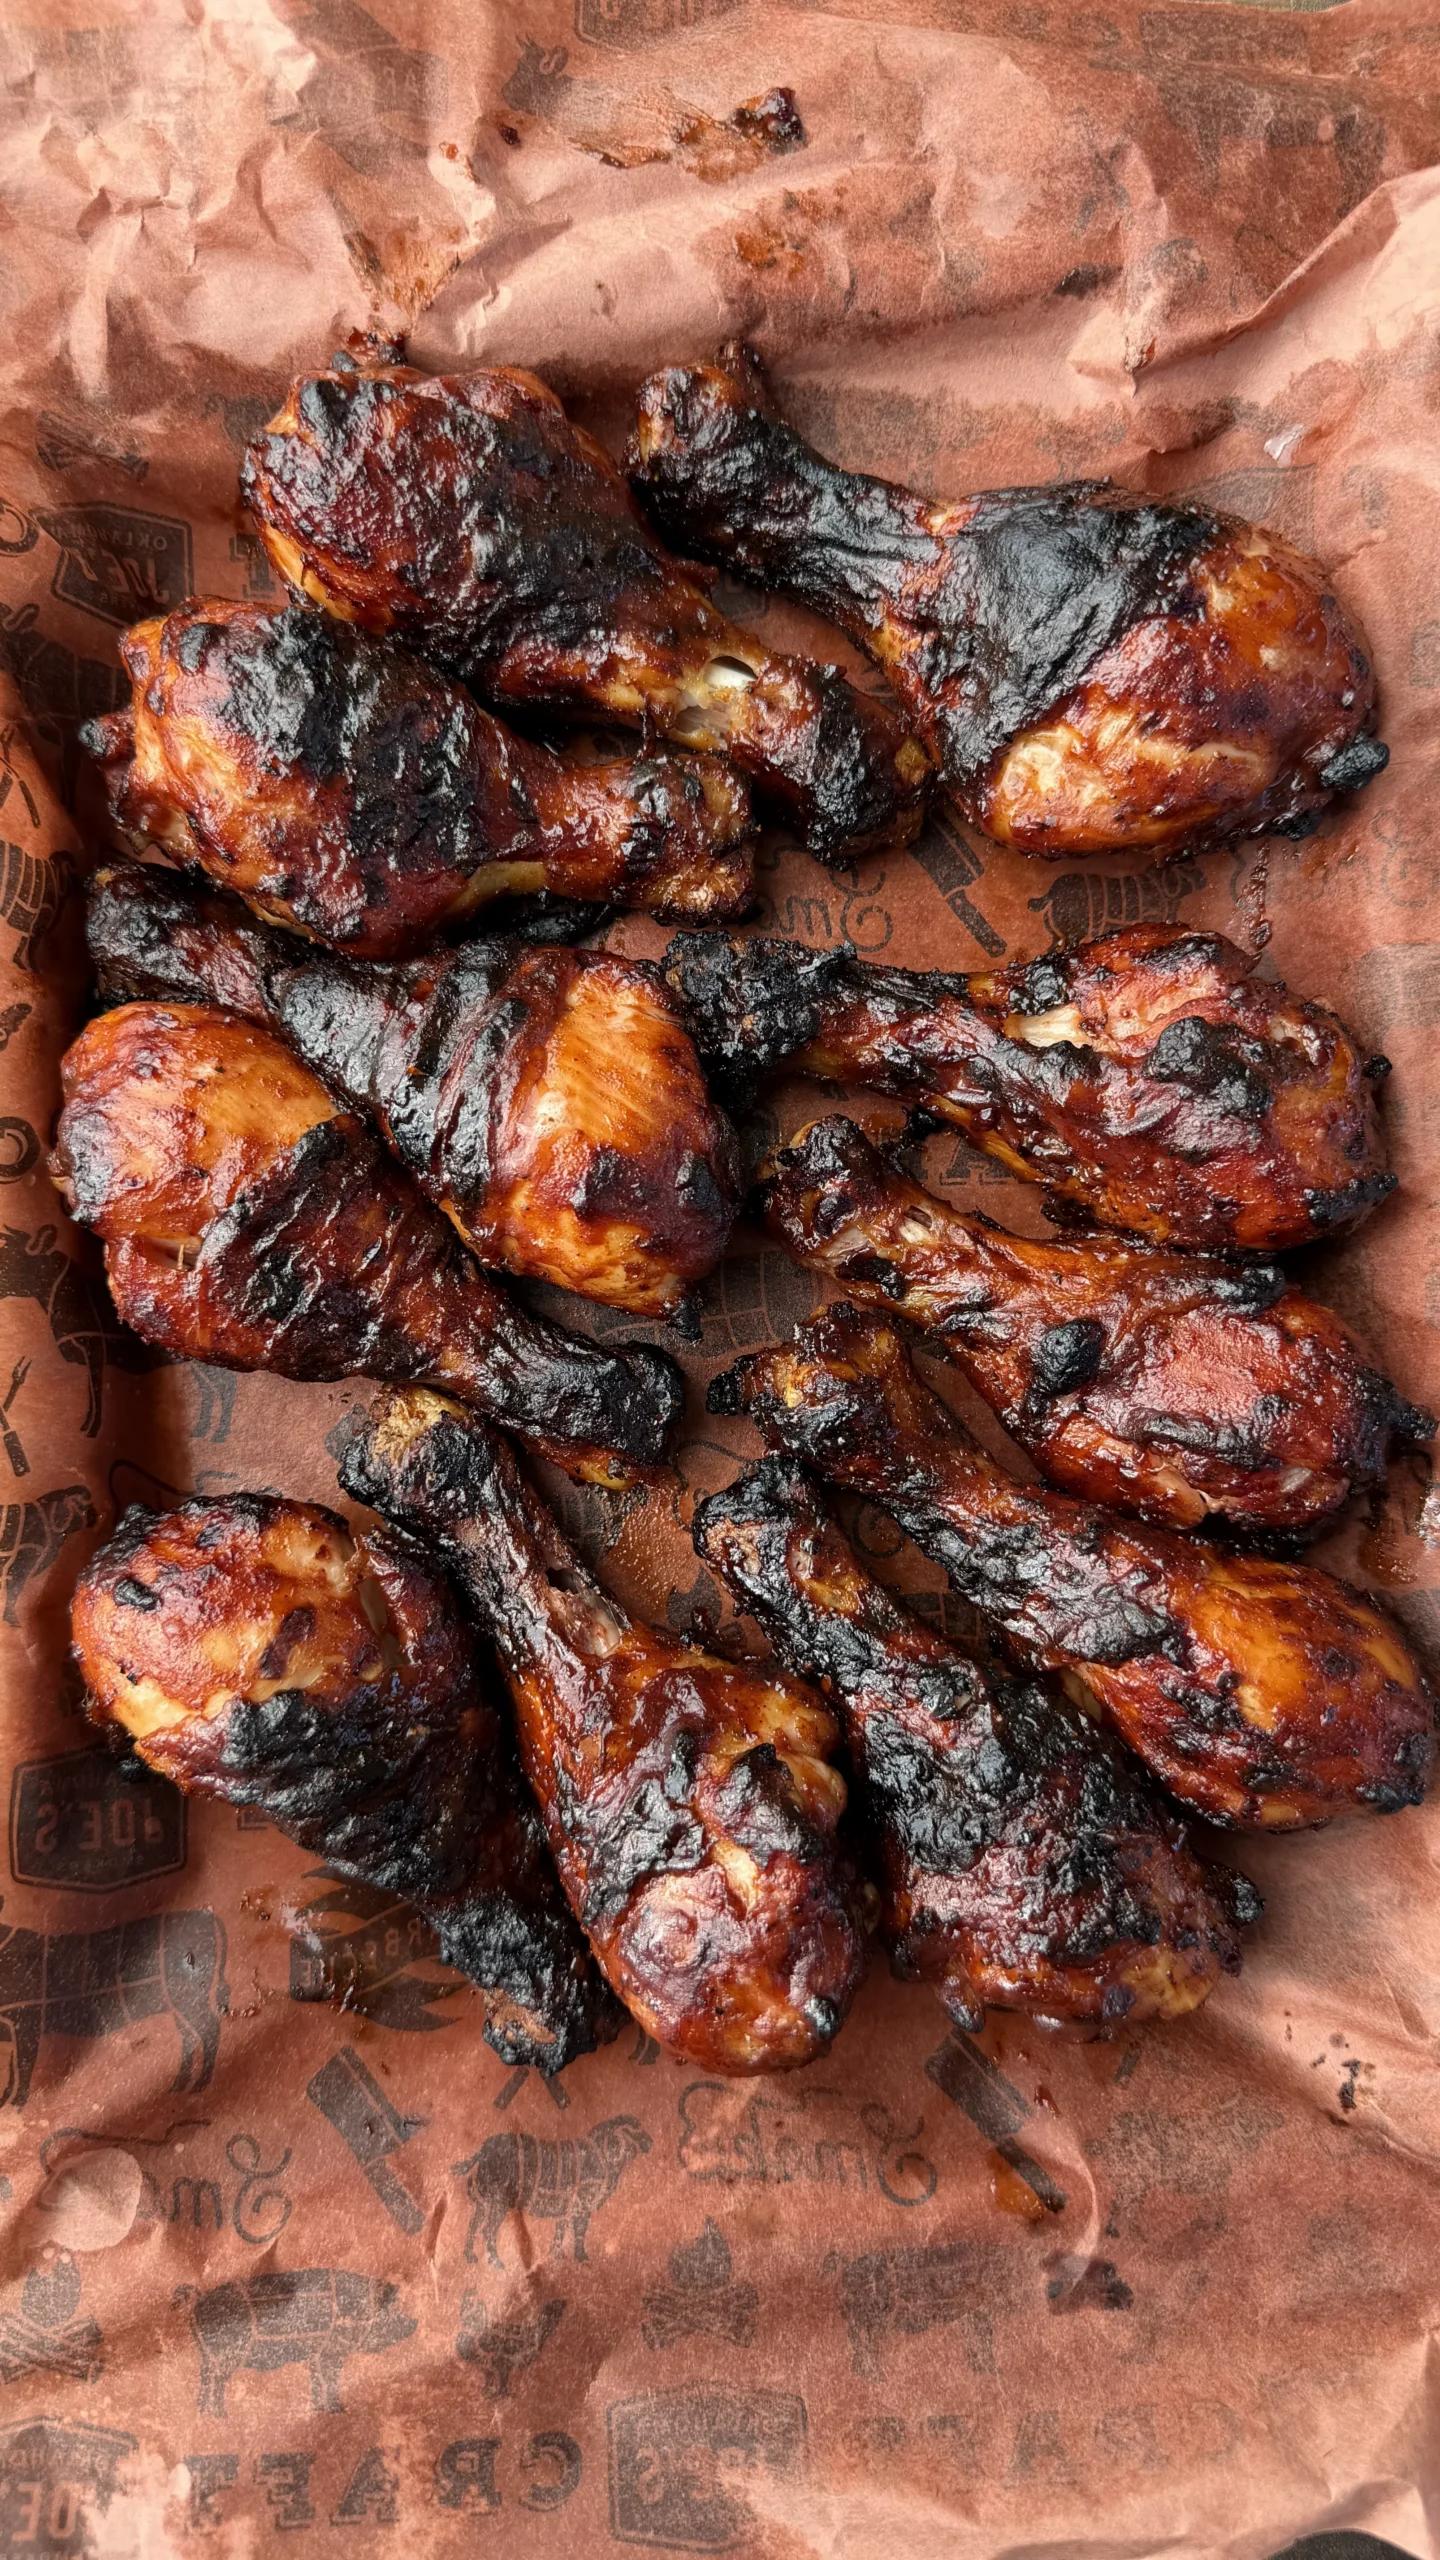
Classic Barbecue Chicken Drumsticks
Ingredients
Equipment
Method
- Mix olive oil with chicken seasoning in a large bowl. Add drumsticks and massage until fully coated.
- Preheat grill to medium-high. Place drumsticks over direct heat and cook, flipping every 4-5 minutes to develop even char.
- Once charred, baste tops with barbecue sauce. Flip and baste other side. Continue flipping and basting until each side has been coated about twice, letting sauce caramelize 30 seconds before each flip.
- Move glazed drumsticks to indirect heat. Cook until internal temperature reaches 185°F.
- Remove from grill and rest a few minutes before serving.
Notes
Tried this recipe?
Let us know how it was!BBQ Chicken Drumsticks FAQ
Common questions about grilling, temperature, sauce timing, and serving.
Your Questions, Answered
Total grill time is 25 to 30 minutes. The first 12 to 15 minutes are spent over direct heat building char and applying the BBQ sauce glaze. The remaining 10 to 15 minutes are on indirect heat to bring the internal temperature up to 185°F without burning the glaze.
Drumsticks are dark meat with high collagen content. At 165°F the collagen has not broken down, so the meat will be chewy and tough around the bone. At 185°F the collagen converts to gelatin, which is what creates the tender, juicy, fall-apart texture. The rendered fat keeps the meat moist even at the higher temperature.
Both work. Gas grills and charcoal grills both produce the direct and indirect heat zones you need for this recipe. Charcoal adds a smokier flavor, but gas grills give you more precise temperature control. The technique is identical on both: direct heat for char, indirect to finish.
Sauce and Serving
Wait until the drumsticks have a solid char on the first side before applying any sauce. BBQ sauce contains sugar that burns quickly over direct heat. Build the char on the plain seasoned chicken first, then baste in layers during the last few minutes over direct heat. Two coats per side with 30-second caramelize time between flips builds the thickest glaze.
Any chicken-specific seasoning or all-purpose BBQ rub works well. Look for a rub with garlic powder, paprika, onion powder, and a touch of brown sugar as the base. The rub provides the flavor foundation under the barbecue sauce glaze. If you prefer more heat, choose a rub with cayenne or chili powder. The oil mixed with the seasoning helps it adhere to the skin.
Classic cookout sides pair naturally: potato salad, grilled corn, baked beans, coleslaw, or mac and cheese. The rich, sticky glaze on the drumsticks is best balanced by something acidic (coleslaw or pickles) or creamy (mac and cheese or potato salad). Grilled corn with butter and seasoning picks up the same smoky char flavor from the grill.
Ready to Level Up?
Take your backyard cooking from good to legendary.
This is where I keep all my most-used smokers, knives, and favorite cooking tools.
Shop My Gear CollectionExplore More Recipes
Find more diverse flavors at CWFeats.com